Run Dataedo Desktop and Dataedo Portal on AWS [legacy]
This tutorial is a step-by-step guide to running Dataedo Portal and Dataedo Desktop on AWS. Following this tutorial will install Dataedo Portal, a free SQL Server 2019 Express instance, and configure it for local use (no access from other machines in the network). If this doesn't fit your needs, check the other guides here.
First, go to AWS Marketplace and search for "Dataedo". You should see a page looking like this:
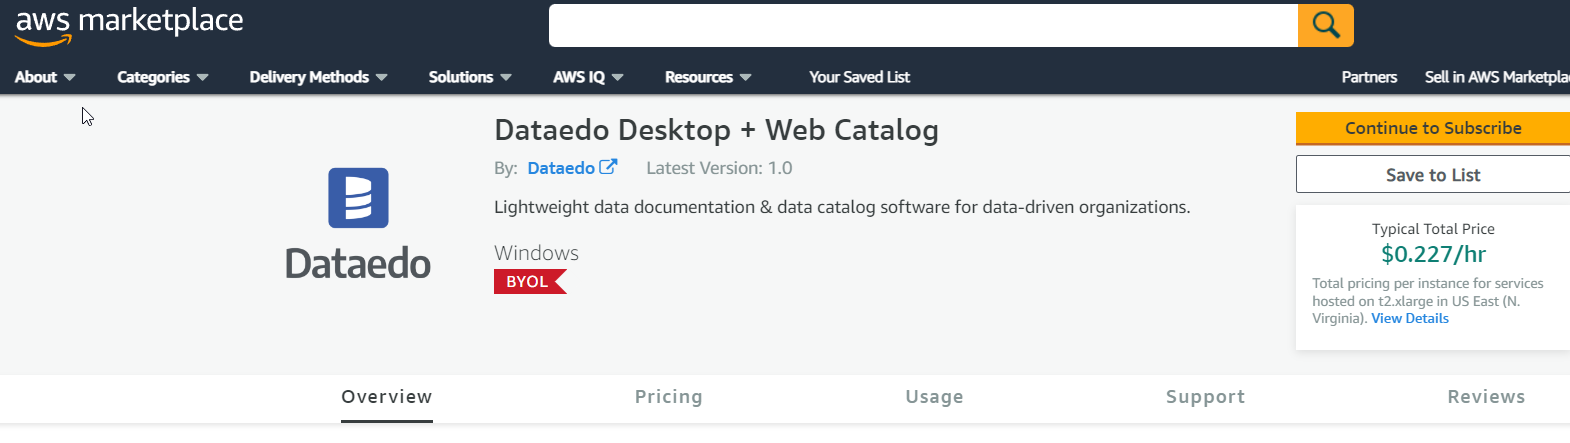
To start, select "Continue to Subscribe". If prompted, log in or create a new account as needed.
Then choose "Continue to Configuration":

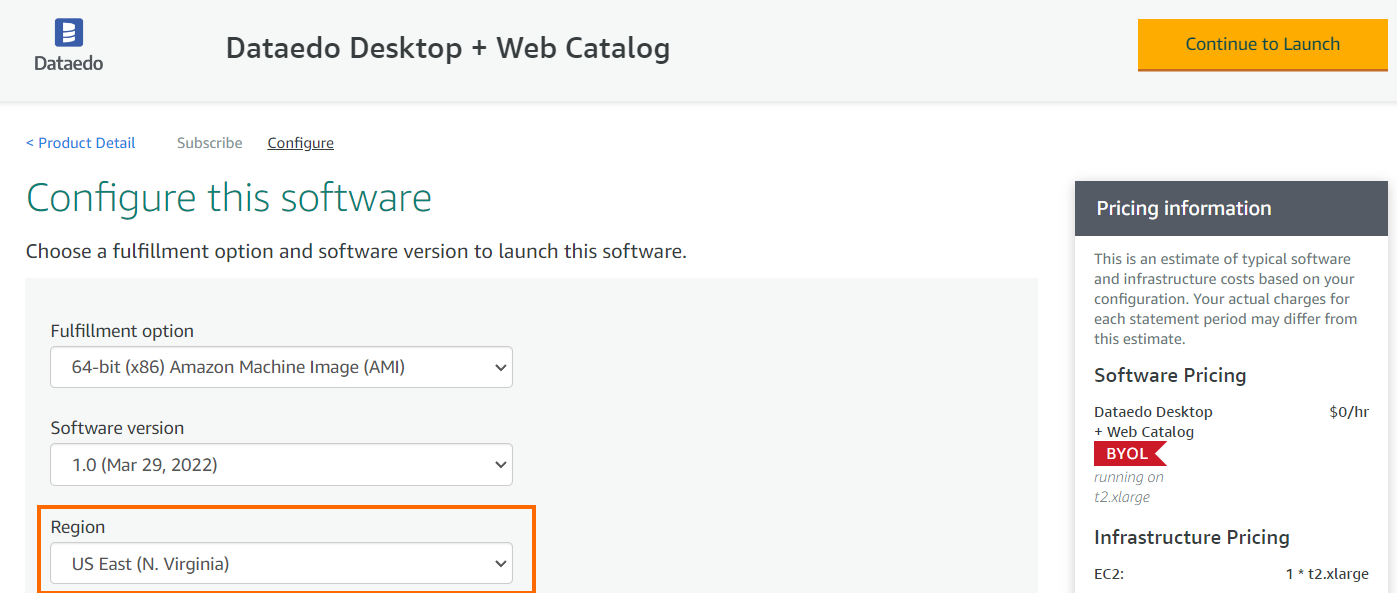
On the next screen, select the region that you want to use. Don't change the software version. Click "Continue to Launch".
On the next screen, we have a few configuration options, let's go one by one:
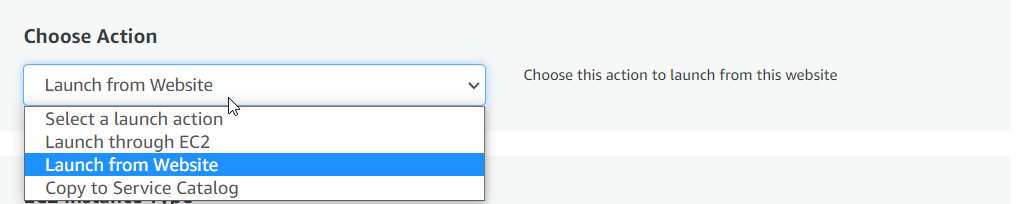
Here you can select how you want to launch our application. We will follow the easiest one - "Launch from Website". If you feel more comfortable in the EC2 menu, you can choose that option instead.
Next, select Instance Type - it's the hardware of the server we are about to run. We recommend using at least 4 vCPUs and 16GB RAM to ensure the best performance.

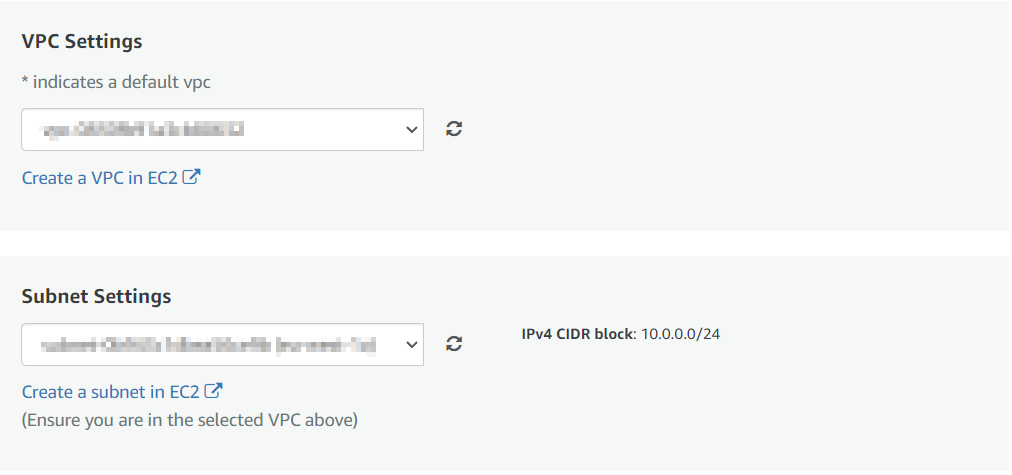
You need to define Virtual Private Network and the Subnet in the next two options. If you are unsure which one to use, ask your IT administrator.
If you are not using any VPN connection to AWS, you will also need a public IP so you can connect to it outside of the AWS private network. VPC can automatically assign a public IP or you can manually assign it after configuration.
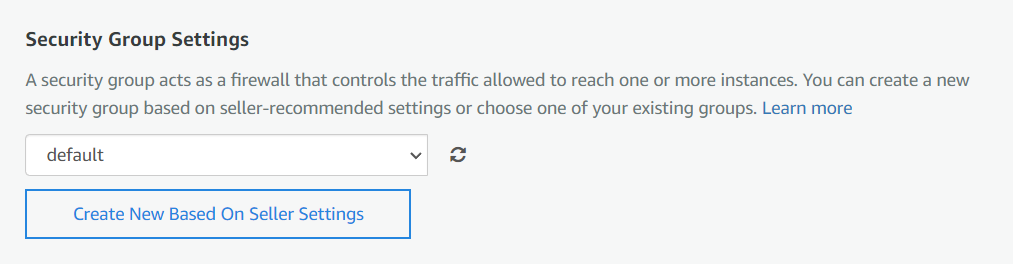
Security Group Settings - here you can specify which ports for which IPs will be open on the machine (note that this is not Windows Firewall - this is a separate level of security on the AWS level). If you don't have any configured already click "
Ports that should be open:
- 80 - to allow HTTP access to Dataedo Portal
- 443 - to allow HTTPS access to Dataedo Portal
- 1433 - to allow SQL connection to SQL repository from Dataedo Desktop (only from different sources than Dataedo Desktop on this server)
- 3389 - to allow RDP connection to the server
When it comes to IPs, 0.0.0.0/0 will allow all people around the world to see/try to connect to your instance. Please check with your Network team/IT Administrator which IP range you should use.
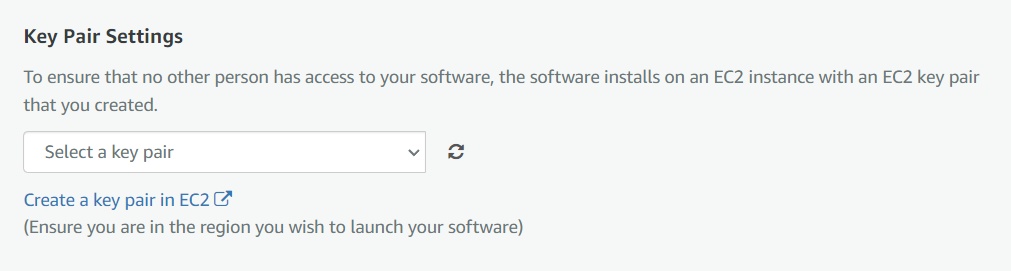
The last option will configure Key Pair Settings to allow you to get the password to connect to your instance. If you are not sure, ask your IT administrator for help. If this is your personal account, you can create a new pair and use it.
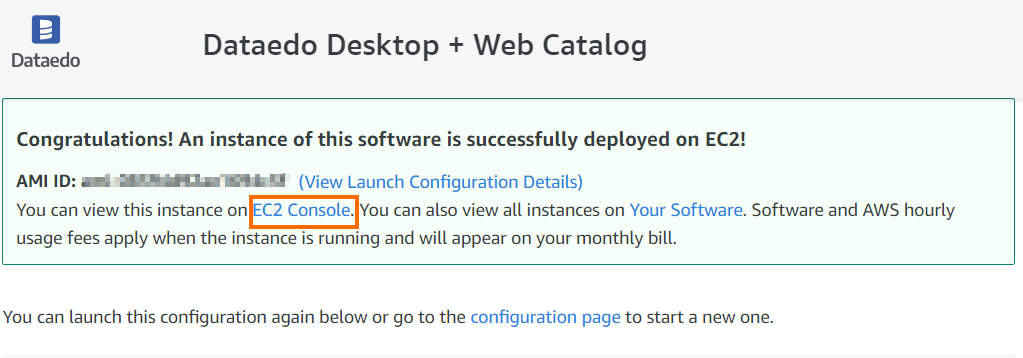
All set! You can click Launch!
Now you can click on "EC2 Console" to go to the EC2 dashboard and get login credentials to your instance.
To do that, click on the Instance ID name that we just created:

Then select connect:

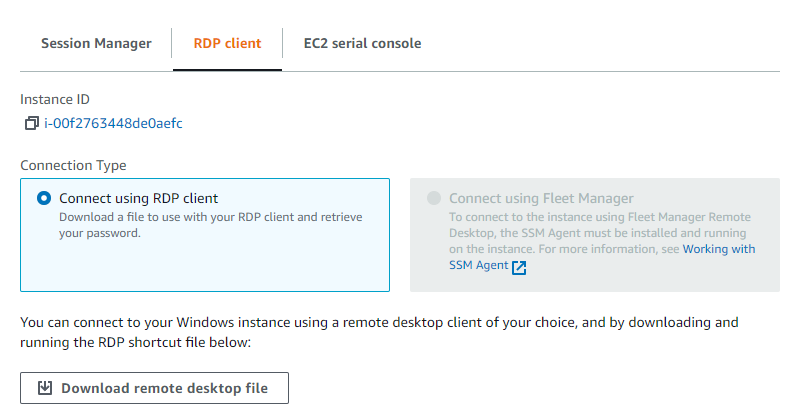
Go to the "RDP client" section and select "Get password"
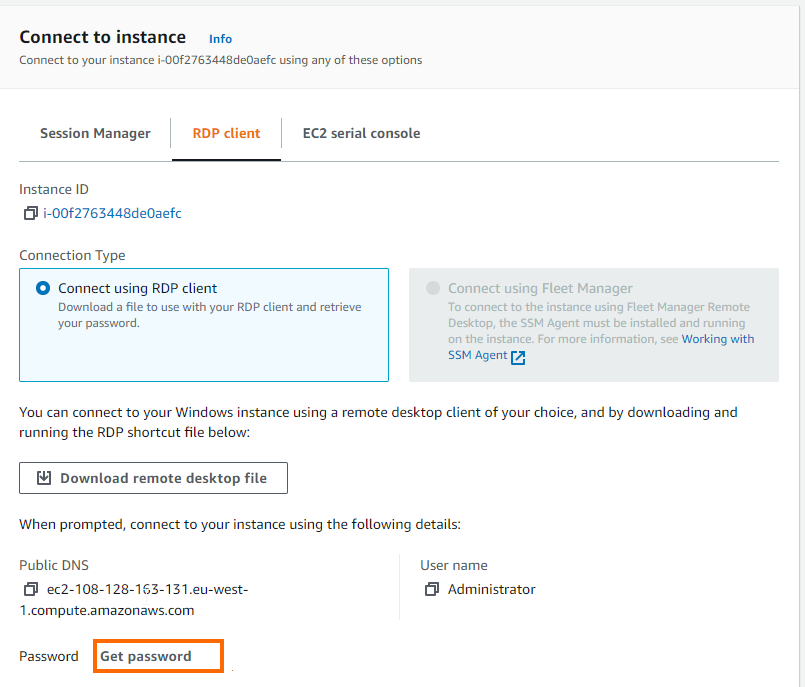
Here you need to paste the Private key we specified earlier. If you don't have it, ask your Administrator about it. After that, you should be able to see the password. Now you can click on "Download remote desktop file"
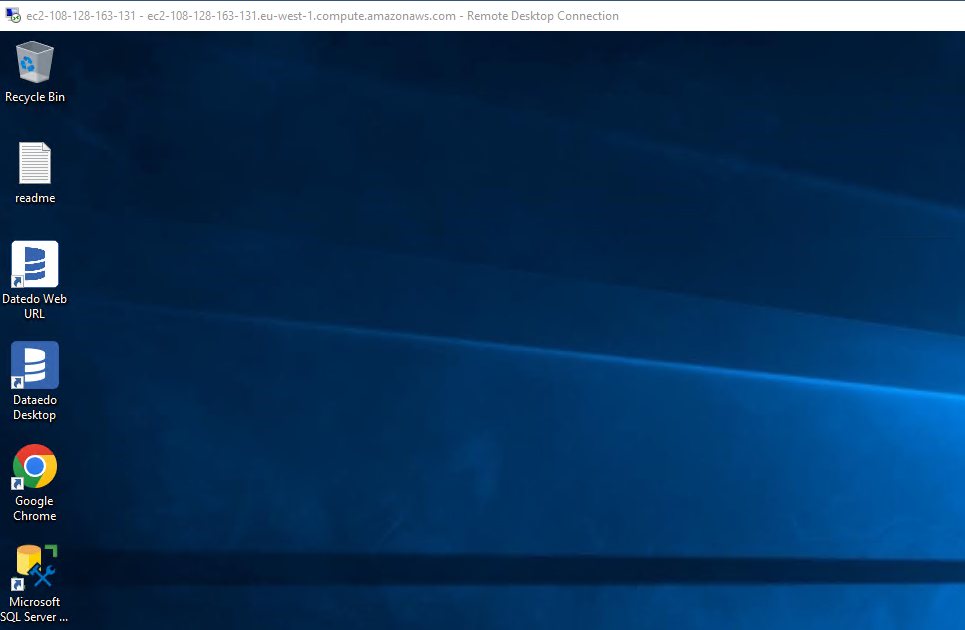
The file should start to download, click on it to open, select "Connect", it will ask you about your password, copy it from the AWS page, click OK, and then "Yes". Wait a few minutes (5 should be more than enough) so all the configuration is done and you are ready to go! You should see the below screen with Dataedo Portal URL, Dataedo Desktop, and a readme file with connection details (don't worry they are all unique).