Run Dataedo Portal + MSSQL on AWS
This tutorial provides a step-by-step guide to set up Dataedo Portal with a pre-configured Microsoft SQL Server repository on AWS. For more details on the Dataedo Portal, check this link.
If you want to upgrade an existing AWS Dataedo Portal instance, follow this article instead.
Launching EC2 image
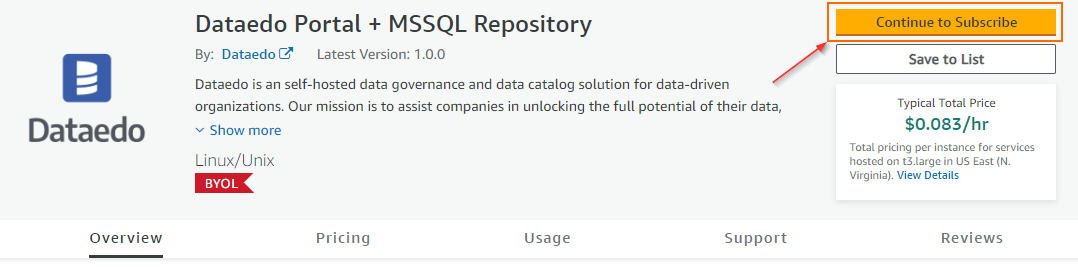
To begin, follow this link to the Dataedo Portal + MSSQL Repository page on AWS Marketplace.
Then, select Continue to Subscribe and log in to AWS with your account.
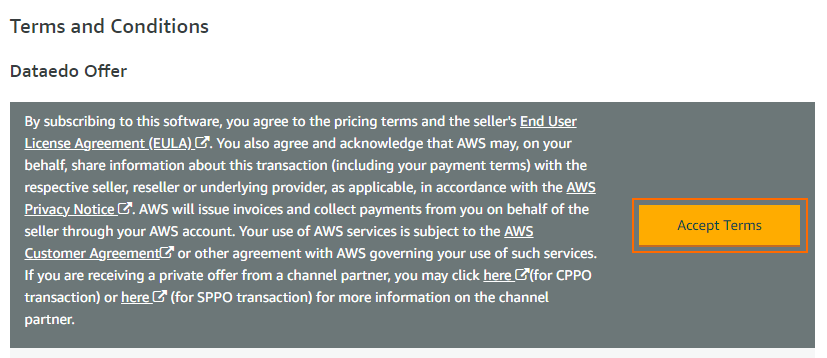
Please review the pricing details and read the Terms and Conditions. If you agree to the terms, click on the Accept Terms button to proceed with the installation of the Dataedo Portal software. Please note that the charge applies only to the virtual machine, as the Dataedo Portal license is based on the BYOL (Bring Your Own License) model.
Wait until the operation finishes. Once it's complete, proceed by selecting the Continue to Configuration button:

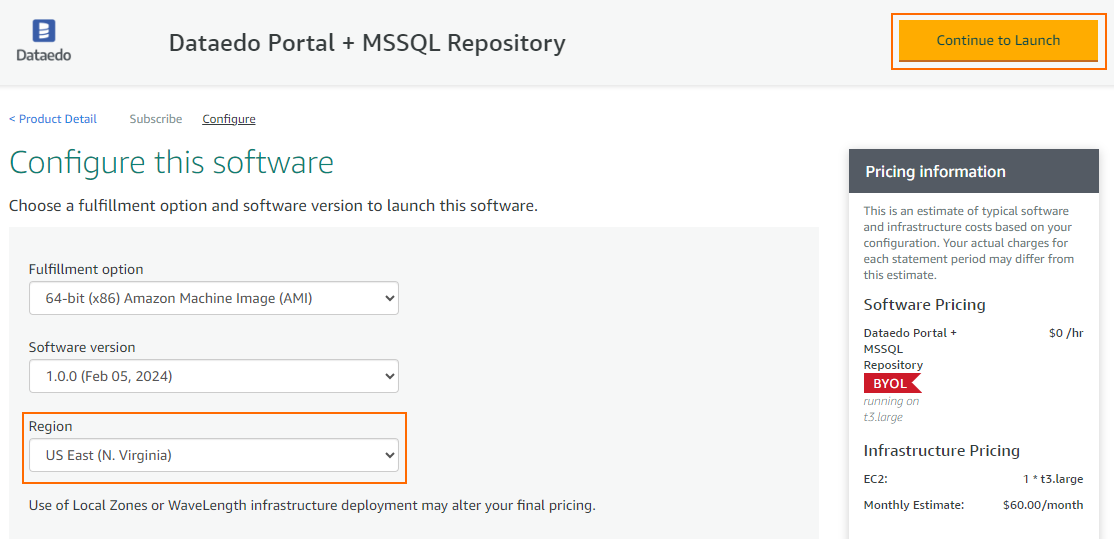
On the Configure this software page, select the desired AWS Region and click on Continue to Launch.
On the following page, you will see a few configuration options. Let's go through them one by one.
In the Choose Action section, you can choose how you want to launch our application. For now, select the easiest option, which is Launch from the Website. However, if you prefer using the EC2 menu, you can choose that option instead.

Then, select the EC2 Instance Type - it's the hardware of the server you are about to run. We recommend using at least 2 vCPUs and 8 GB of RAM to ensure optimal performance. For increased needs, use 4 vCPUs and 16 GB of RAM.

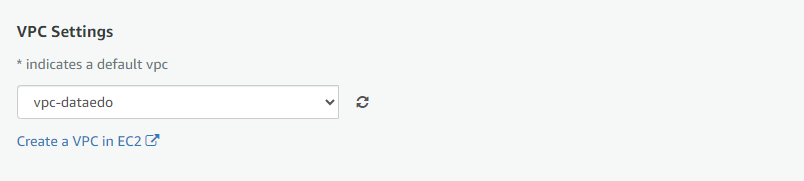
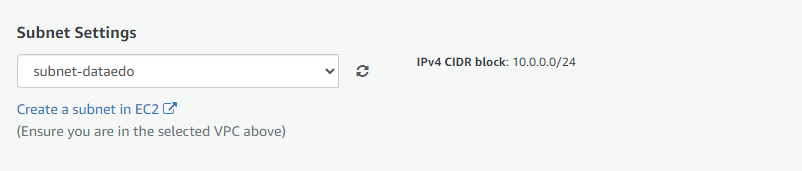
You need to define the Virtual Private Network and the Subnet in the next two options. Leave the default VPC and Subnet settings unless your organization uses a different setup.
A public IP is necessary to connect to AWS from outside its private network if you are not using a VPN. The VPC can assign a public IP automatically, or you can assign one manually later.
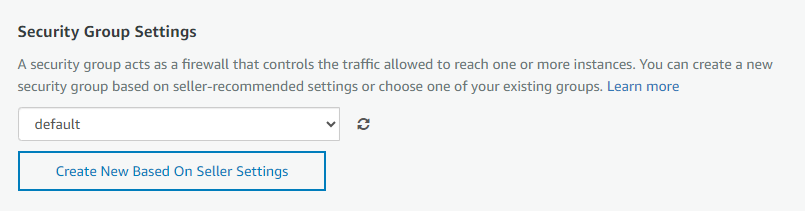
Security Group Settings - here you can define which ports are open to specific IPs on your instance. This is different from the Operating System Firewall as it works at the AWS security level. If you have no security groups yet, you can click on Create New Based On Seller Settings. This will make a new security group based on predefined settings.
Ports that should be open:
- 80 - to allow HTTP access to the Dataedo Portal.
- 443 - to allow HTTPS access to the Dataedo Portal.
- 1433 - to allow SQL connection to the SQL repository from the Dataedo Portal and direct connection to the pre-configured Microsoft SQL Server instance.
- 22 - to allow SSH connection to the EC2 instance.
If you want the Portal to be globally available, leave the “0.0.0.0/0” range. Otherwise, consult your Network team or IT Administrator for the correct IP range.
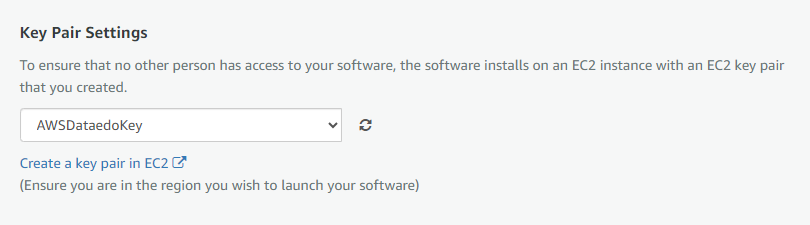
The final option will configure Key Pair Settings, enabling you to retrieve the password required to connect to your instance. You will need it in case of upgrading the Dataedo Portal version. If this is your personal account, you can create a new key pair and use it.
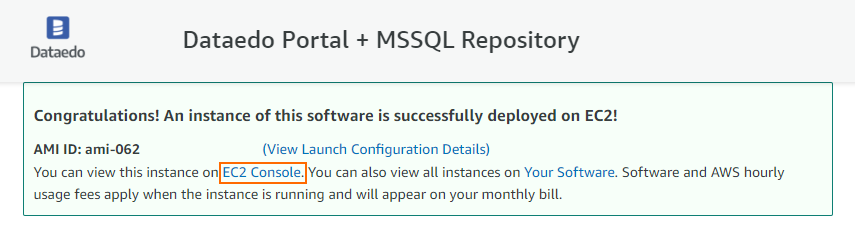
All set! You may click Launch!
Wait until the instance deployment is successfully finished. You can now click on the EC2 Console link to access the EC2 dashboard.
Connecting via SSH
To continue setup or change configuration later, you will need to connect to the EC2 machine via SSH.
On the EC2 dashboard page, select the created instance ID and click Connect to open the Connect to instance page.

Next, navigate to the SSH client tab. There you will find instructions for connecting to your instance using SSH. Open a terminal application (Windows Terminal, PowerShell, Bash) and follow the instructions to establish the connection.
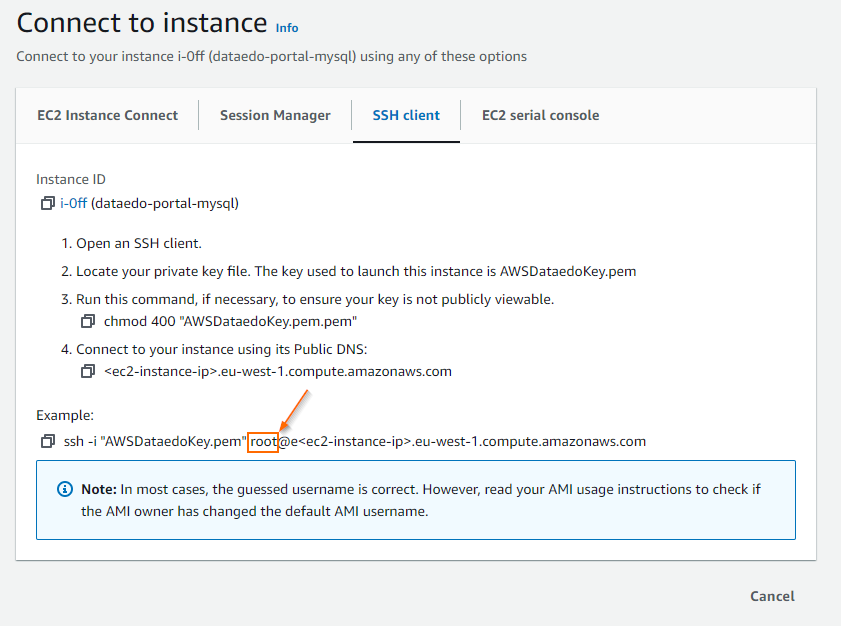

Be sure to replace the suggested username "root" with "ubuntu". Otherwise, the connection will fail.
Update the SSH command below with your own EC2 IP address and private key file name based on Key Pair Settings, then run it to establish connection:
ssh -i "<private_key_file>.pem" ubuntu@<ec2-ip-address>
Configuring env
Docker configuration files can be found in the “/opt/dataedo/” folder.
You can config environment variables with the nano text editor using the following command:
nano /opt/dataedo/.env
After making changes, remember to restart your containers for the updates to take effect. You can do this by executing commands below:
cd /opt/dataedo/
docker-compose restart
More information about configuration of the .env file is available here.
Accessing the app
Let's start by connecting to the Dataedo Portal through a web browser.
Firstly, you need to obtain the IP address of your EC2 Instance. To do this, please return to the EC2 Dashboard page and select your Instance ID from the list.

Copy the IP address of your instance.

Paste the IP address into the web browser, making sure to use the “http://” protocol instead of “https://”. The Dataedo Portal does not come with an SSL certificate pre-installed during the setup process, but we strongly recommend installing it as soon as you finish the configuration process. You can find more information here.

The Dataedo Portal website will appear.
You are now ready to proceed and create your first admin account. Please provide a username and password, then submit by clicking the Create Account button.

You should see the Dataedo Portal login page:


