Run Dataedo Portal on GCP
This tutorial provides a step-by-step guide to installing and configuring the Dataedo Portal on Google Cloud Platform (GCP). For more details on the Dataedo Portal, check this link.
If you want to upgrade an existing Dataedo Portal instance on Google Cloud, follow this article instead.
Launching virtual machine
To begin, follow this link to the Dataedo Portal application page on Google Cloud Marketplace.
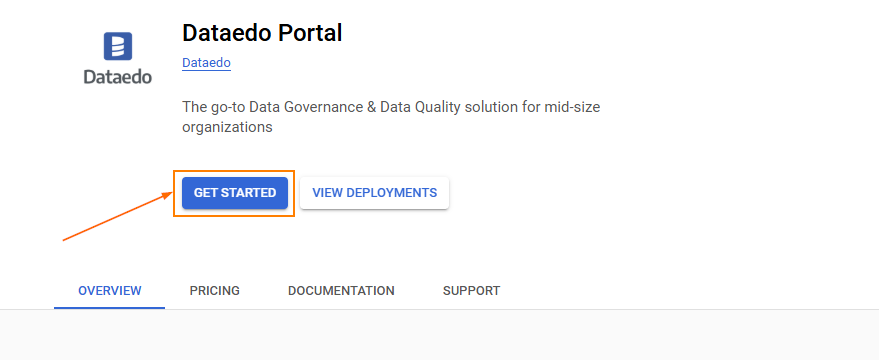
Then, login to Google Cloud Marketplace with your account and select the GET STARTED button.
Please note that the charge applies only to virtual machine, as the Dataedo Portal license is based on the BYOL (Bring Your Own License) model.
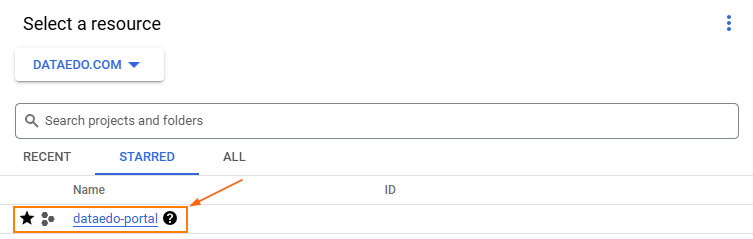
Select the Google Cloud project where you want to deploy the new virtual machine.
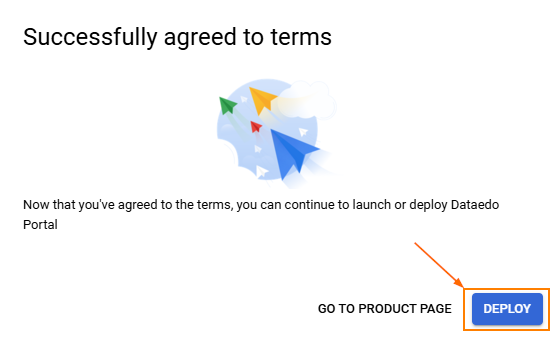
On the Agreements page please review and read the Terms and confirm with the AGREE button.
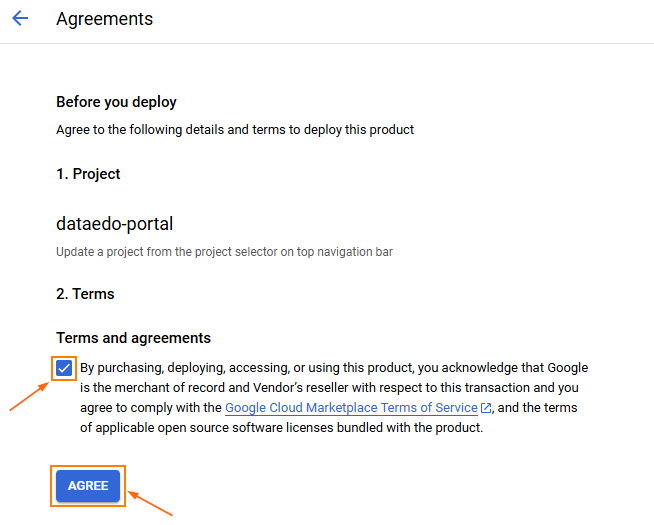
Click the DEPLOY button to proceed.
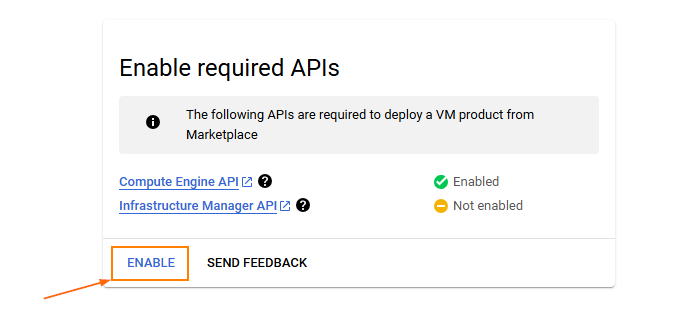
The creator will check if all required APIs are enabled in the selected project. If necessary, click the ENABLE button to enable the required APIs and proceed.
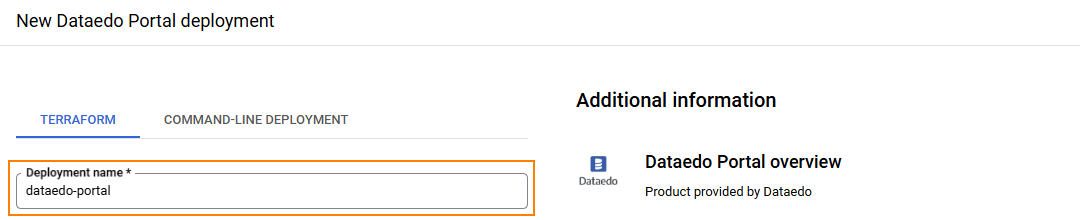
The Dataedo Portal deployment page will appear. There, you will see various configuration options. Let's go through them one by one.
Set the deployment name for your Dataedo Portal application.
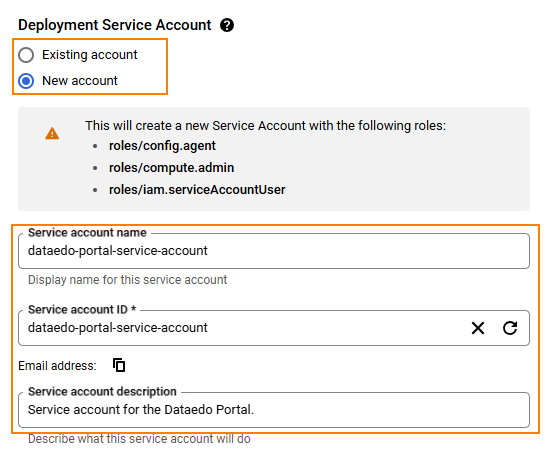
Create a new service account or use an existing one. If you plan to use an existing service account, ensure it has the following IAM roles:
- roles/config.agent
- roles/compute.admin
- roles/iam.serviceAccountUser
Select the zone where you want to deploy the application. The zone determines which computing resources are available and where your data is stored and used.

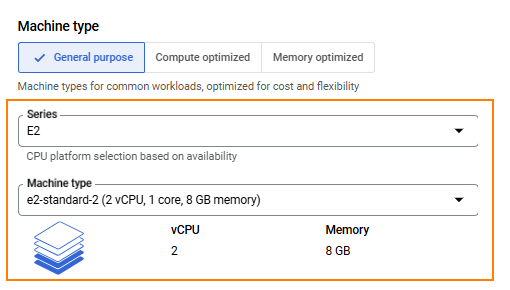
Under Machine type, select the hardware of the virtual machine you are about to run. We recommend using at least 2 vCPUs and 4 GB of RAM to ensure optimal performance. For increased needs, use 4 vCPUs and 8 GB of RAM.
In the Boot Disk, you can configure properties of the operating system disk. We recommend using SSD for OS disks for optimal performance.

Proceed to the Networking settings.
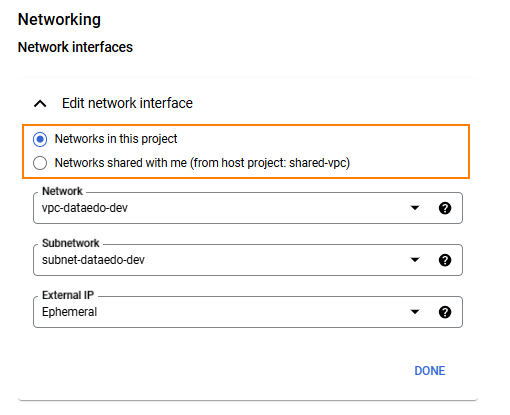
Under Network interfaces, select the network and subnet you want to use for the virtual machine.
Google Cloud provides two types of VPC networks:
- Standalone VPC: Used when you select “Networks in this project”.
- Shared VPC: Used when you select “Networks shared with me (from host project:
<host_project_name>)”.
Please keep in mind the type of VPC you use for your deployment, as it will determine the firewall configuration rules in the next step.
The External IP value is set to Ephemeral (temporary), meaning it is automatically released and may change when the VM is stopped. If you want to reserve and use a static IP, please update this field accordingly (recommended for production environments).
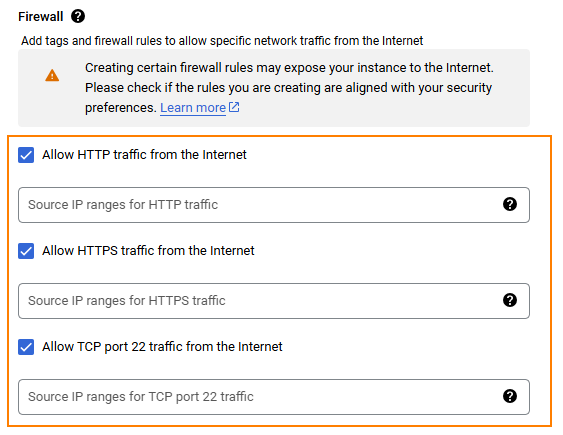
In the Firewall settings section, select the appropriate rules for your virtual machine.
The following ports should be open:
- 80 - to allow HTTP access to the Dataedo Portal.
- 443 - to allow HTTPS access to the Dataedo Portal.
- 22 - to allow SSH connection to the Virtual Machine.
For Standalone VPC users:
Review the predefined Firewall rules to ensure they align with your network requirements.
If you want the Dataedo Portal to be globally accessible, leave the Source IP ranges fields empty (it will automatically use the 0.0.0.0/0 range). Otherwise, consult your network team or IT administrator for the correct IP range.
After reviewing the settings, proceed to the next step.
For Shared VPC users:
In the Firewall section, UNCHECK all predefined firewall rules before proceeding.
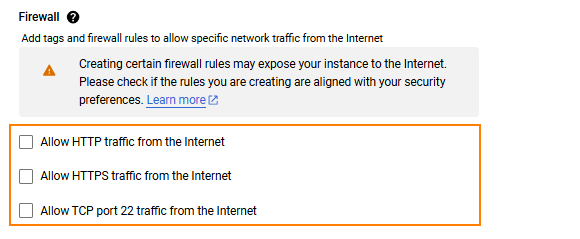
Otherwise, you will see an error:
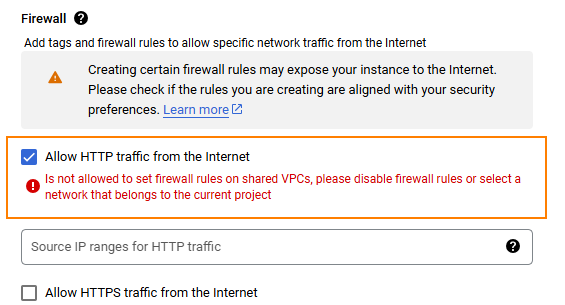
IMPORTANT: Firewall rules for Shared VPC networks are defined on the Shared VPC host project level. To enable network traffic, configure the firewall rules for the ports required by the Dataedo Portal at the Shared VPC host project level after deployment, or reach out to your network team or IT administrator for assistance.
The other configuration options are optional. You can adjust them according to your needs or keep the default values.
All set! You may click the DEPLOY button at the bottom to start the deployment process.
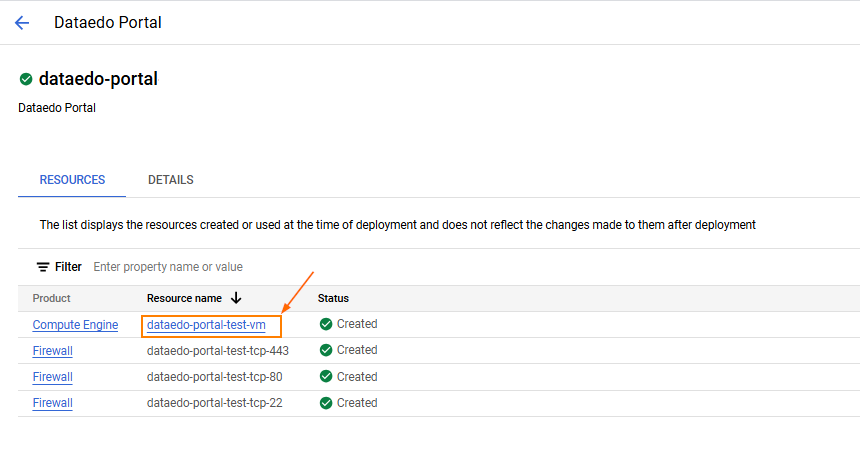
Wait until the virtual machine deployment is successfully completed. Then, allow about 5 minutes for the startup scripts to finish configuring the environment.
Click on the virtual machine name in the deployed resources list.
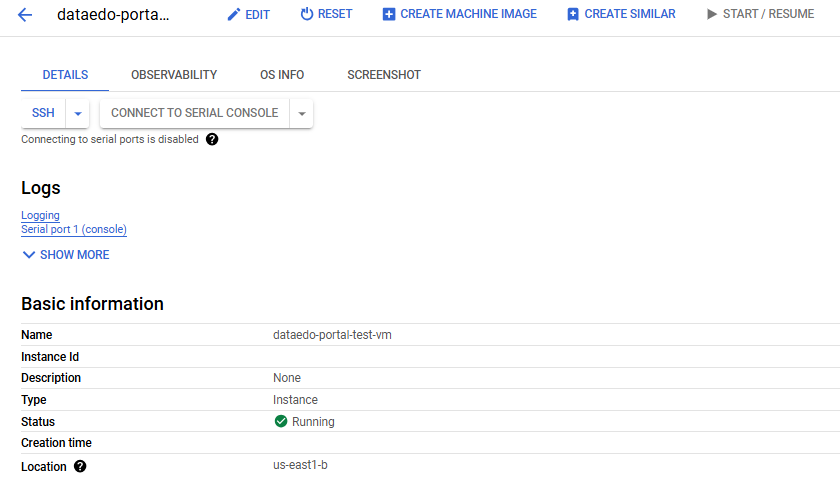
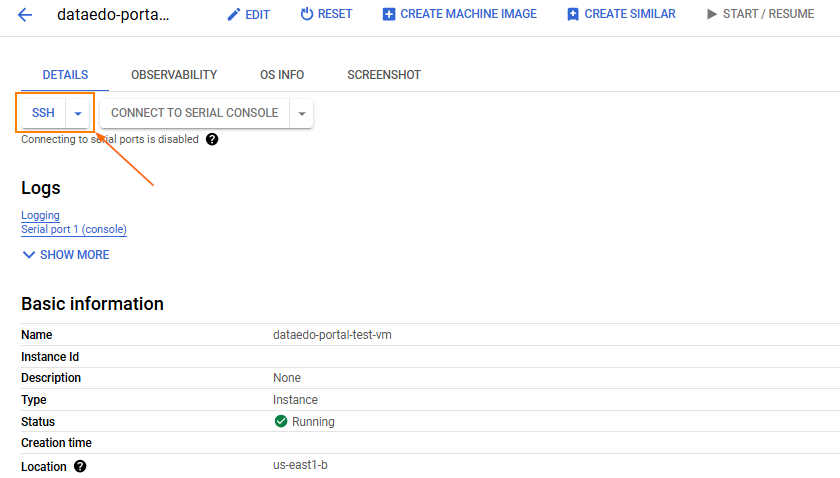
On the VM instance details page, you can view a summary of the newly created virtual machine.
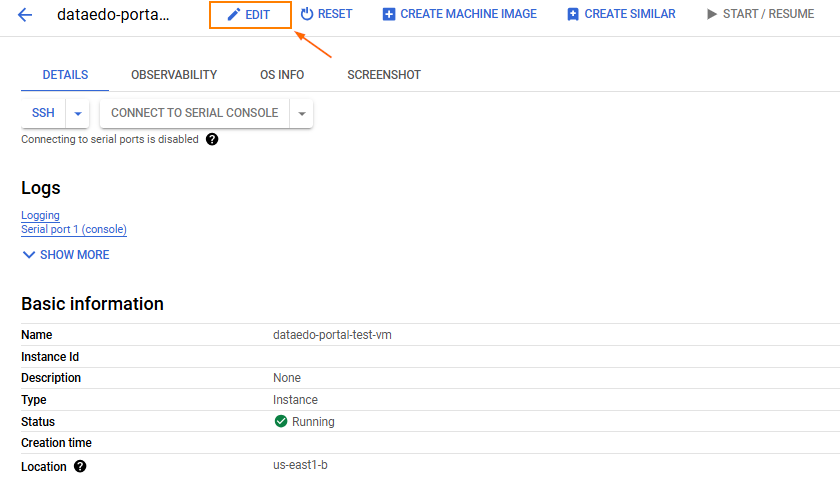
OPTIONAL: select the Edit button at the top if you want to modify the basic configuration, such as updating the firewall settings (e.g., adding network tags to your VM based on firewall rules in the Shared VPC host project), enabling OS Login, or adding your public SSH key if you plan to connect to the machine using an OpenSSH client.
Connecting via SSH
To continue setup or modify the configuration as needed, you will need to connect to the virtual machine via SSH.
On the VM instance details page, select the SSH button.
The SSH-in-Browser terminal popup will appear. With this connection method, Compute Engine automatically generates a temporary (ephemeral) SSH key for authentication.
Select the Authorize button and log in using your Google Account credentials.
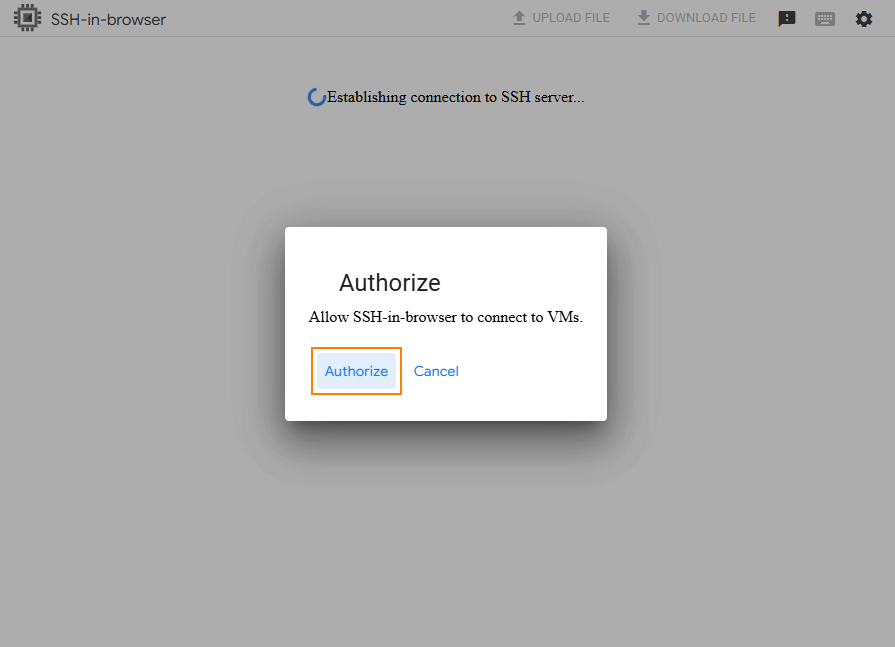
After successful authorization, terminal access will be granted.

For information about other SSH connection methods, such as gcloud, OpenSSH client, PuTTY, or Secure Shell Chrome app, please refer to the official Google Cloud documentation here.
Configuring env
Docker configuration files can be found in the “/opt/dataedo/” folder.
You can config environment variables with the nano text editor using the following command:
sudo nano /opt/dataedo/.env
After making changes, remember to restart your containers for the updates to take effect. You can do this by executing commands below:
cd /opt/dataedo/

sudo docker compose down

sudo docker compose up -d
More information about configuration of the .env file is available here.
Accessing the app
Let's start by connecting to the Dataedo Portal through a web browser.
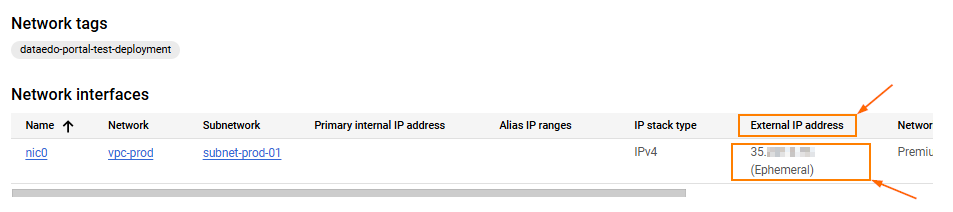
Firstly, you need to obtain the IP address of your virtual machine. To do this, return to the VM instance details page and locate the External IP address under the Network Interfaces section. Copy the IP address.
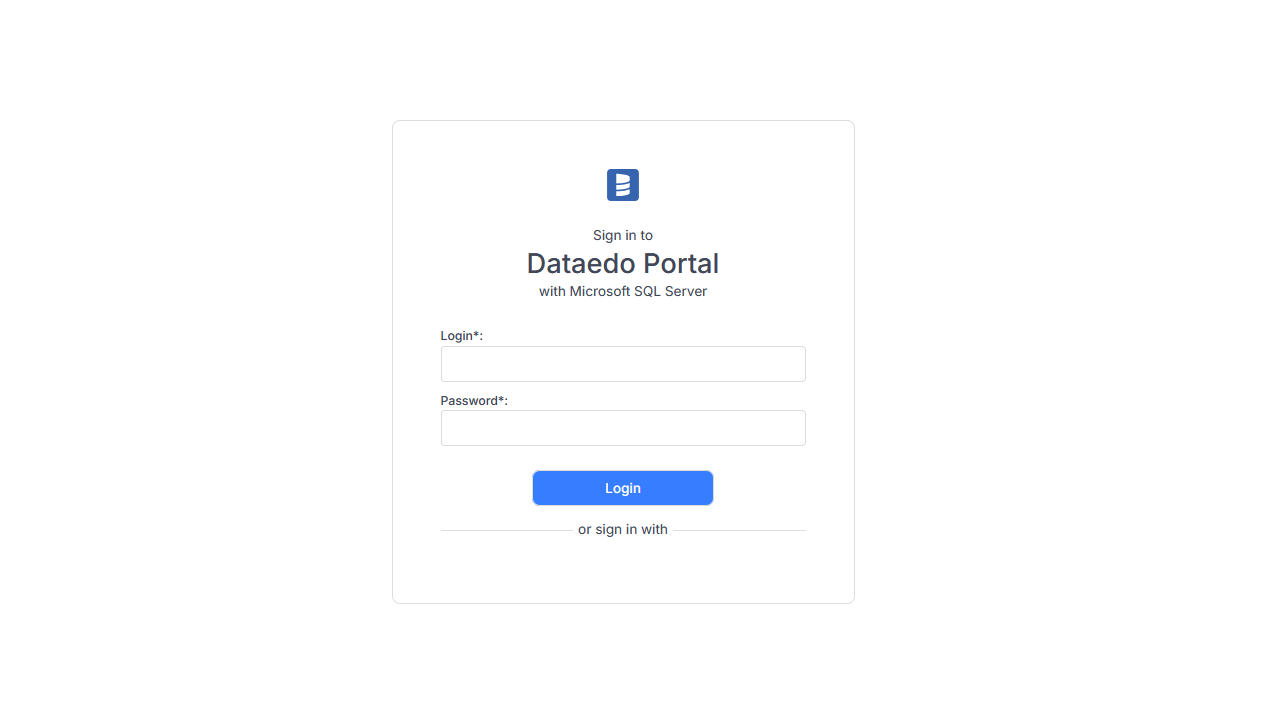
Then, paste the IP address into the web browser, making sure to use the “http://” protocol instead of “https://”. The Dataedo Portal does not come with an SSL certificate pre-installed during the setup process, but we strongly recommend installing it as soon as you finish the configuration process. You can find more information here.

You should see the Dataedo Portal login page:
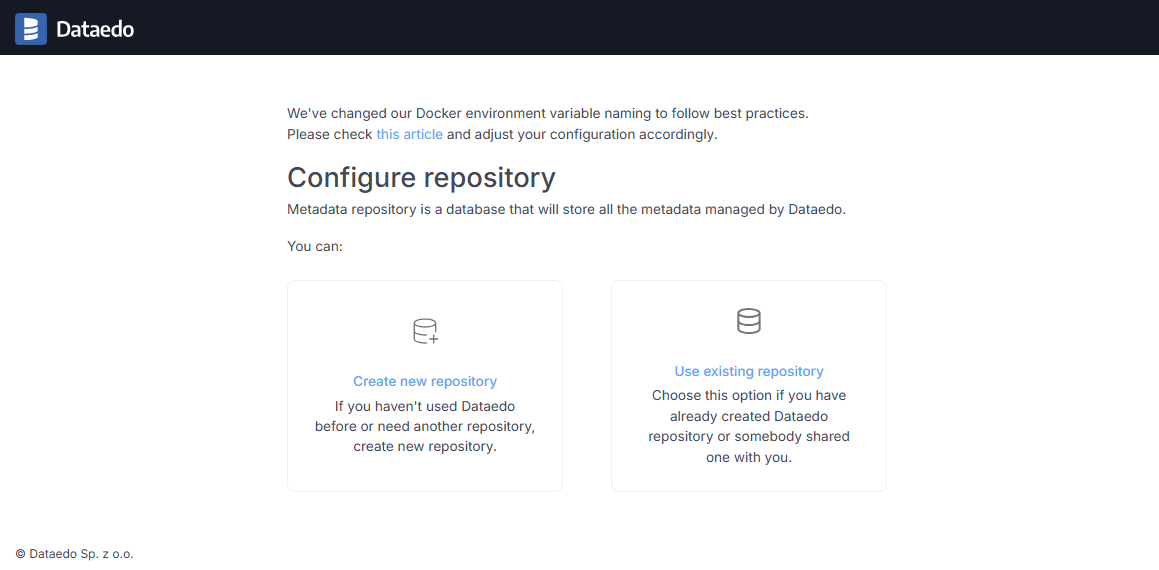
If you see the Configure repository page instead, it means the connection to the repository failed using the settings from the env file. In this case, go back to the Configuring env section.