Workflows configuration
Workflow configuration
Workflow configuration is only available for admin users in Dataedo Portal.
As of 24.2, there is one workflow available for all manual objects (terms, domains, and lookups). It can be edited by navigating to Data Catalog Settings and then Workflows.
Default configuration
We provide a default workflow after creating or upgrading a repository. It consists of 7 predefined statuses with default settings determining, e.g., who’s allowed to set a certain status.
All of these parameters are customizable and can be adjusted according to the organization’s needs.
They will be displayed for Data Stewards in the defined order. The order can be changed by dragging and dropping a selected column.
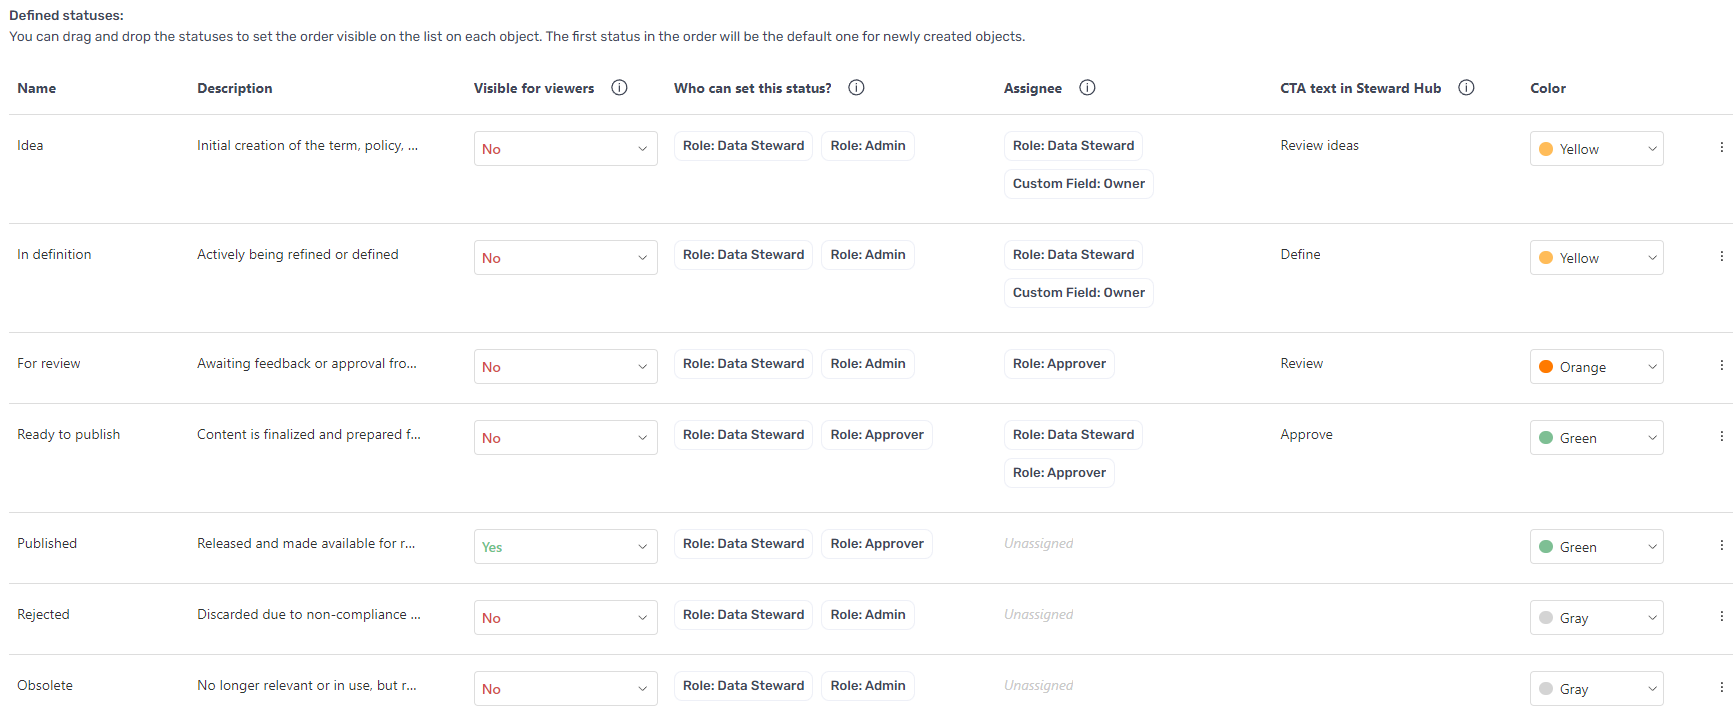
Read more about each section in the next paragraphs.
Changing visibility
The column Visible for viewers defines whether an object in a certain status is visible for users without edit permission. Usually, most of the statuses would have this parameter set as No, meaning if the object is still a work in progress, it’s not visible to the viewers. Once it lands in a Published status, it becomes visible to the viewers.
As with all of these settings, it can be customized according to the organization’s needs.
Changing who can set this status
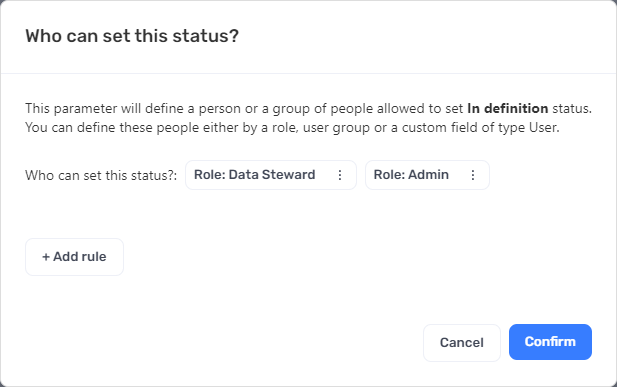
It is possible to restrict the ability of a selected group of people to set statuses. For example, terms can only be published by certain authorized persons. This can be defined by a role, user group, or a Custom Field (of type user) which can be assigned to a selected person.
Multiple rules can be defined to set a given status. As a result, users who match these rules will all be able to set this specific status.
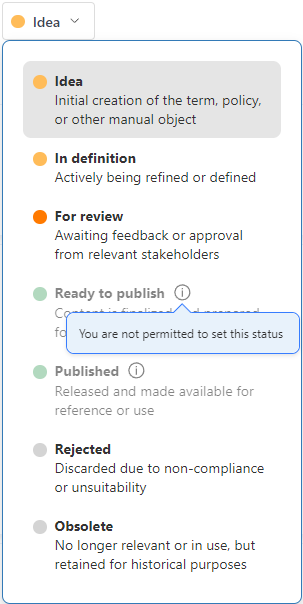
Users who don’t match these rules will not be able to set this status. They will see this status grayed out with a tooltip mentioning lacking permission.
Changing assignee
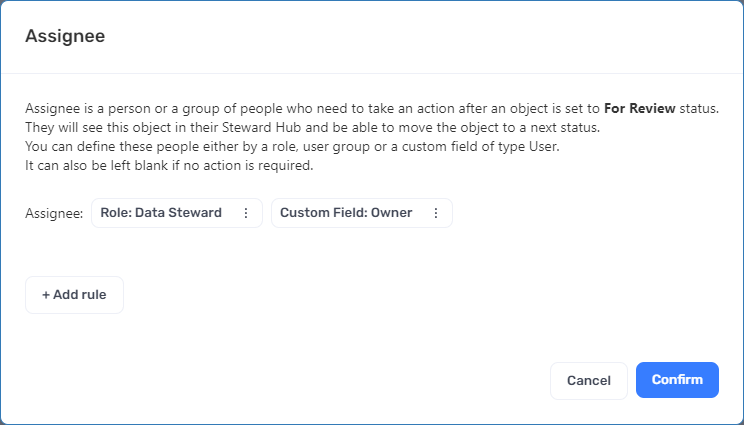
Assignee is a user (or multiple users) who is assigned to move the object's status further. These users will also see objects in this status assigned to them in the Steward Hub, where they can take some action and set another status. They will also be notified about an object they should take care of (perform action and move it to the correct status).
Later in Steward Hub, users will see, e.g., terms in status Idea which should be reviewed and an action should be taken. They can be either moved to the next status in the workflow, changed back to a previous status if they didn’t meet the expectations, or be rejected.
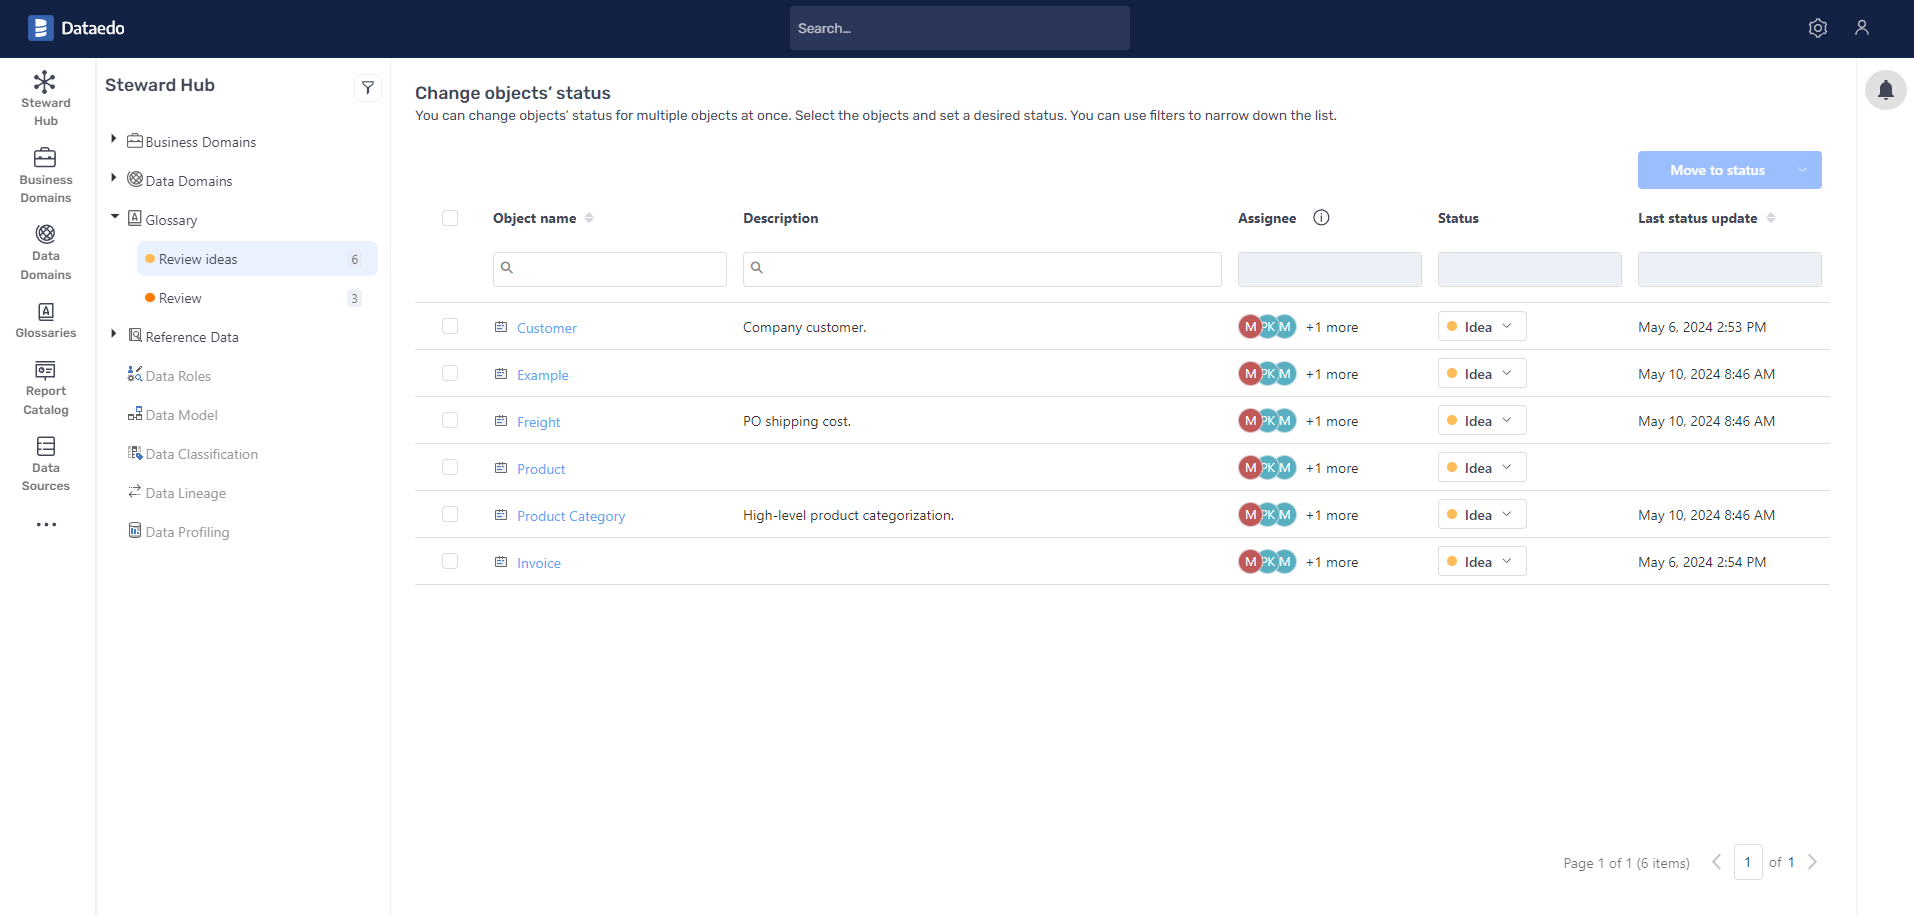
Note that in our default configuration some statuses have Unassigned in the Assignee column. It means that no further action is required after the object is Published or Rejected.
CTA text in Steward Hub
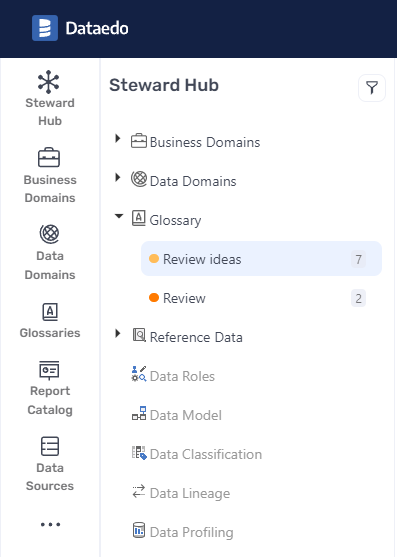
This parameter defines the text visible in Steward Hub in the navigation tree. It should describe the action that should be taken with objects in this status. For example, when an object is in status Ready to publish, our default CTA says Approve, and for objects in For Review, the action is Review and so on. Please remember to define this text to make it obvious what action should be taken once the object lands in this status.
Adding and removing statuses
You can add as many statuses to your workflow as you need. To do so, use the Add status button, right above the Save button. Once clicked, a status is added at the end of the statuses list and you can fill in all the information.
It is possible to remove statuses according to your needs. Removing is performed after clicking on the three dots icon on the right.
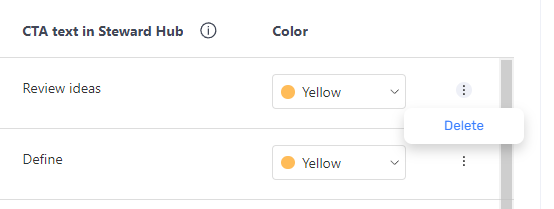
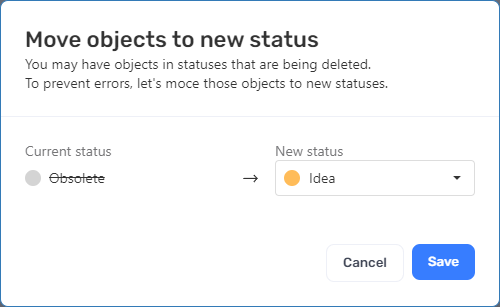
It is possible that there are some objects in the status that is about to be deleted from our system. To prevent any errors, you will be asked to select a new status for those objects once the current status is removed.
Approver role
We added the Approver role, a copy of Data Steward when it comes to permissions. This role’s intention is to allow bigger organizations to enable two-step approvals, based on the user role. So a configuration could be made in a way that only users with the Approver role are allowed to publish objects, so that they are visible to all the viewers in the application.

