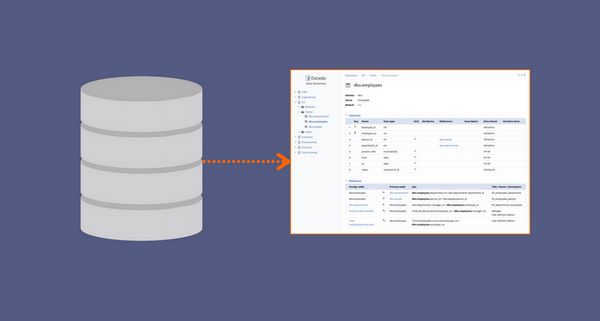
This tutorial will teach you how to quickly generate documentation for your Oracle database with Dataedo tool. It will create and export to PDF or HTML a Data Dictionary of your database.
1. Prepare
- Download Dataedo
- Install it
- Get free trial key (optional), if you don't have it already, to unlock export to HTML, ER diagrams and more.
2. Create file repository
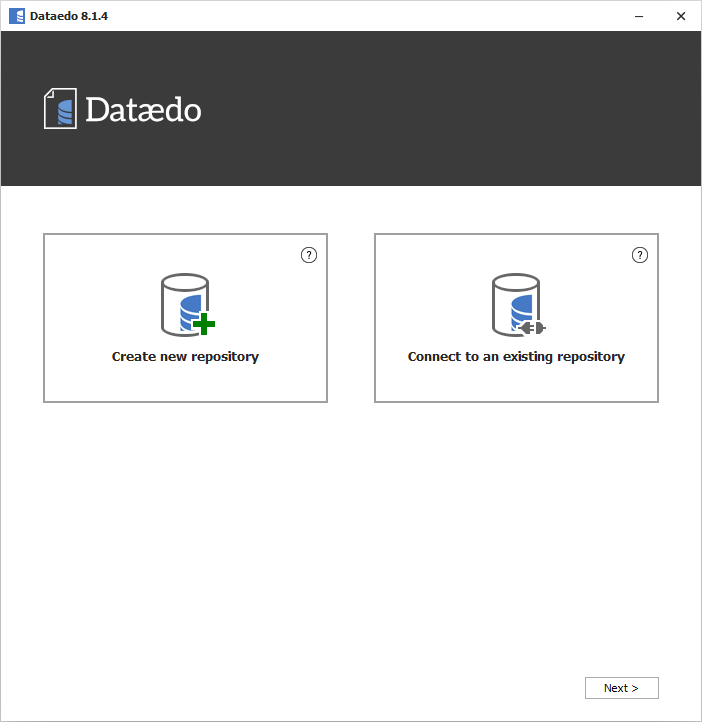
When you start the application you will see this window. To create a file with your first documentation double click the Create new repository option.
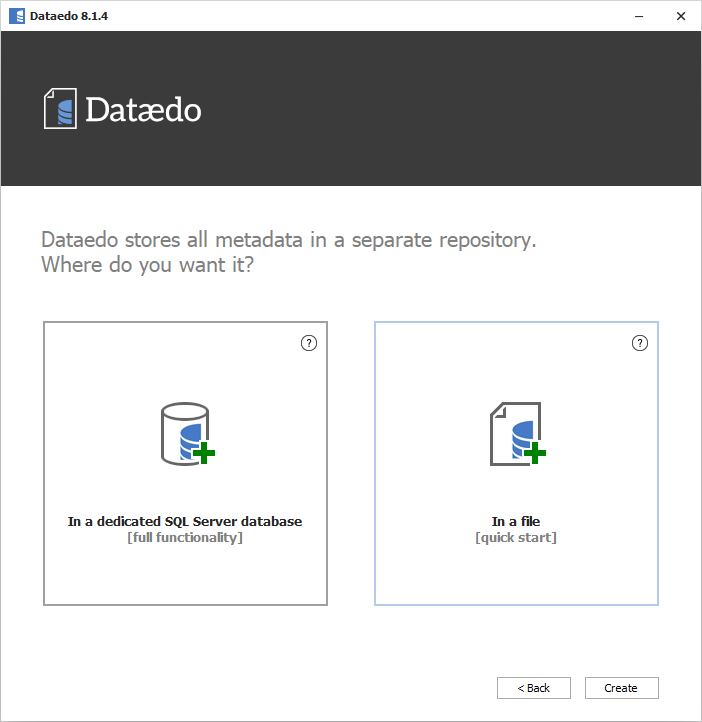
Next, double click the In a file option.
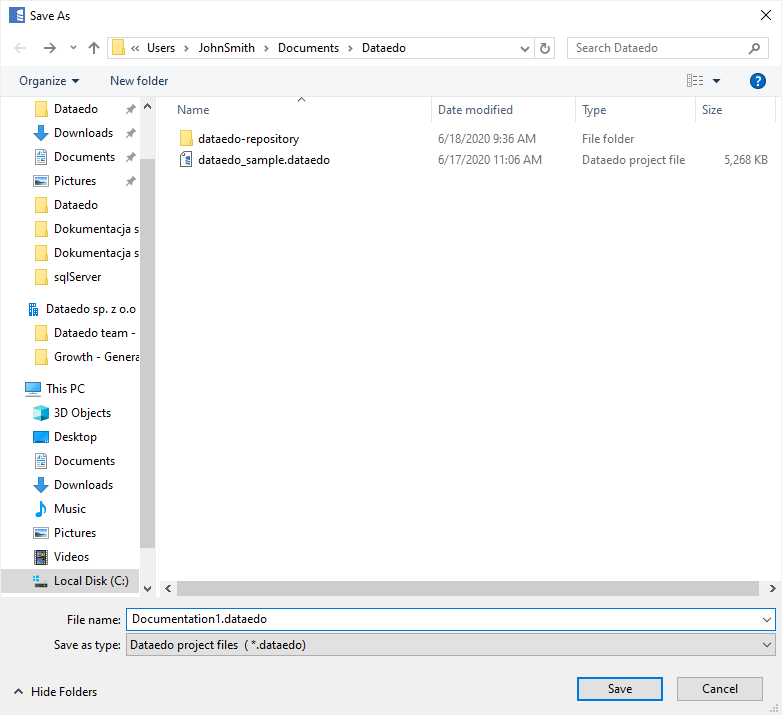
Choose a location and a file name and click Save.
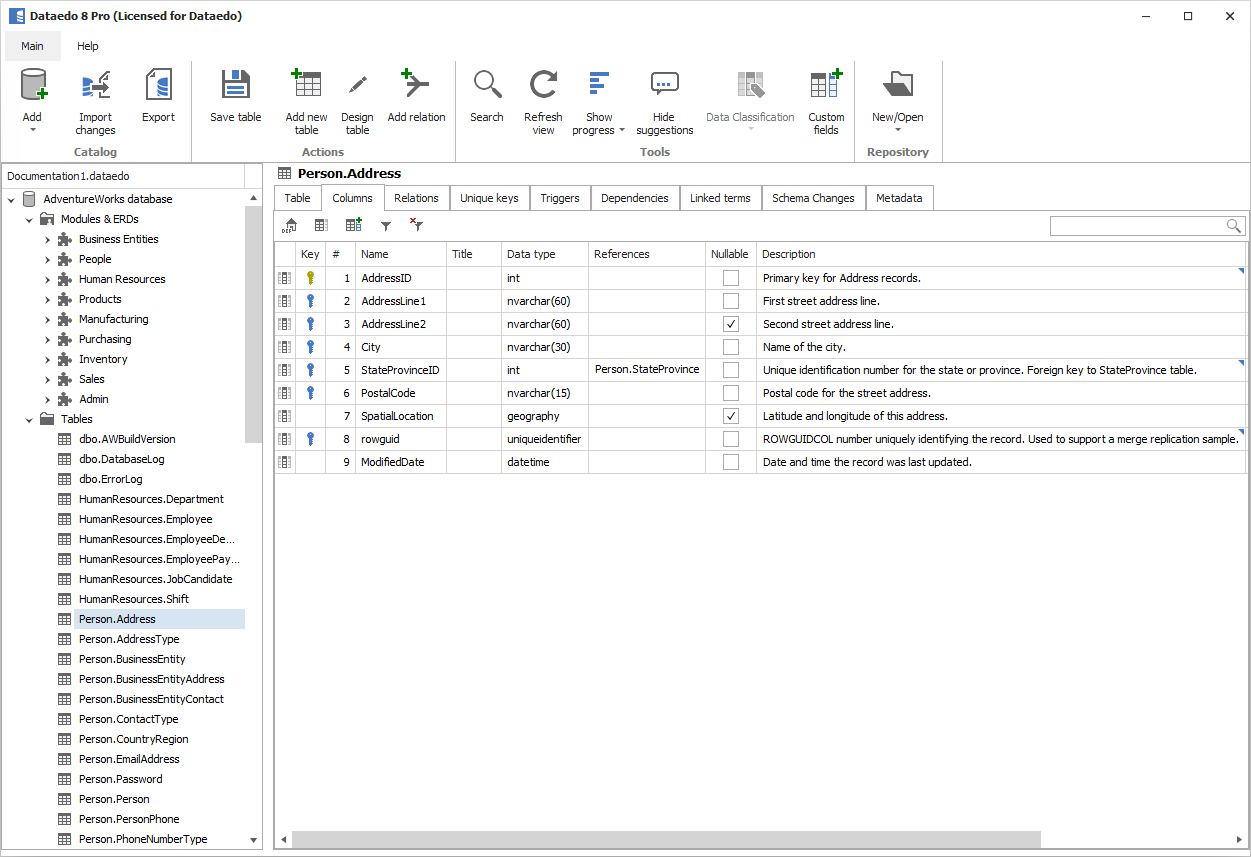
You opened your new file and can use repository explorer to navigate sample documentations.
3. Connect to your database
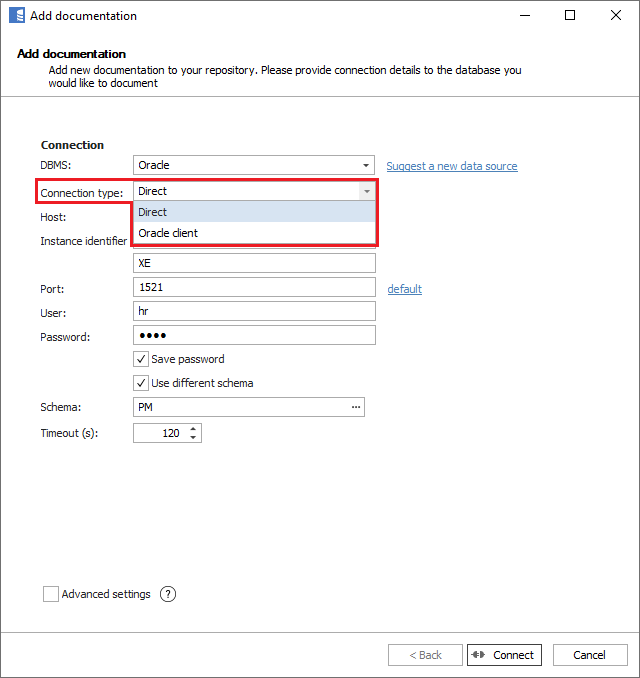
Connection type - Direct vs Oracle client
Oracle database supports different connection modes. Dataedo supports now two connection types:
- Oracle client - required Oracle client installed on your machine
- Direct - no client/provider is required
Oracle client 32 vs 64 bit
Dataedo is shipped with 2 executables - 32 bit and 62 bit. Connecting to Oracle requires using the same architecture as Oracle client installed on your machine. It is not determined by the architecture of workstation Windows.
Import schema
Now it is time to connect to your Oracle database and import schema. On the ribbon click Add documentation and Database connection.

Now you need to provide connection details. First, choose "Oracle" from DBMS dropdown, then fill the following details:
- Connection type -choose connection type (Direct or Oracle client )
- Host - name or IP of your host/server
- Service name - type in Oracle instance Service name
- Port - change the default port of Oracle instance if required
- User - provide your username
- Password - provide your password
- Save password (optional) - you can save your password for future updates, when your schema changes and you want to reflect that in your documentation
- Use different schema (optional) - by default Oracle and Dataedo connects to the user's schema, so if you connect as "PROJECTS" user, "PROJECTS" schema will be read. You may change schema that will be imported by choosing this option Schema
- Schema - schema that will be imported. If you chose Use different schema option type in schema name or choose it from the list (click [...] button)
Click Connect when ready.
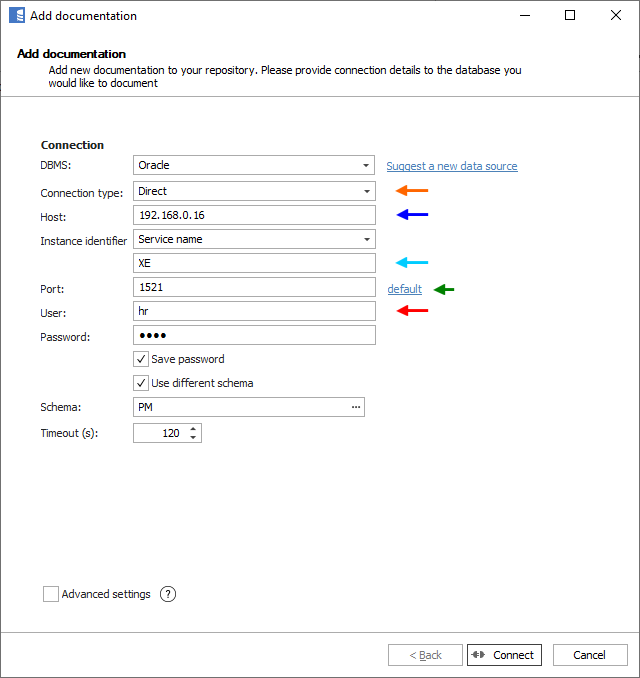
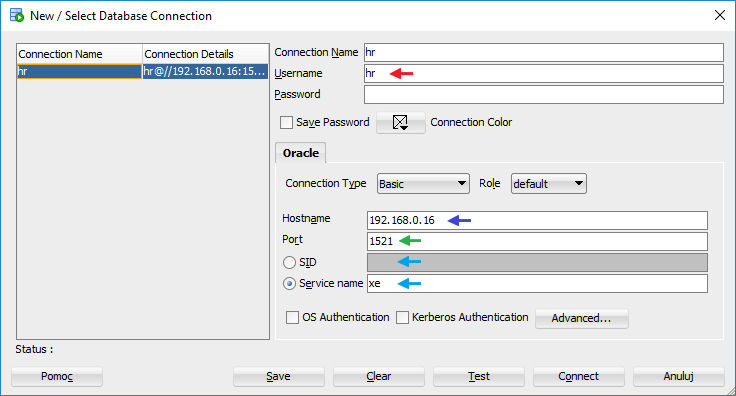
Here is a comparison with connection details in Oracle SQL Developer.
Dataedo lists objects found in the database. Click Next.
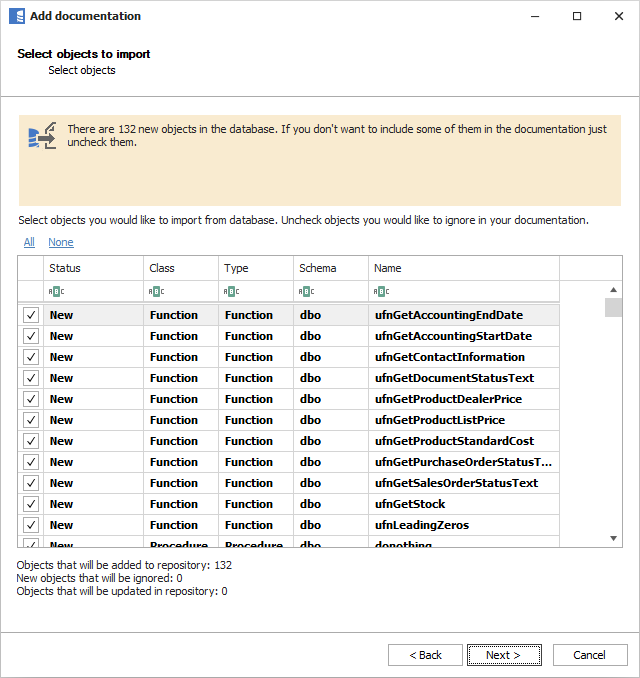
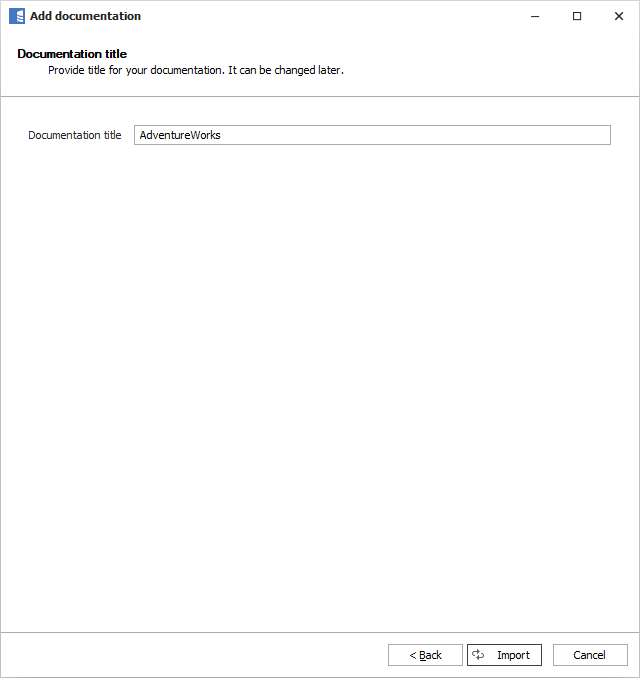
Now you can change default name (you can always change it in repository explorer). Click Import to start import. Dataedo now imports schema details. When done, close with Finish.
4. Documentation overview
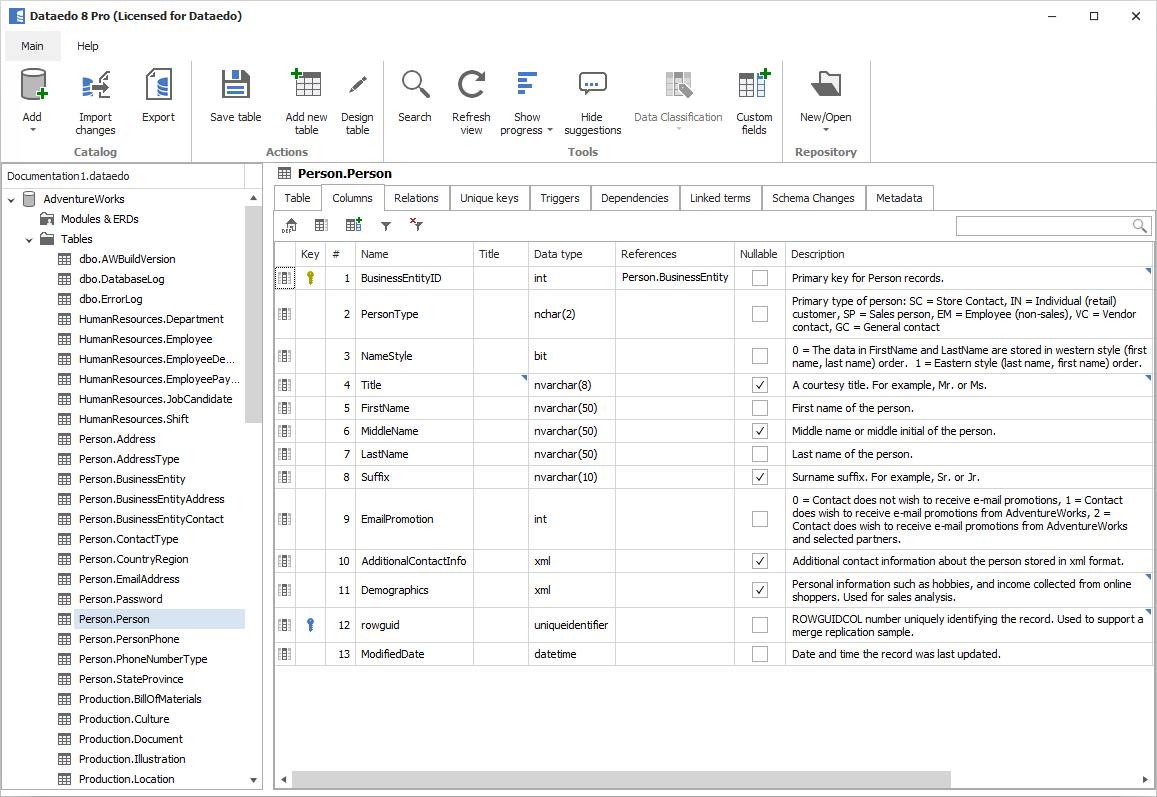
You can browse repository explorer to view imported schema objects. You can see in convenient manner the following information:
- Table and column descriptions
- Table and column relationships (foreign keys)
- Table triggers
- Object dependencies
5. Export to PDF
Now it's time to share the documentation with your colleagues. You can share .dataedo file or send a PDF export.
To export documentation to PDF select your documentation in repository explorer and click Export documentation button on the ribbon. Then choose PDF and first template and confirm with Next.
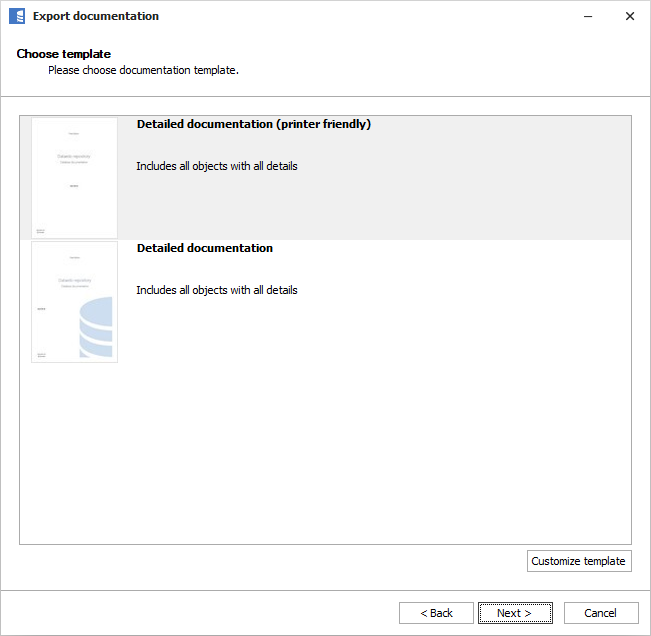
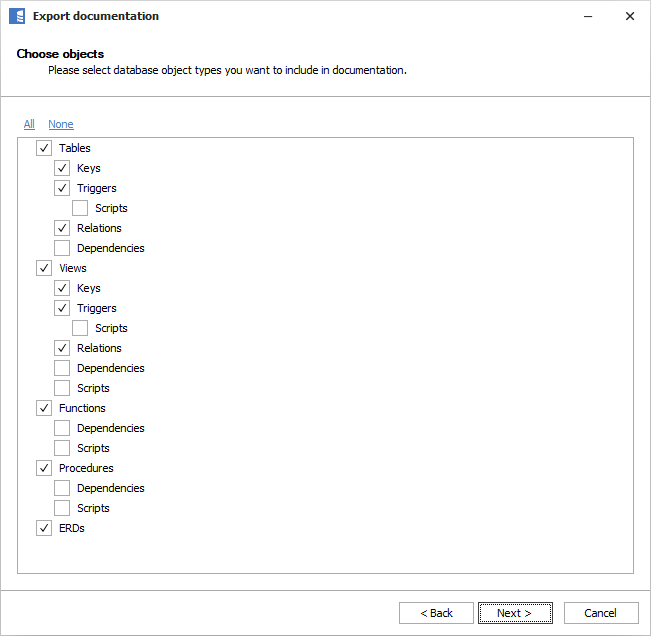
In this step, you may choose to exclude certain elements from the export.
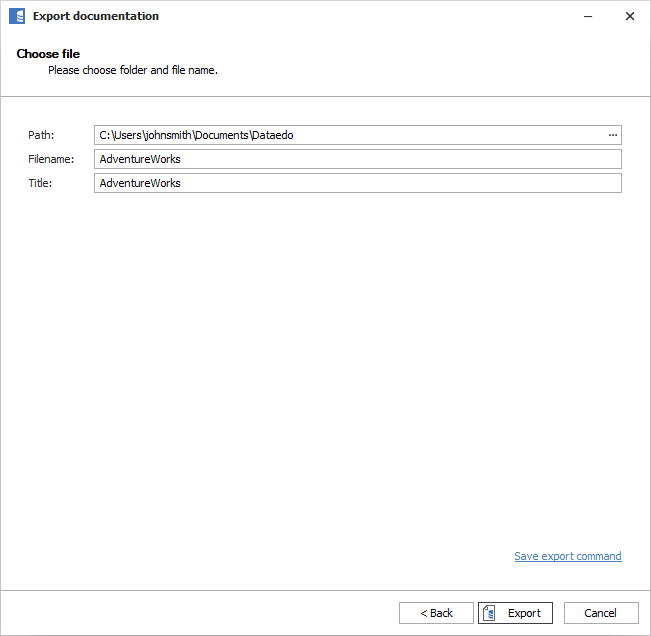
Now, choose a location and name of your file and finish with Export.
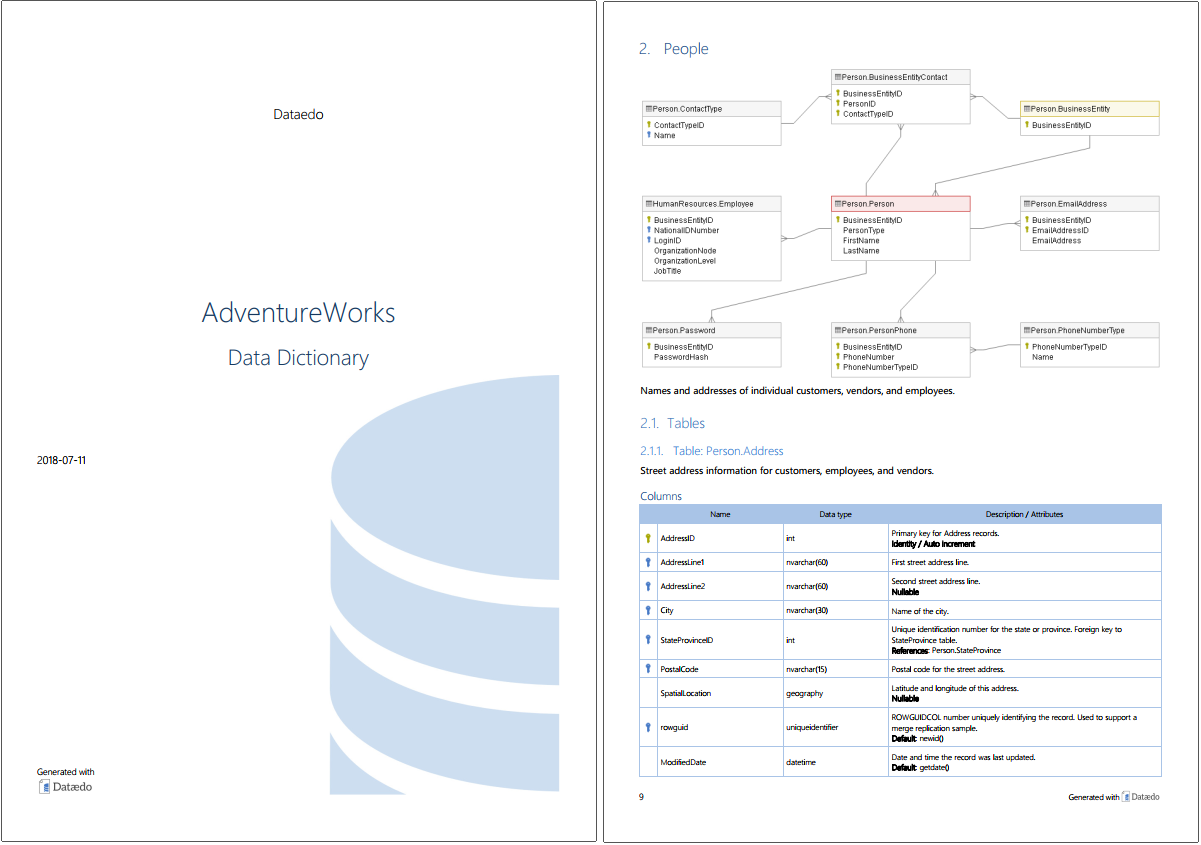
When export is done, you will be prompted to open generated file.
6. Export to HTML (Pro feature)
HTML is the advised export format - it's much more convenient to browse and search. If you haven't already, get a free trial key to unlock HTML export (and much more).
Choose HTML in Export documentation option and choose the right template:
- Web server – if you want to host it on a web server or open from disk with Firefox (for security reasons doesn't in Chrome and Edge)
- Local disk – Worse performance, but works locally in Chrome and Edge.
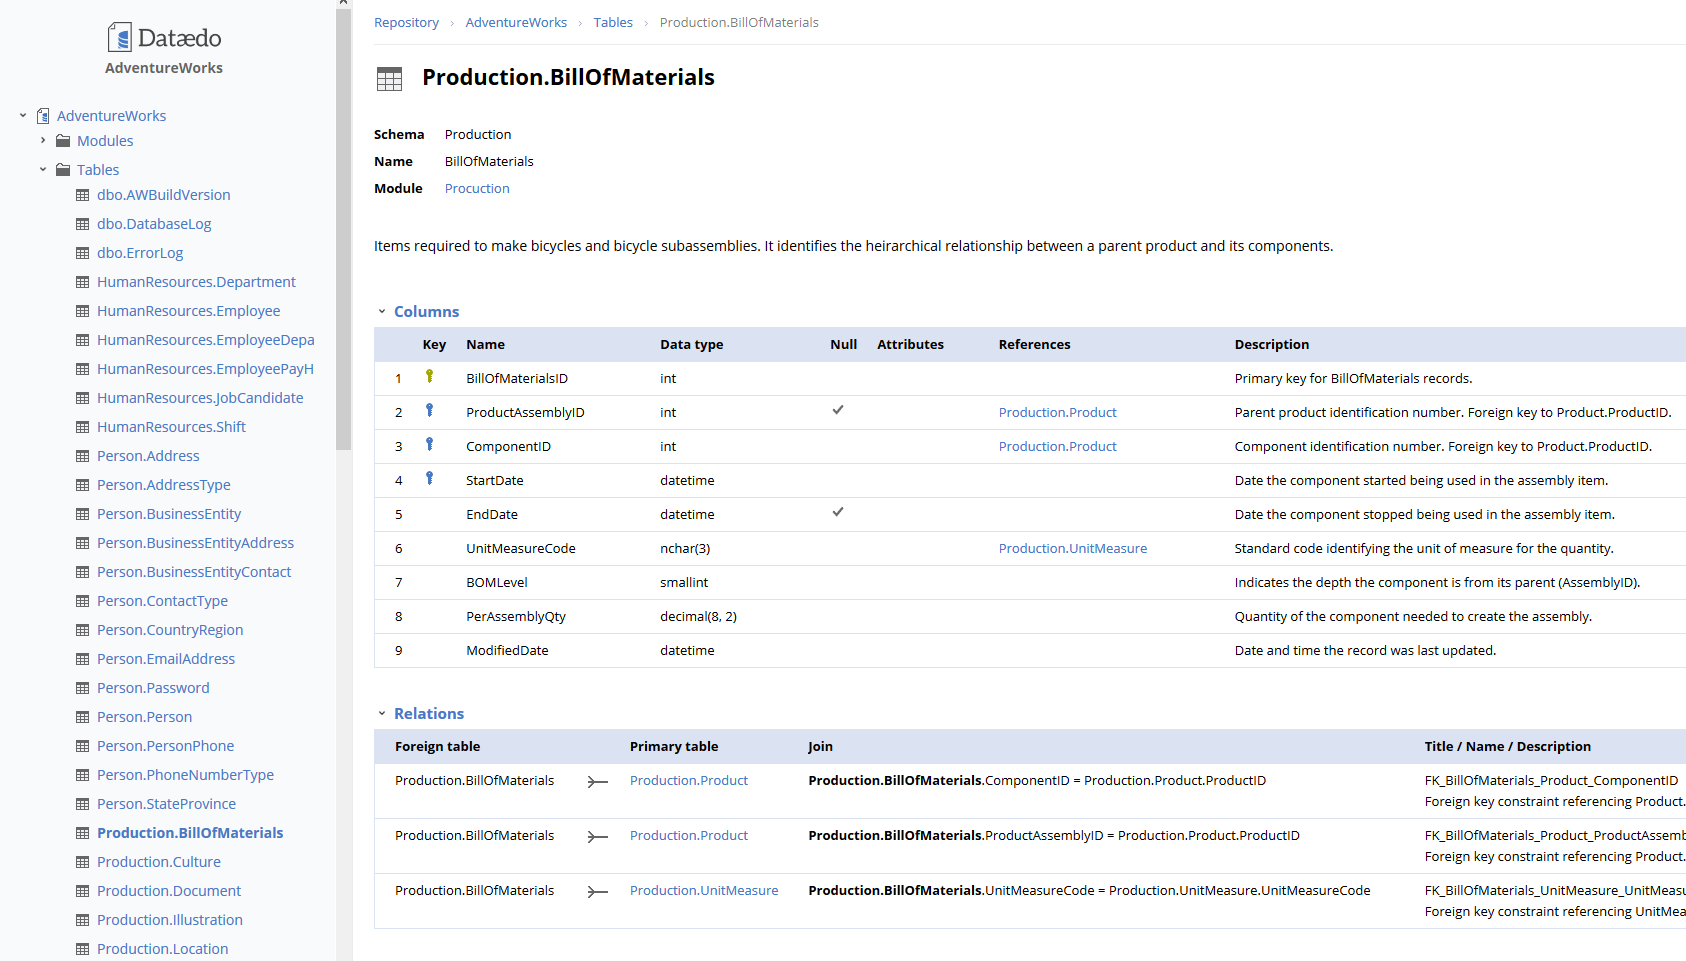
This is how HTML export looks like:


 Marcin Nagly
