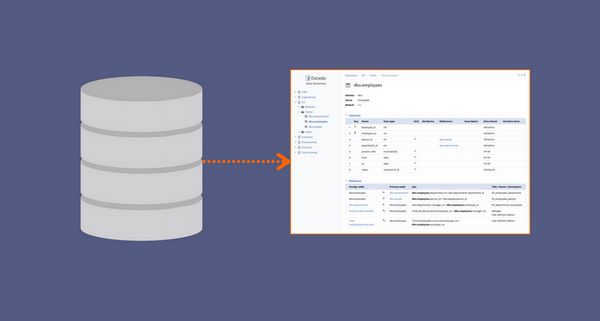
This tutorial will teach you how to quickly generate documentation for your Google Cloud SQL for MySQL database with Dataedo tool. It will create and export to PDF or HTML a Data Dictionary of your database.
1. Prepare
- Download Dataedo
- Install it
- Get 30 day free trial key (optional), if you don't have it already, to unlock export to HTML, ER diagrams and more.
2. Create file repository
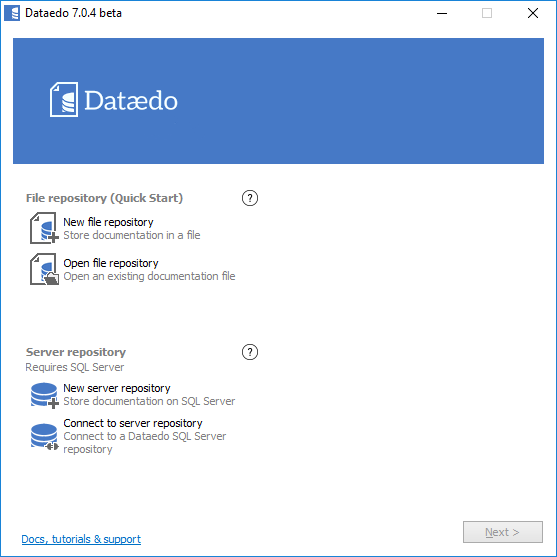
When you start the application you will see this window. To create a file with your first documentation double-click Create file.
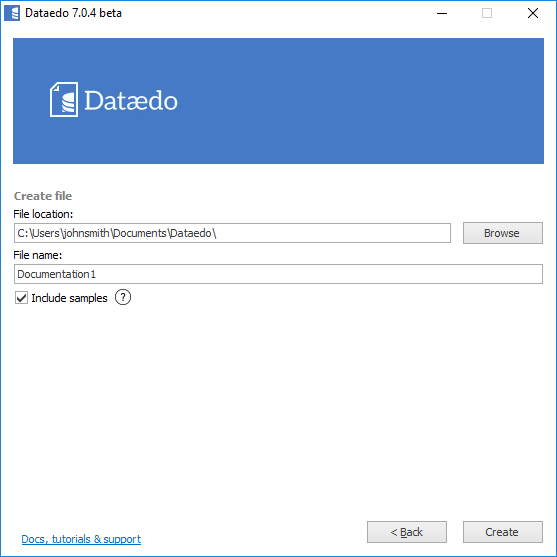
Choose a location and a file name and click Create.
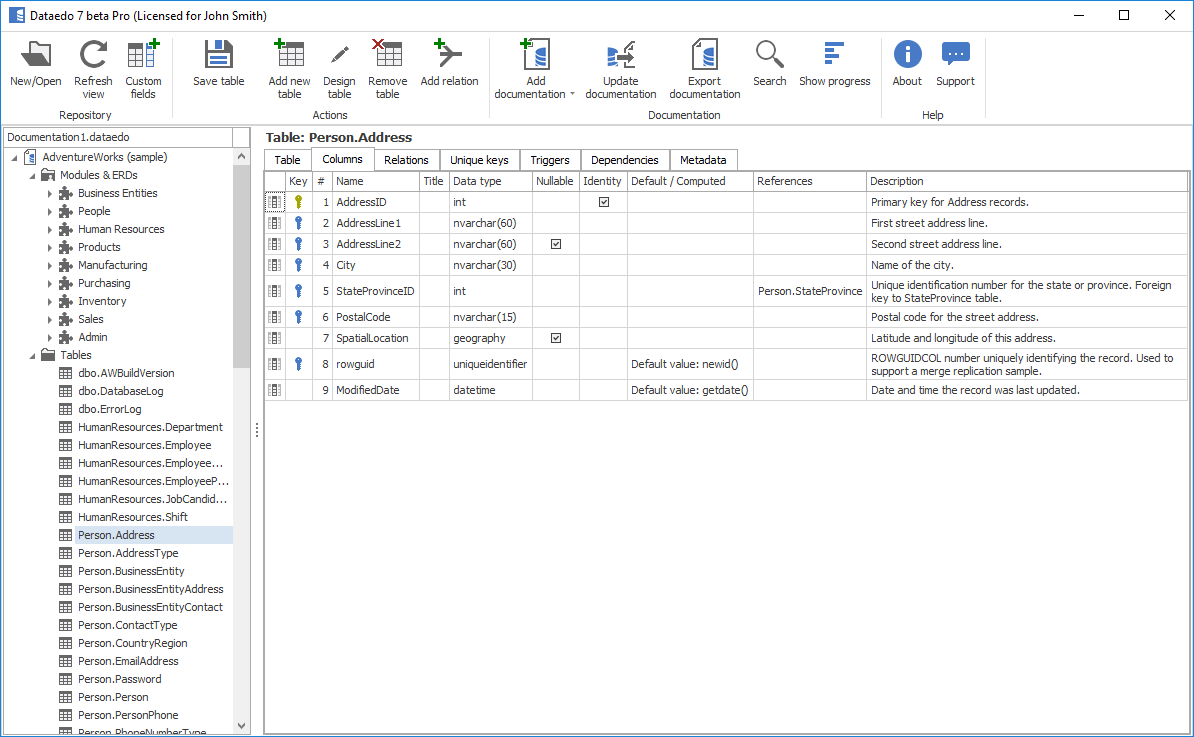
You opened your new file and can use repository explorer to navigate sample documentations.
3. Connect To Your Database
a) Make sure you can connect to Google Cloud SQL
If you're using Google Cloud SQL First generation, start here: Configuring access for IP connections or here Connecting mysql Client Using the Cloud SQL Proxy).
If you're using Google Cloud SQL Second generation, just make sure your IP is on the allowed list. First, open Google Cloud Platform Console, then choose SQL from storage tab in the left pane.
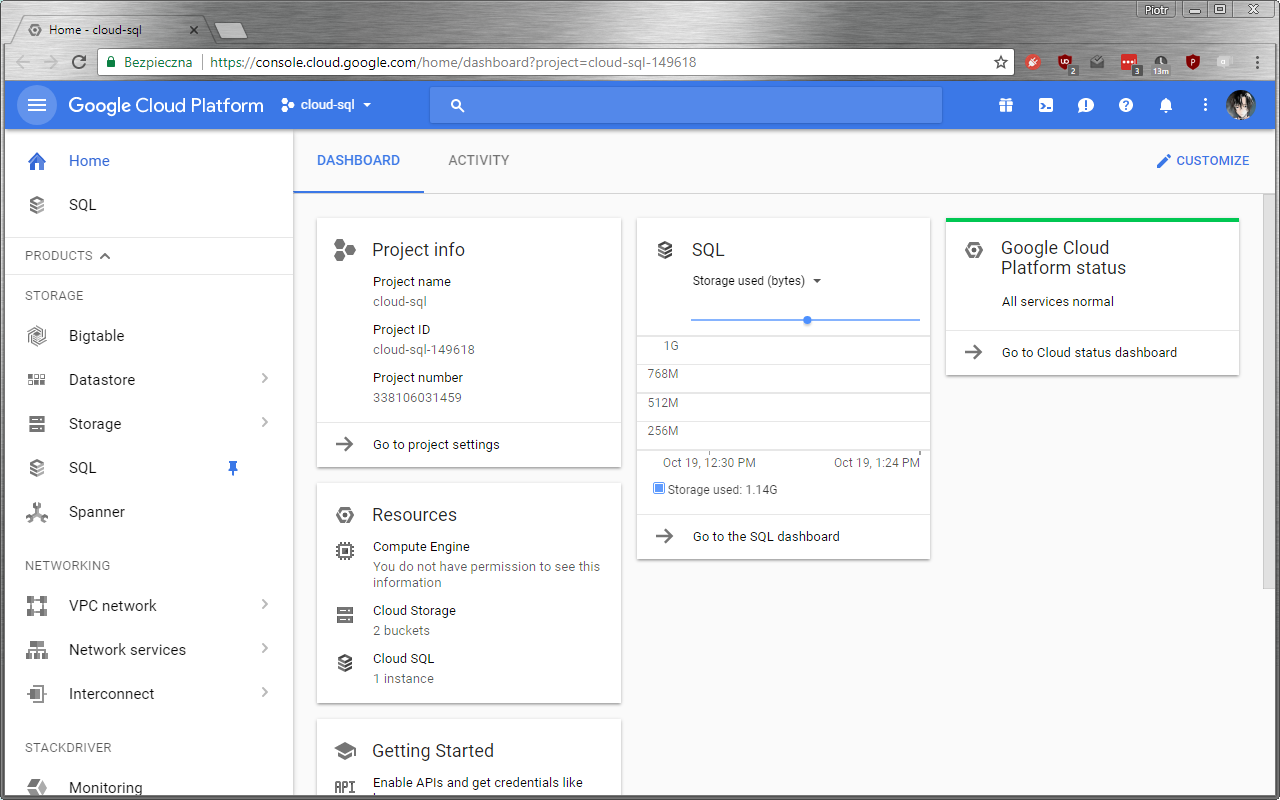
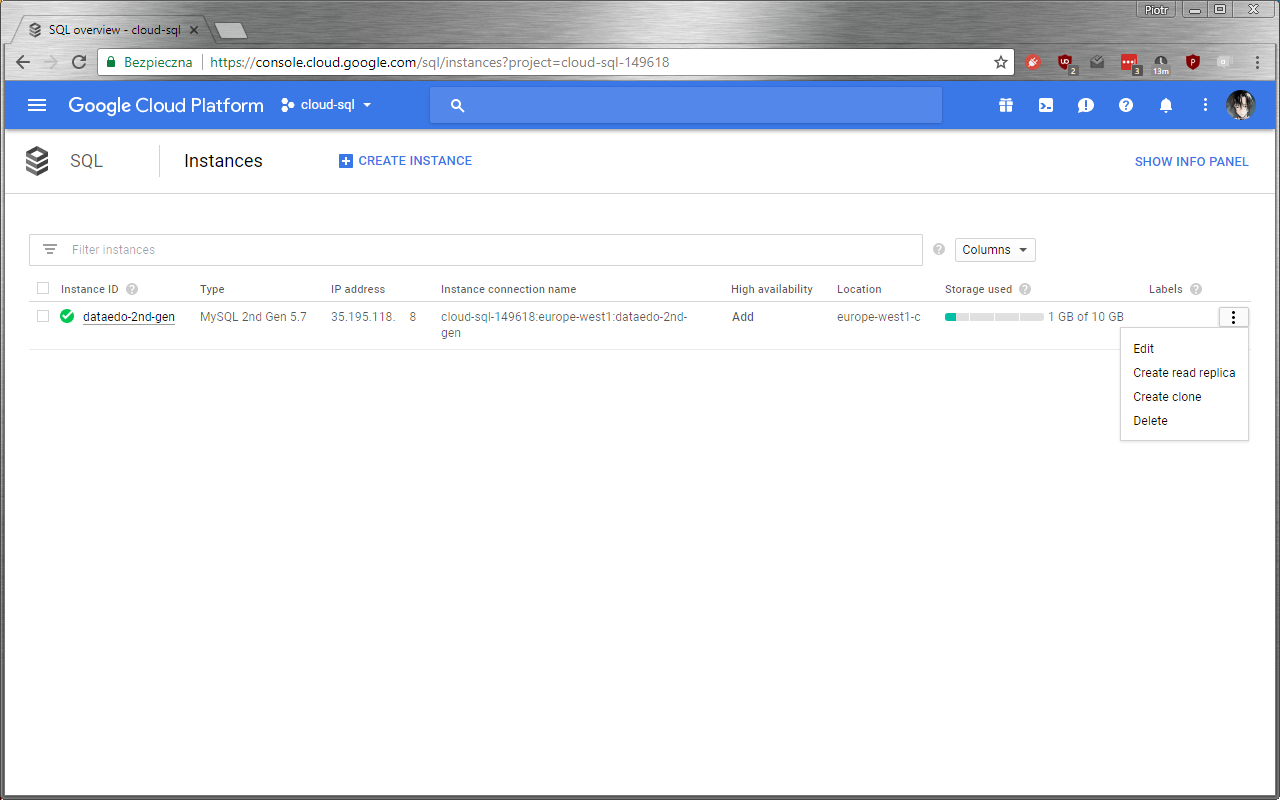
Click the three dots [...] on the right side of the database you want to document, then choose Edit.
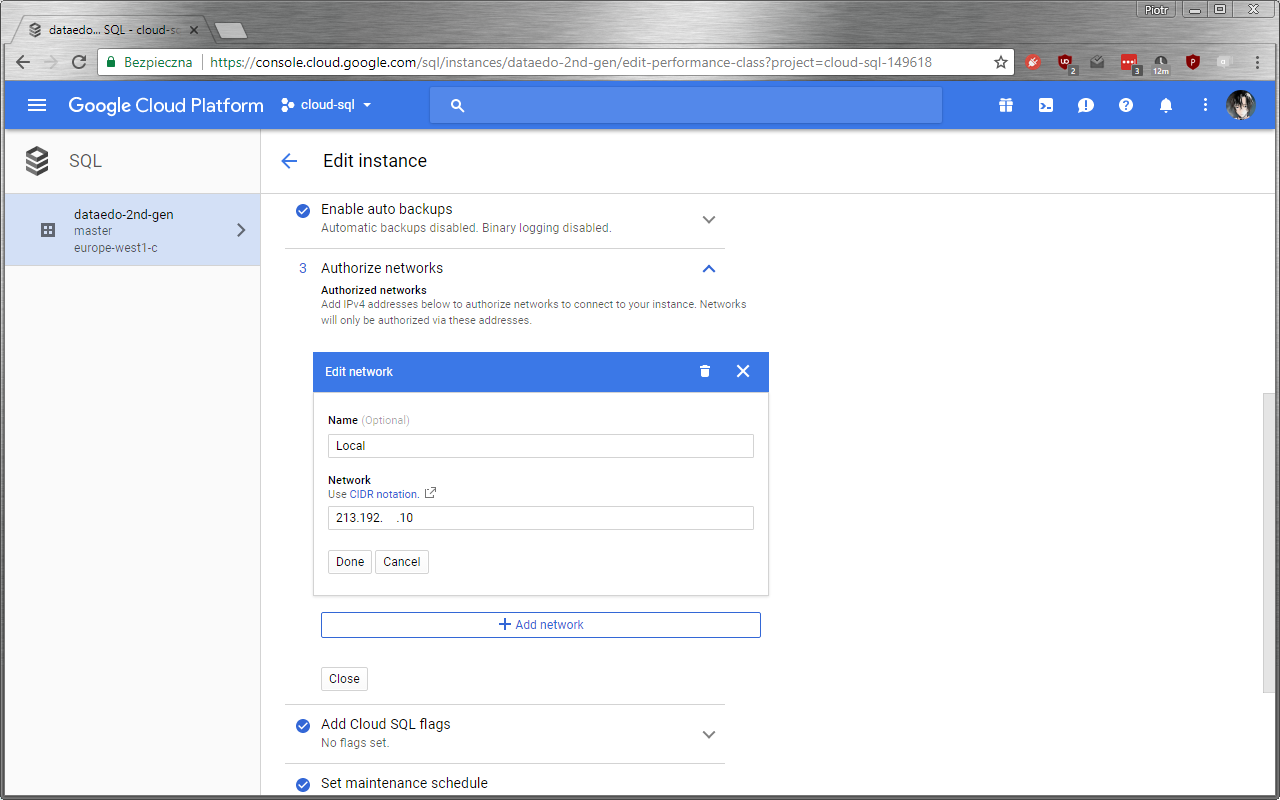
Expand the Authorize networks tab and add your IP to the list if it wasn't there before.
b) Import schema
Now it is time to connect to your Google Cloud SQL for MySQL database and import schema. On the ribbon click Add documentation and Database connection.

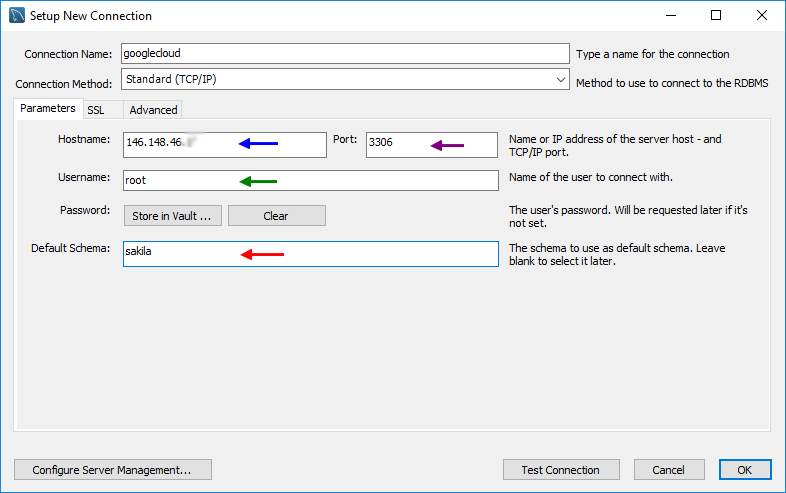
Now you need to provide connection details. First, choose "MySQL" from DBMS dropdown, then fill the following details: 1. Host - IP of your Cloud SQL instance or 127.0.0.1 if you're using Cloud SQL proxy 2. Port - keep the default value here (3306) 3. User - username 4. Password - password 5. Save password (optional) - you can save your password for future documentation updates 6. Database - type in name of the database or choose from the list (click [...] button)
If you want to filter imported objects, check the Advanced box to define filter on the next screen. For now, just click Connect after providing connection details.
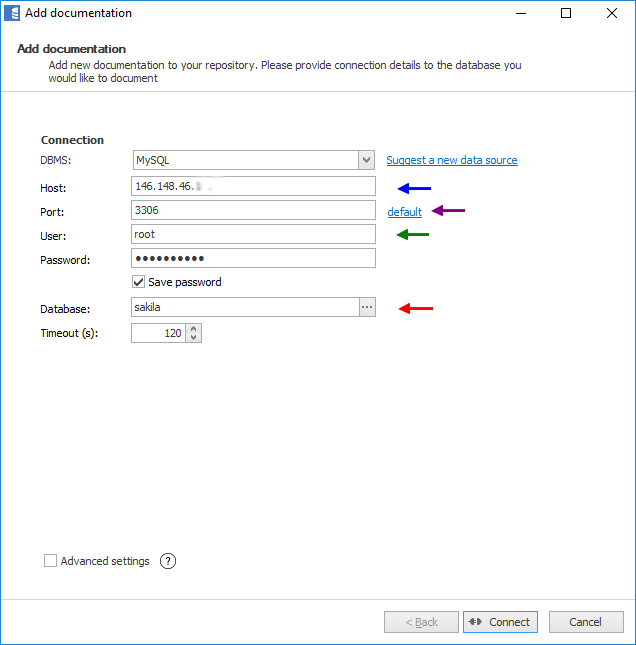
Here is a comparison with connection details in MySQL Workbench.
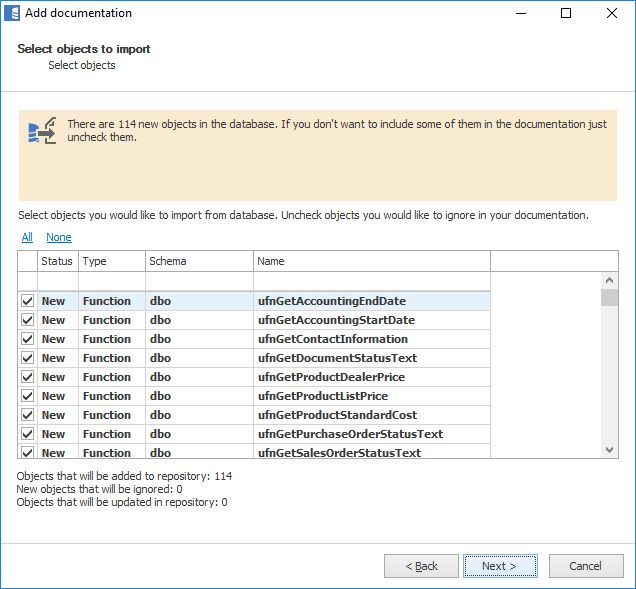
Dataedo lists objects found in the database. Click Next.
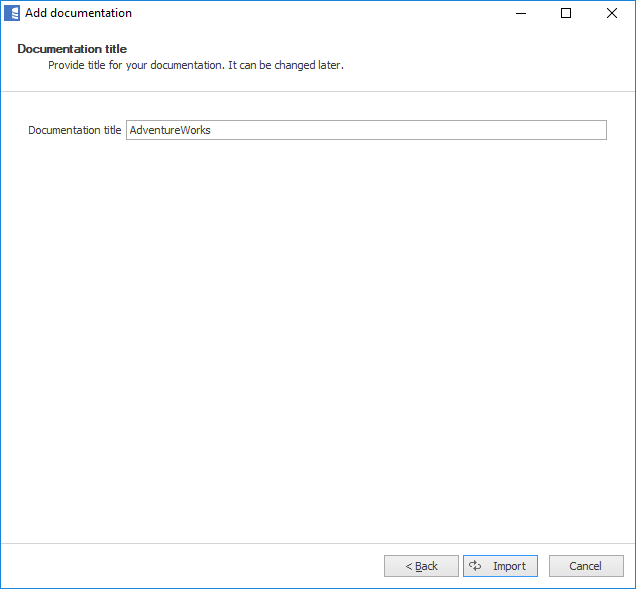
Now you can change default name (you can always change it in repository explorer). Click Import to start import. Dataedo now imports schema details. When done, close with Finish.
4. Documentation Overview
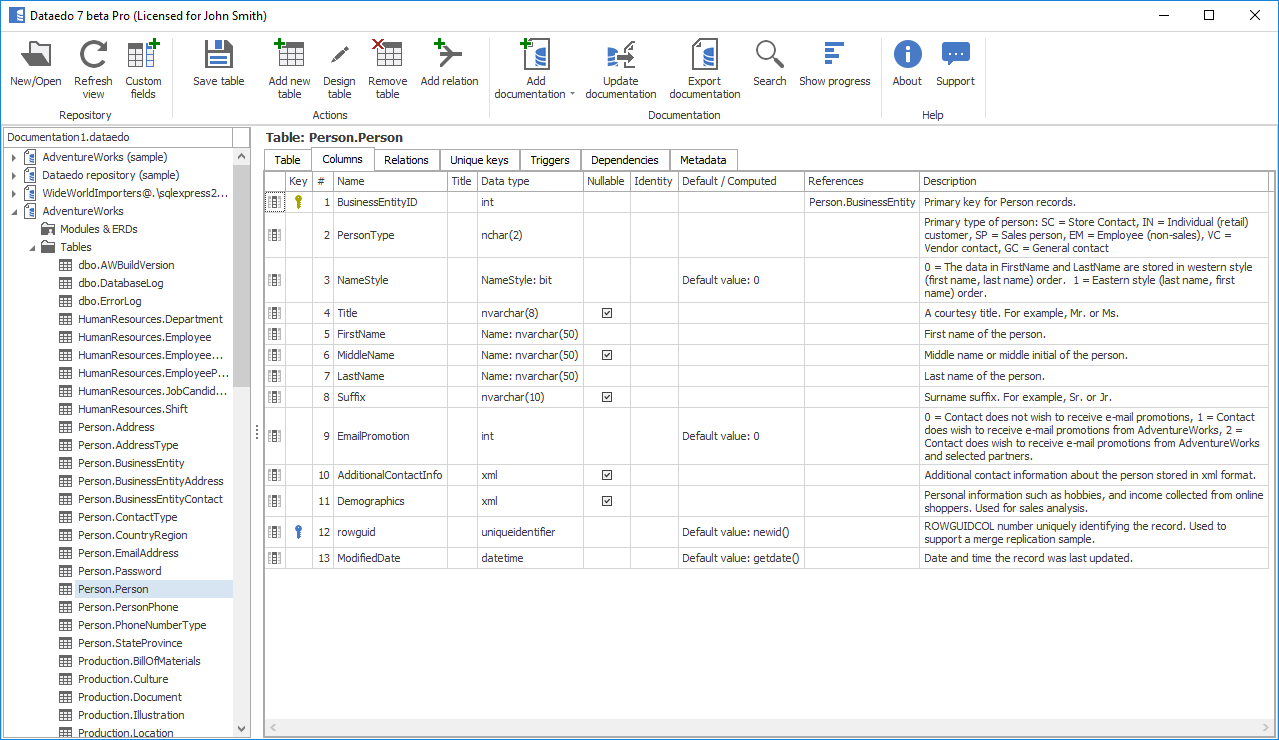
You can browse repository explorer to view imported schema objects. You can see in convenient manner the following information:
- Table and column descriptions
- Table and column relationships (foreign keys)
- Table triggers
- Object dependencies
5. Export to PDF
Now it's time to share the documentation with your colleagues. You can share .dataedo file or send a PDF export.
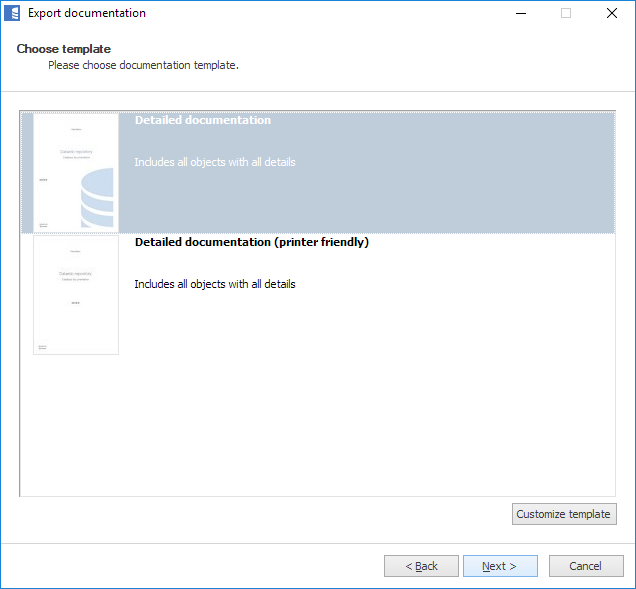
To export documentation to PDF select your documentation in repository explorer and click Export documentation button on the ribbon. Then choose PDF and first template and confirm with Next.
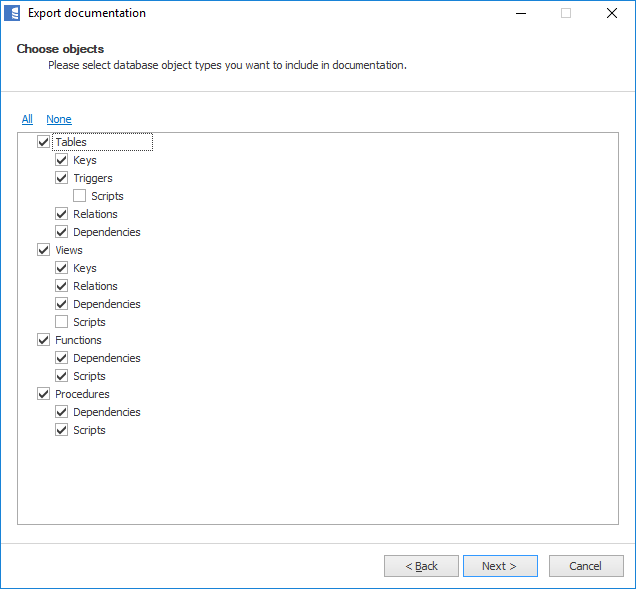
In this step, you may choose to exclude certain elements from the export.
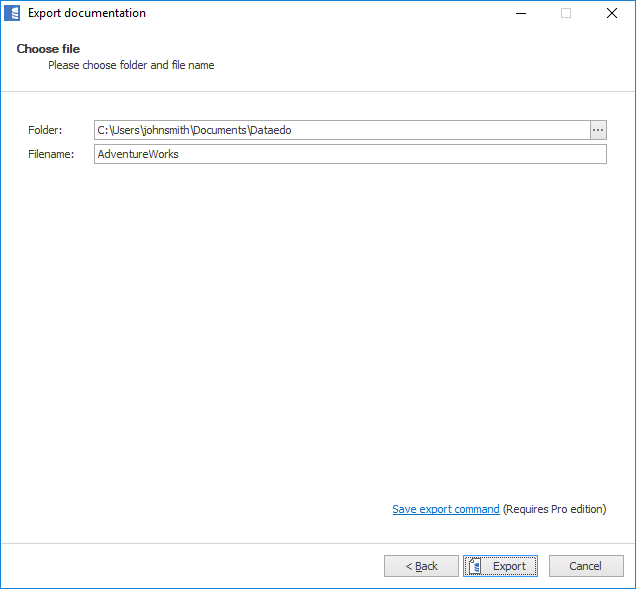
Now, choose a location and name of your file and finish with Export.
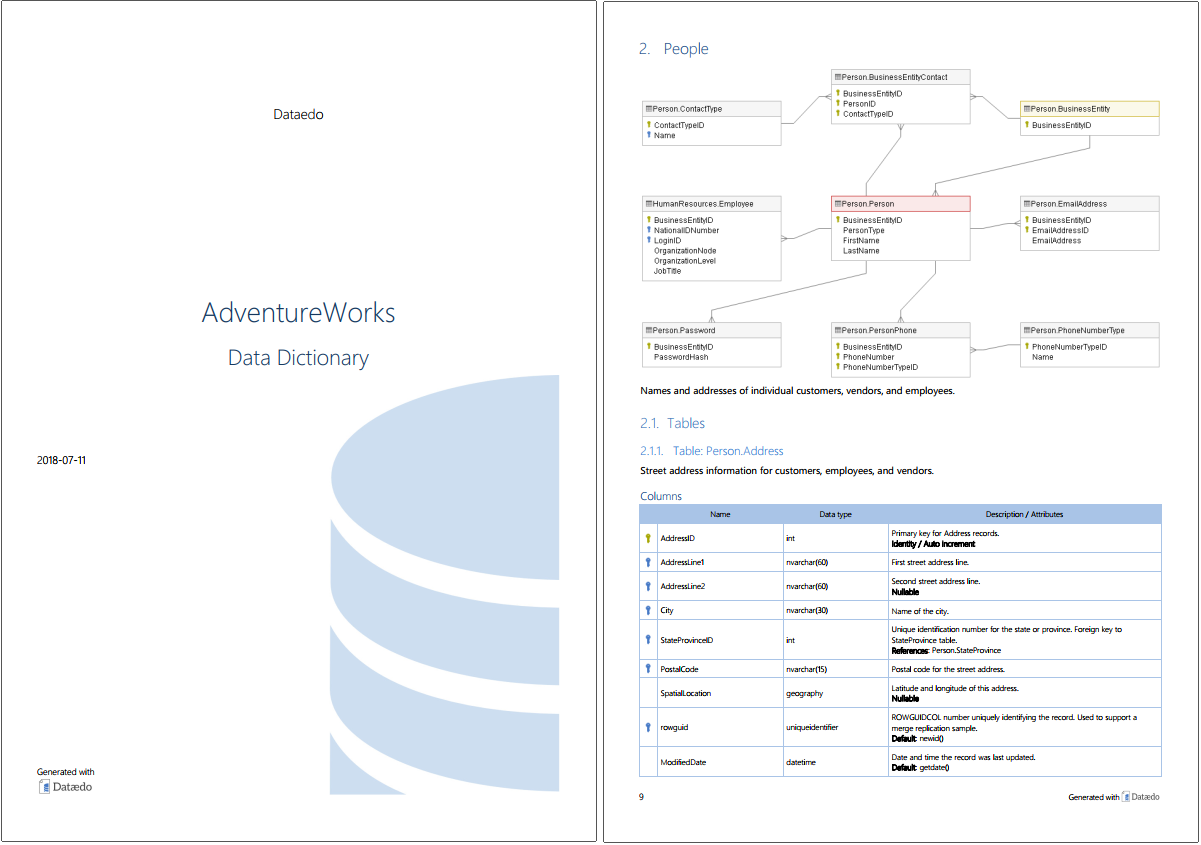
When export is done, you will be prompted to open generated file.
6. Export to HTML (Pro feature)
HTML is the advised export format - it's much more convenient to browse and search. If you haven't already, get a free trial key to unlock HTML export (and much more).
Choose HTML in Export documentation option and choose the right template:
- Web server – if you want to host it on a web server or open from disk with Firefox (for security reasons doesn't in Chrome and Edge)
- Local disk – Worse performance, but works locally in Chrome and Edge.
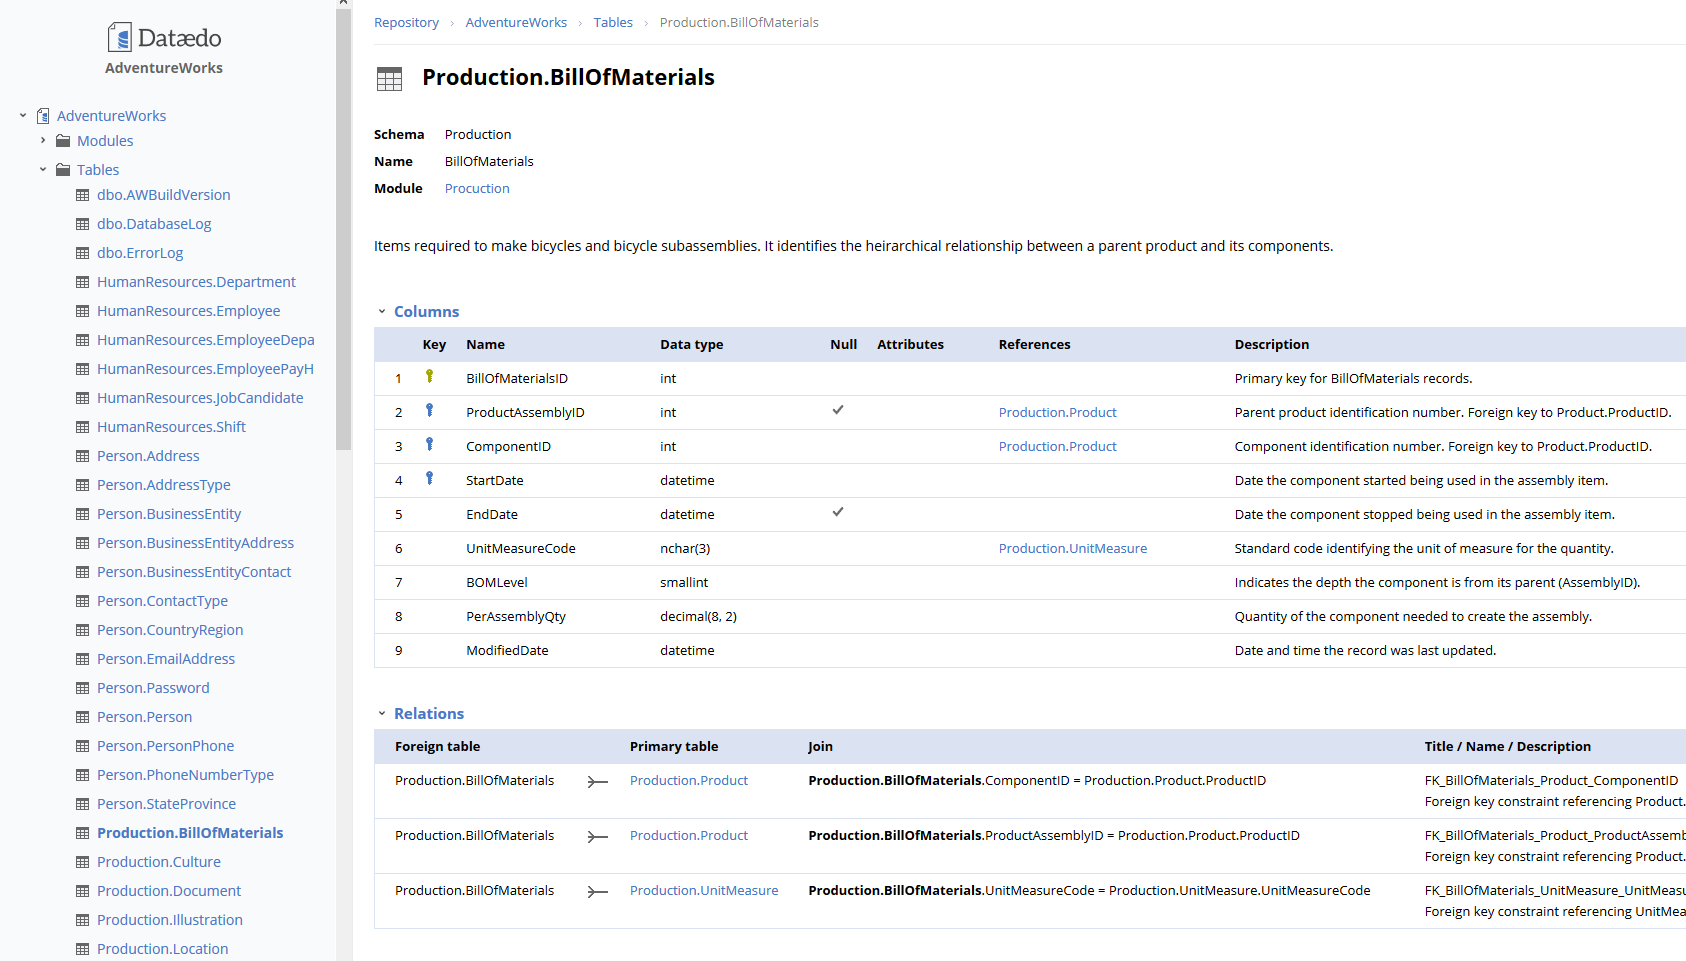
This is how HTML export looks like:


 Marcin Nagly
