


 Jakub Kaminiarz
One of the key features of Dataedo is documentation export to HTML. This allows you to share documentation with many people in your the organization. To host HTML you need a web server (any). If your documentation is online you can publish it on SharePoint.
There are two basic options to publish documentation on SharePoint:
- Adding a link to your documentation
- Embed documentation as a webpart in page
This tutorial will explain the second option - embedding documentation in SharePoint page
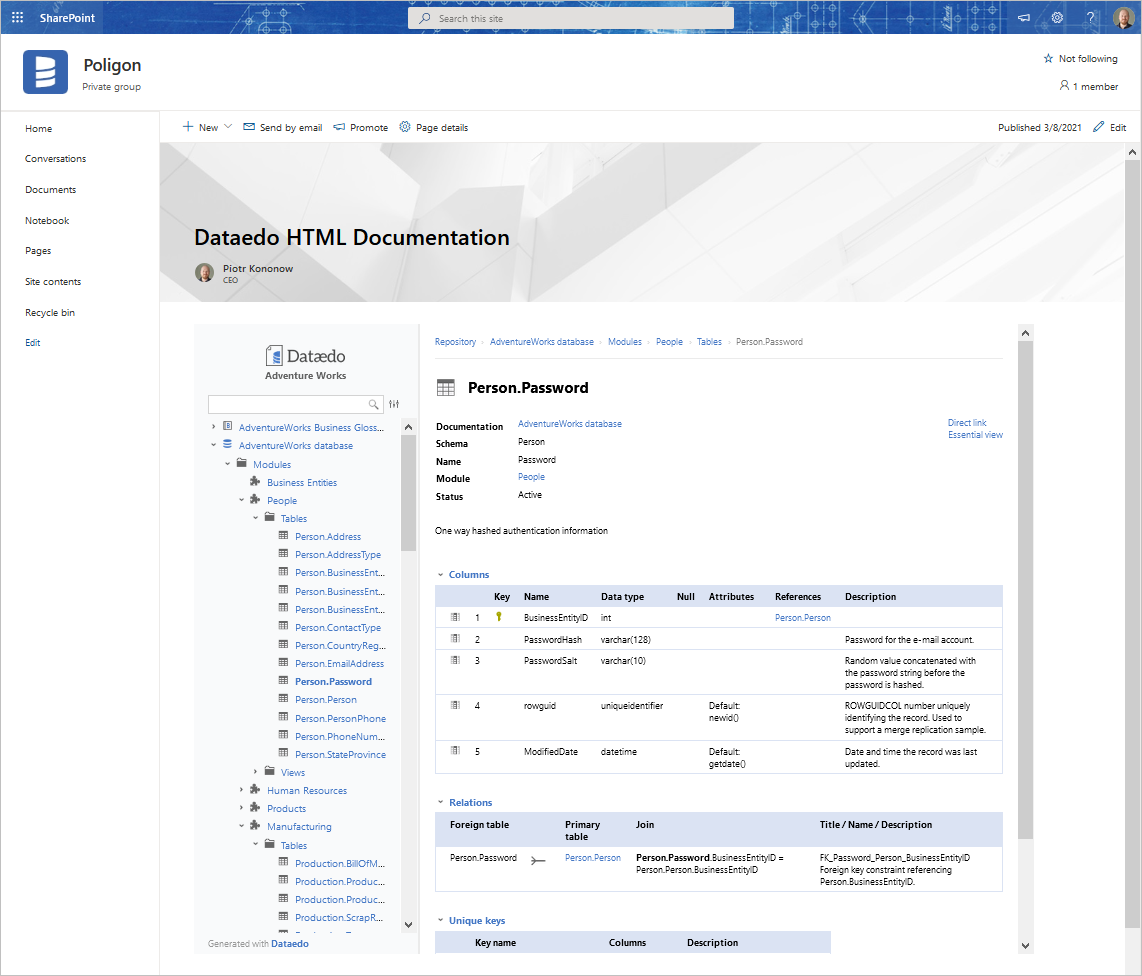
The picture below shows an example of documentation in SharePoint:
Considerations
Before you decide to share documentation as a embedded Web part, you should consider a few points:
- Where you will host Dataedo documentation - you can use any web server that allows to host static websites: IIS, Apache HTTP server, ngix, AWS S3, etc.
- Will this server be aviailable outside your of your company network
- Will it be secured
Step 1: Publishing documentation on web server
You can host exported HTML documentation on any web server available in your network or over Internet.
Step-by-step tutorial to publishing your exports on popular web servers, can be found here.
Step 2: Adding permissions to the website (admin)
Adding documentation in the form of Embedded WebPart requires admin permissions to the using platforms.
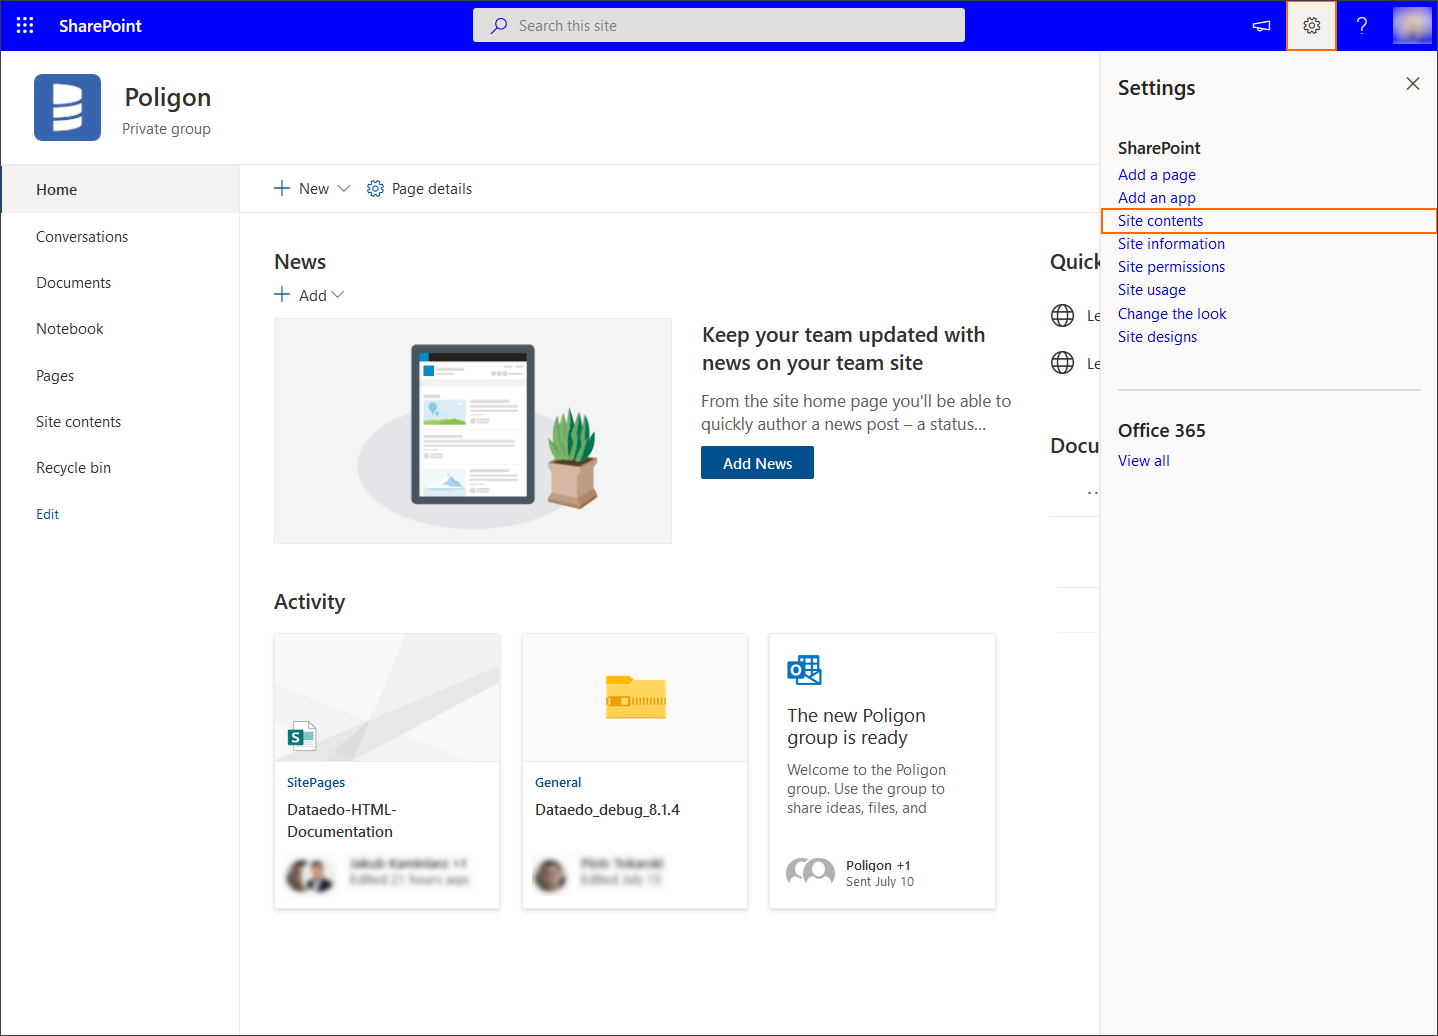
To do so, open Sharepoint Site, click the cogwheel in the top right and click Site Contents.
Next, click the Site Settings button on the right side.

Choose the HTML Field Security.

If you're already allowing contributions from any domain, no need to change anything.
Otherwise, make sure to allow contributors from the domain you are hosting Dataedo documentation on - choose the third option, type in the domain, click Add and confirm changes with OK button.

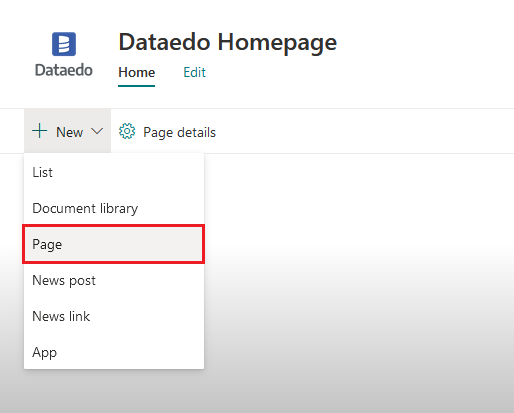
Step 3: Creating a page
Now, you need to create a page where documentation will be embedded.
Step 4: Adding embed webpart
To add embed webpart to Sharepoint page go to the page you want to embed Dataedo HTML on and click the Edit button on the right sidel.

Press the Add button in the middle of the box.

A pop-up menu will appear. Select Embedded option.

In the right panel you can paste the page address or embed code. You have the possibility to adjust the size of the embed page. To do so, activate "Resize to fit the page".

Paste the code below to the window, substituting your source address:
<iframe
    src="https://dataedo.com/samples/html2/AdventureWorks/"
    width="1600"
    height="700">
</iframe>
After pasting the code, you have access to basic editorial functions. To publish Embed Page, click Publish button or Republish button (if it is not the first attempt to do so).

That's all!
Now all users whom you share your Sharepoint page with, can easily use the embed page.
