This tutorial is a step-by-step guide to installing and correctly configuring Dataedo Web Catalog. It's intended for users who didn't previously use Dataedo Desktop.
Following this tutorial will install Dataedo Web, a free SQL Server 2019 Express instance, and configure it for local use (no access from other machines in the network). If this doesn't fit your needs, check the other guides here.
First, download the Dataedo Web installer from the link you've been provided. Make sure no Windows updates are requiring a restart, since this may complicate the installation process. If possible, restart your machine.
Run the installer with administrator privileges and select the install option.

Next, read and accept the license for Dataedo 9.

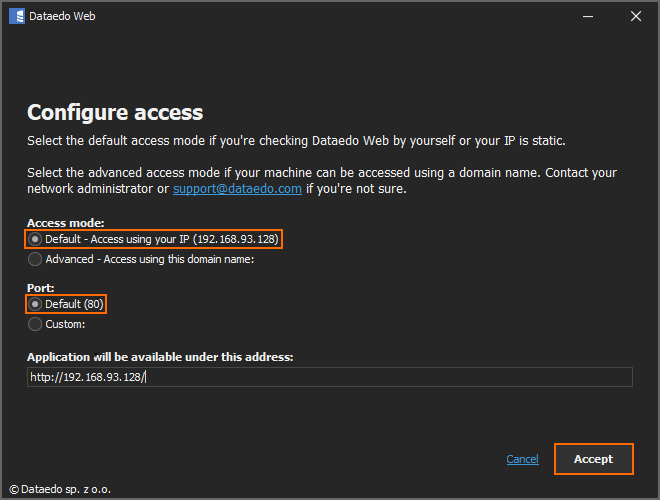
Next, the access configuration is available. The Default option is appropriate when you're checking Dataedo Web by yourself (or with static IP).
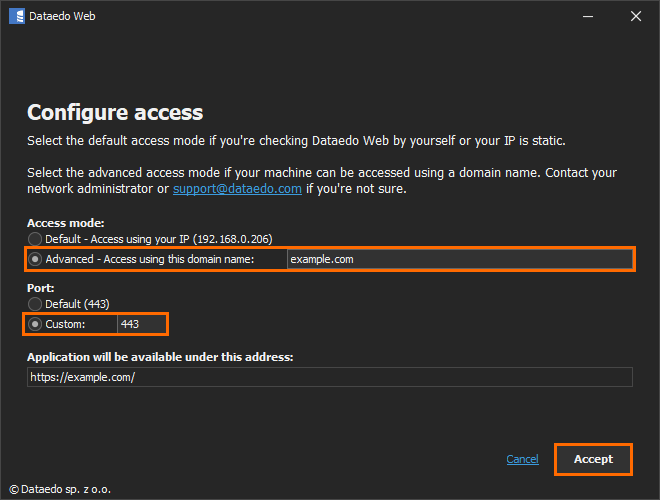
Second, Advanced option is intended when the Dataedo Web should be accessible using a domain name
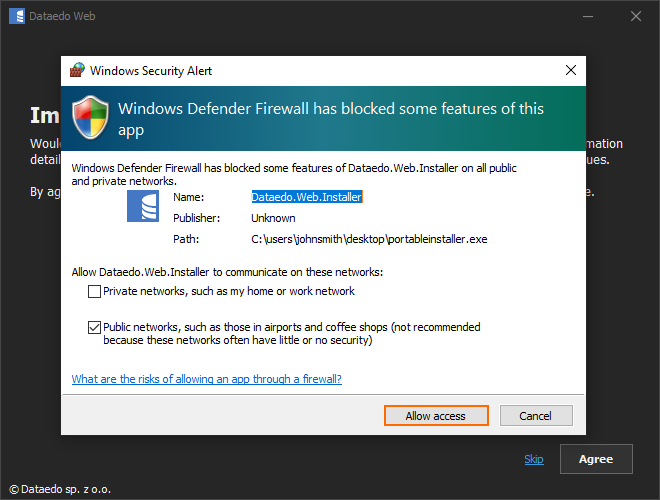
Allow access to functions blocked by Windows Defender Firewall. Click Allow access button.
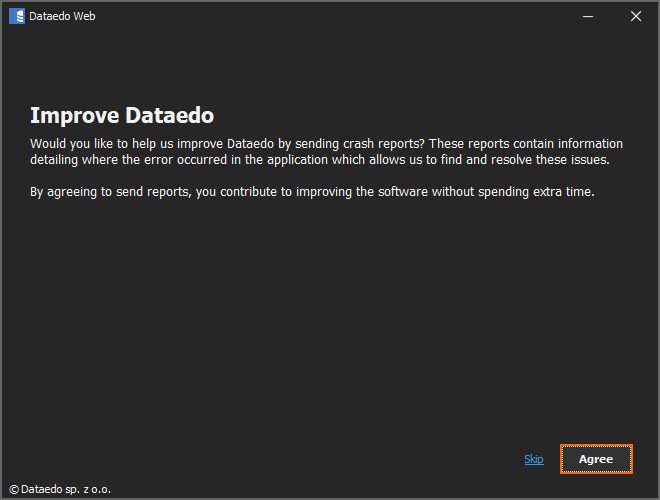
Then, press the Agree button if you want to help improve your Dataedo by sending crash reports. If you do not want to, click Skip
Select the Install new MS SQL Server instance option.
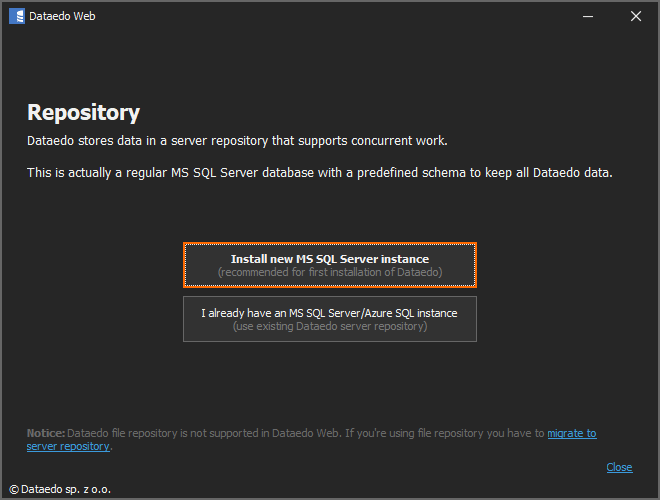
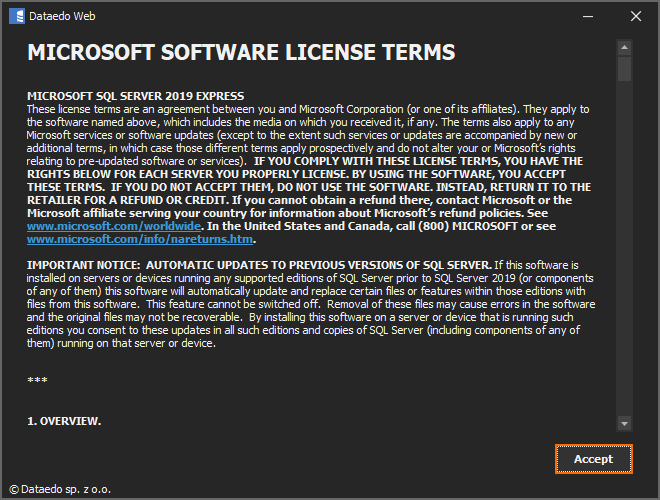
Read and accept the license for SQL Server 2019 Express.
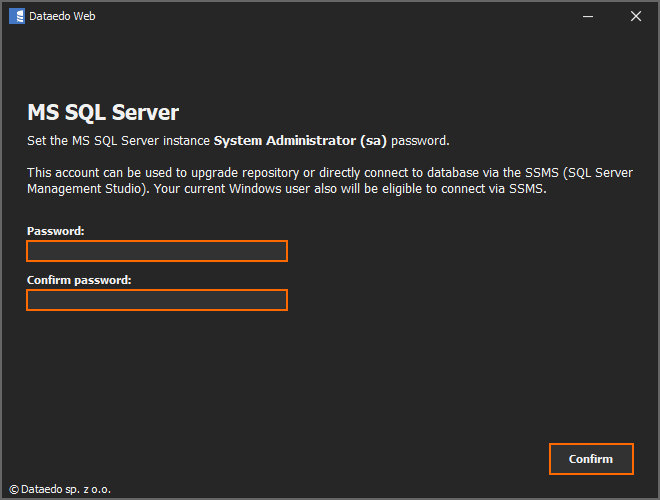
Next, configure the System Administration password. Then, click Confirm.
In the next steps, the process of downloading and installing the required packages will start. Make sure that the process is not interrupted and do not close any pop-up windows during installation and click OK.

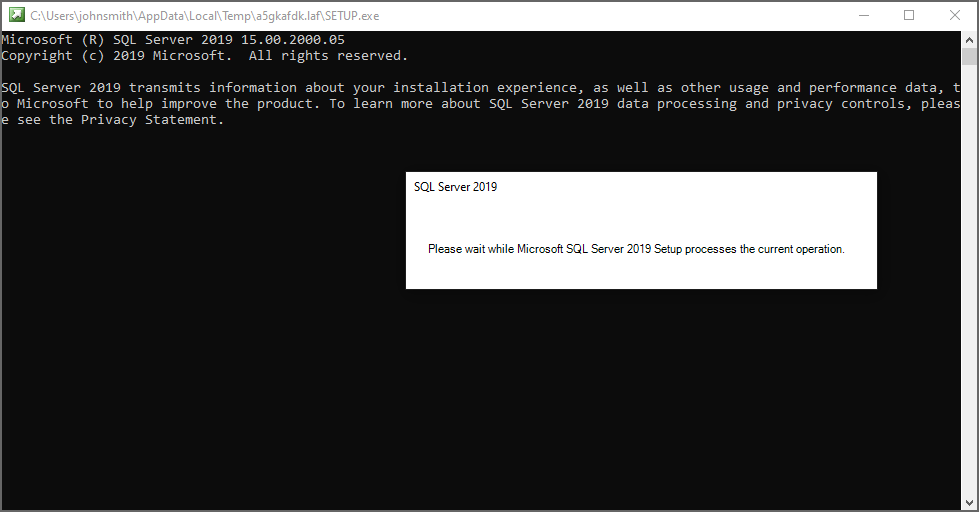
Wait for SQL Server to install.
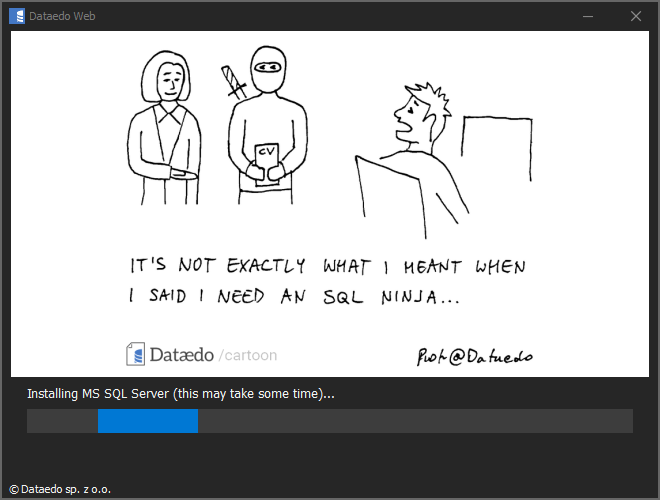
During SQL Server installation, new windows may open. Do not close them, or installation may fail.
The installation is over. Note down the address to the application, then click Open Application button or paste the address into your browser.

Now, create a user account you will use to access Dataedo. If you want to use Windows authentication, type in the username in COMPUTERNAME\USERNAME format. If you want to use Active Directory authentication, type in the username in DOMAIN\USERNAME format.
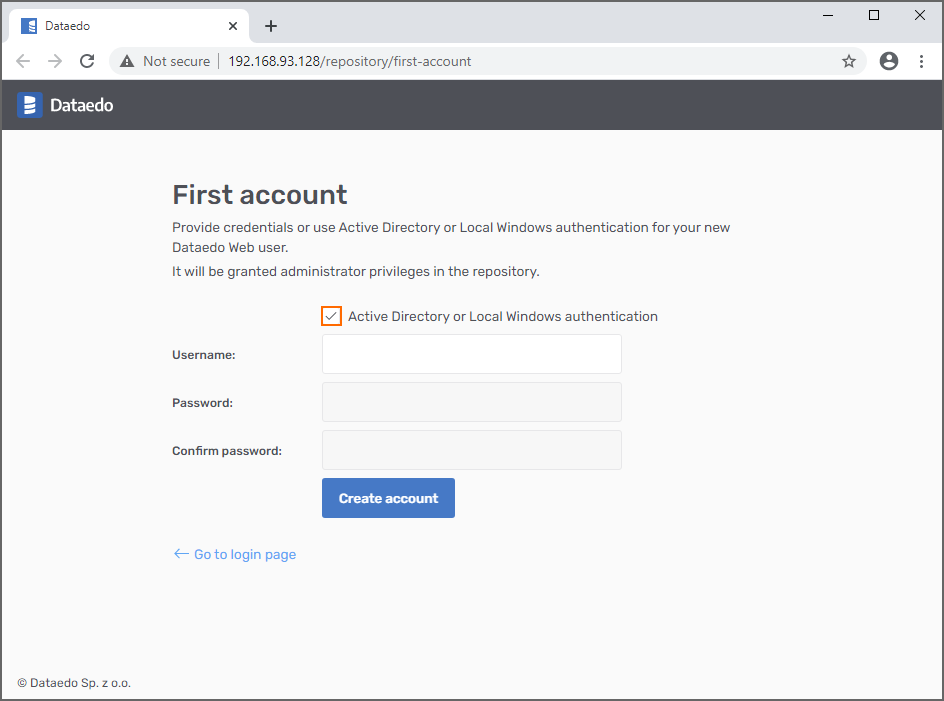
Otherwise uncheck the Active directory or Local Windows authentication box and type in a username and a password for the new user. Then, click Create account.
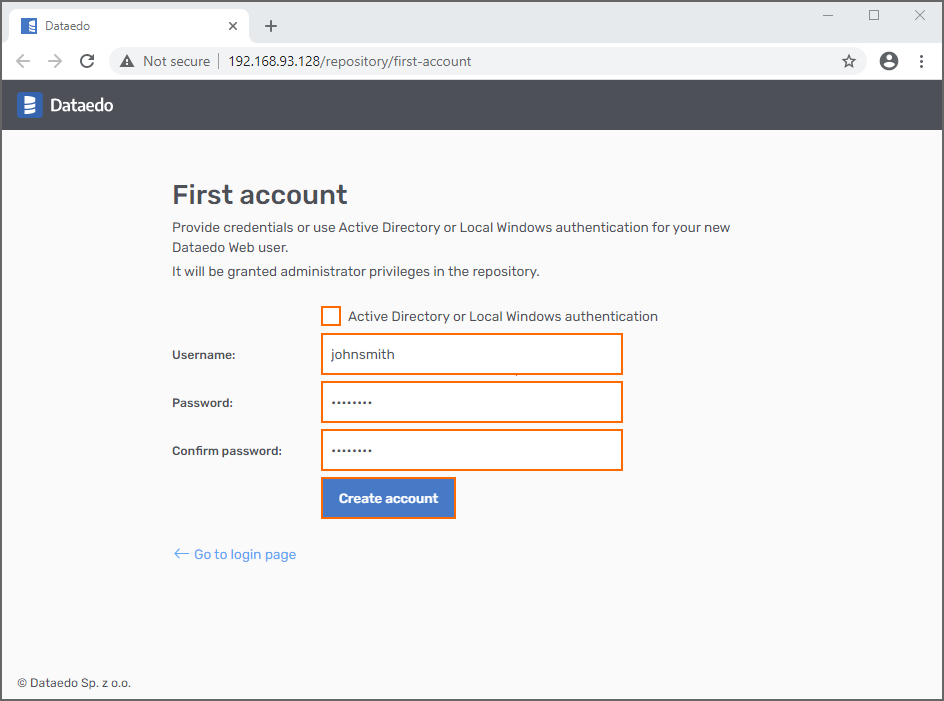
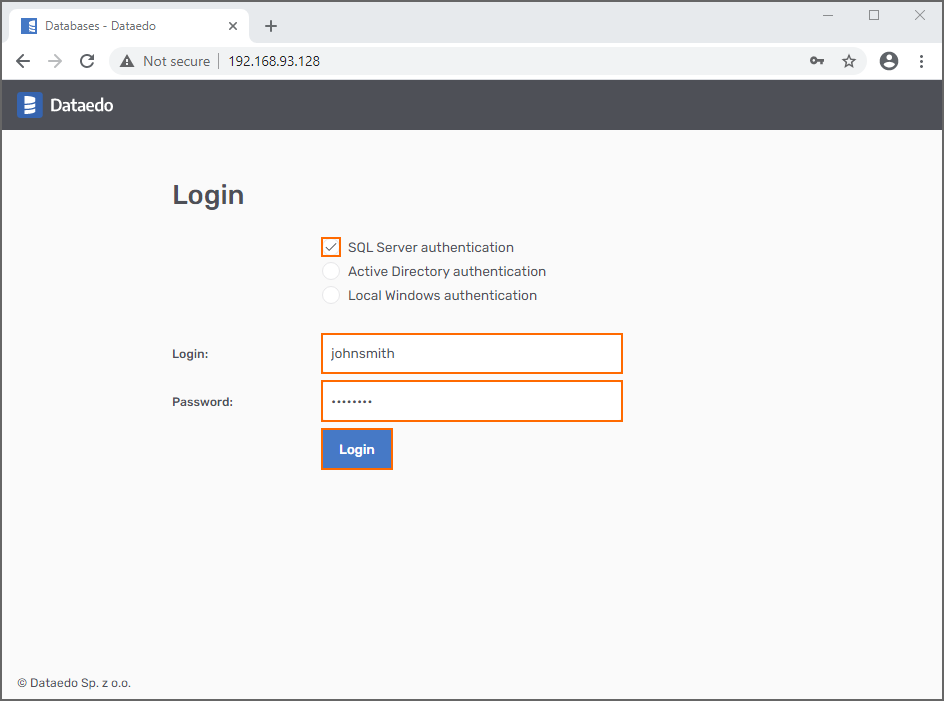
The configuration is now complete and you can log in to the application with the username created in the previous step. Use the same credentials to log in to Dataedo Desktop.
In some cases, you might be asked to enter your license key. If you do not have a key yet, click the Get free trial option to get one.
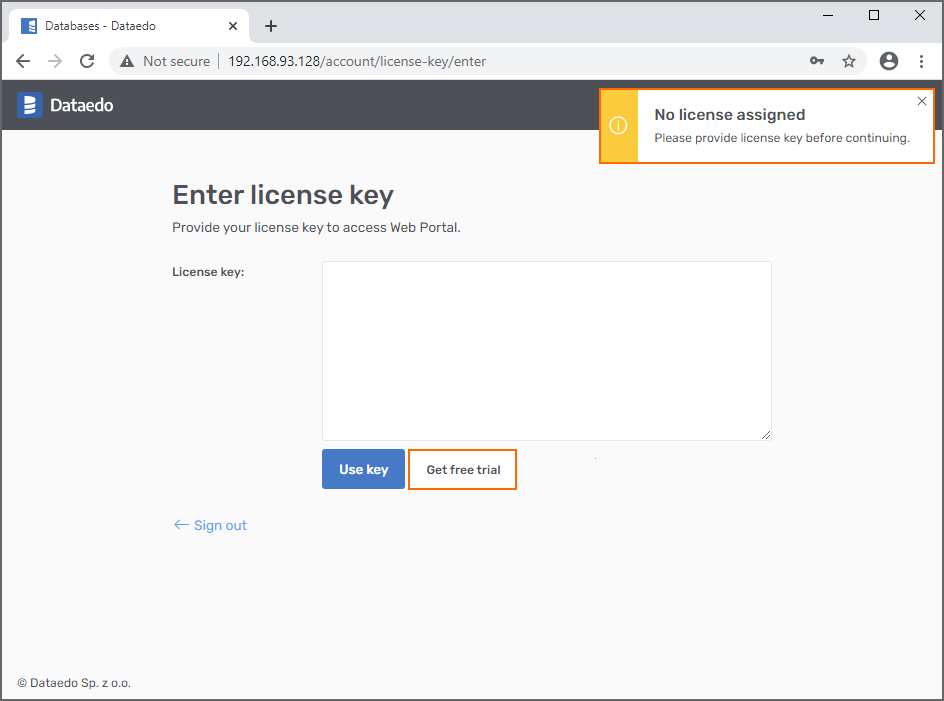
Otherwise, paste the entire 8 lines of the key, and click the Use key button.

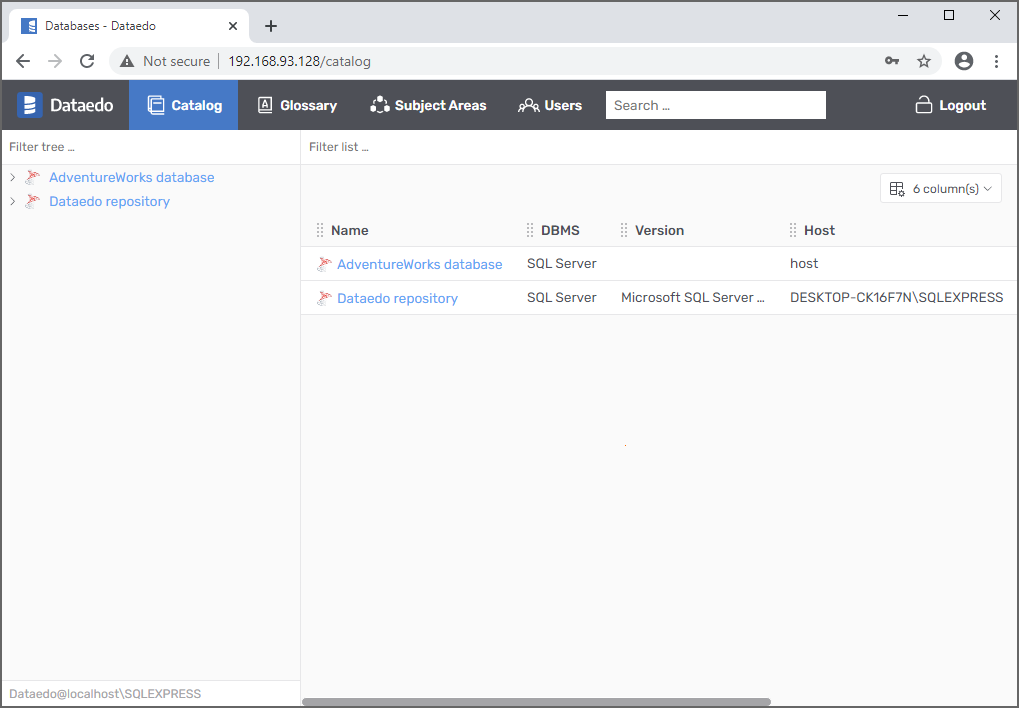
The installation and configuration process is done. Now, You can access Dataedo Web.


 Piotr Tokarski