Apache Impala allows the execution of well-known BI-style SQL queries on Hadoop. It simplifies the analysis of data stored in HDFS clusters and lets SQL data analysts work with Hadoop data without having to learn any other programming language.
Internally, Apache Impala stores its’ metadata in Apache Hive metastore for which Dataedo provides a native connector.
Connector
Supported Versions
Hive Metastore 3.x
Supported Metadata
- Tables
- Table type:
- Managed Table
- Index Table
- External Table
- Columns:
- Data type
- Nullable
- Default value
- Check constraint
- Unqiue constraint
- Primary keys
- Columns
- Foreign keys
- Columns
- Relations
- Table type:
- Views
- View type:
- Materialized view
- Virtual view
- Columns (see Tables)
- View type:
Connect to Apache Impala with Hive Metastore
Get connection details of Apache Impala Metastore
You can find all required details in hive-site.xml file which contains a configuration of Hive Metastore database connection. You can find this file in the default Impala configuration location, which is /etc/impala/conf. In this file you need to look for properties:
- javax.jdo.option.ConnectionURL
- javax.jdo.option.ConnectionUserName
- javax.jdo.option.ConnectionPassword
or, in case if your Imapala instance connects to a Hive Metastore Service:
- hive.metastore.uris
In both cases you will find the properties in configuration element of hive-site.xml file.
<configuration>
...
...
...
<property>
    <name>javax.jdo.option.ConnectionURL</name>
    <value>jdbc:mysql://10.10.10.10:3306/hive_metastore?createDatabaseIfNotExist=true</value>
</property>

<property>
    <name>javax.jdo.option.ConnectionUserName</name>
    <value>Hive</value>
</property>

<property>
    <name>javax.jdo.option.ConnectionPassword</name>
    <value>verySecurePassword</value>
</property>
....
....
....
</configuration>
or
<configuration>
....
....
....
<property>
    <name>hive.metastore.uris</name>
    <value></value>
    <description>Thrift uri for the remote metastore. Used by metastore client to connect to remote metastore</description>
</property>
....
....
....
</configuration>
Once you have all the properties, you need to get the connection details. If your Impala instance connects to Hive Metastore Service, connect to a server to which uri points and follow the Hive Metastore connector instruction. Otherwise extract the details as follows:
- javax.jdo.option.ConnectionUserName - Dataedo username.
- javax.jdo.option.ConnectionPassword - Dataedo password.
- javax.jdo.option.ConnectionURL - here you need to extract infromation from jdbc connection string which has format: jdbc:[database_engine]://[database_address]:[database_port]/[metastore_database]?others_options. Previous example of configuration uses MySQL jdbc connector, although others database engines also follow the convention.
In our example, collected data is:
- database: mysql
- host: 10.10.10.10
- port: 3306
- user: Hive
- password: verySecurePassword
- metastore_database: hive_metastore
Add new connection
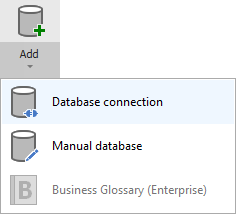
To connect to Hive Metastore and create new documentation by clicking Add documentation and choosing Database connection.
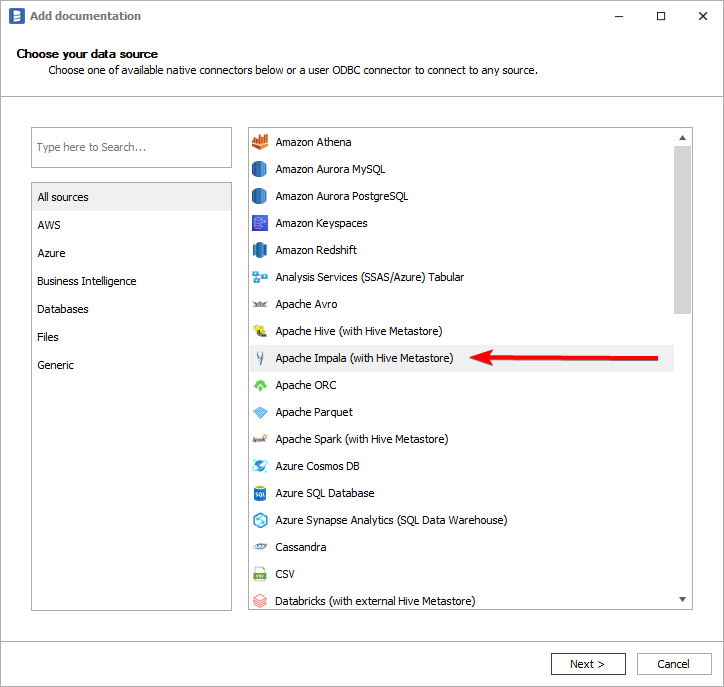
On the connection screen choose Apache Impala (with Hive Metastore) as DBMS.
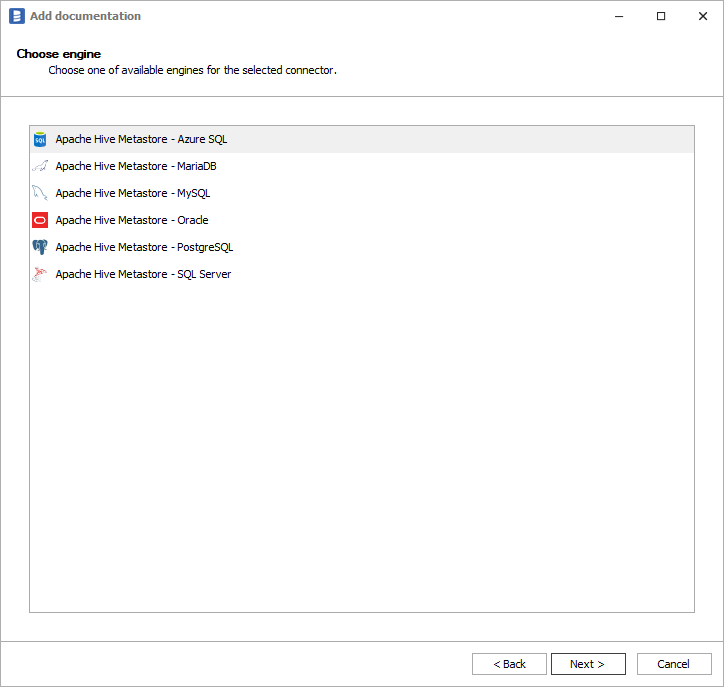
You need to select database engine hosting Hive Metastore:
Connection details
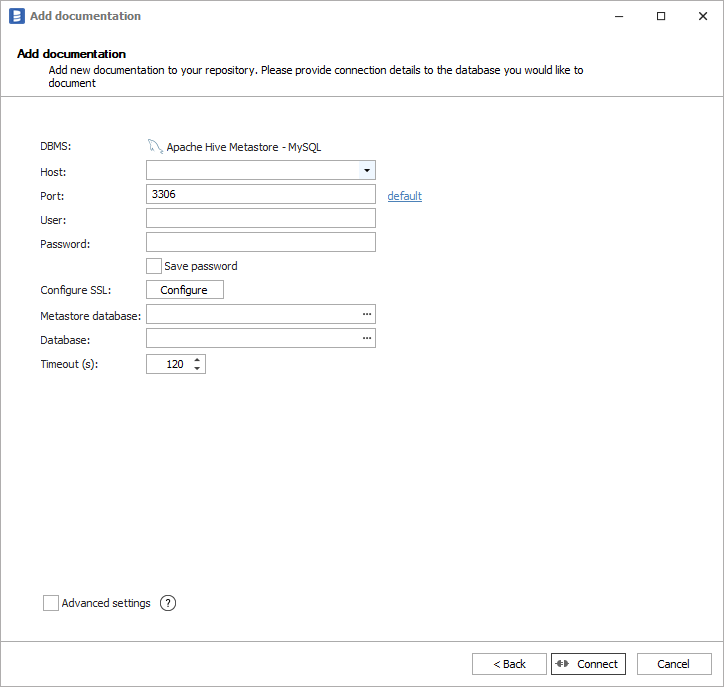
Then you need to provide connection details accordingly for selected database:
Following connection example will be based on MySQL, although others databases will have similar fields required for connection:
- Host - hostname or IP address of server on which database is available,
- Port - port under which database is available,
- User - username,
- Password - password,
- Metastore database - name of MySQL database hosting the metastore. You can expand list of databases by clicking ... button.
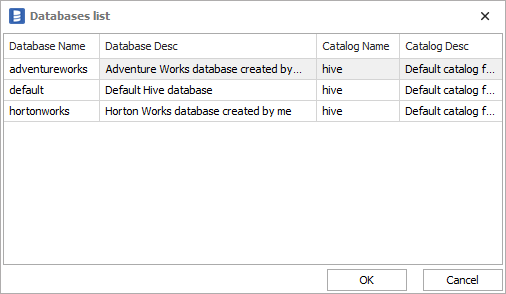
- Database - name of Hive database. You can expand list of databases by clicking ... button. You will get a table of Hive databases with Database Name, Description, Catalog Name and Catalog description columns:
Obtaining all details is described in chapter Get connection details.
Importing metadata
When connection was successful Dataedo will read objects and show a list of objects found. You can choose which objects to import. You can also use advanced filter to narrow down list of objects.
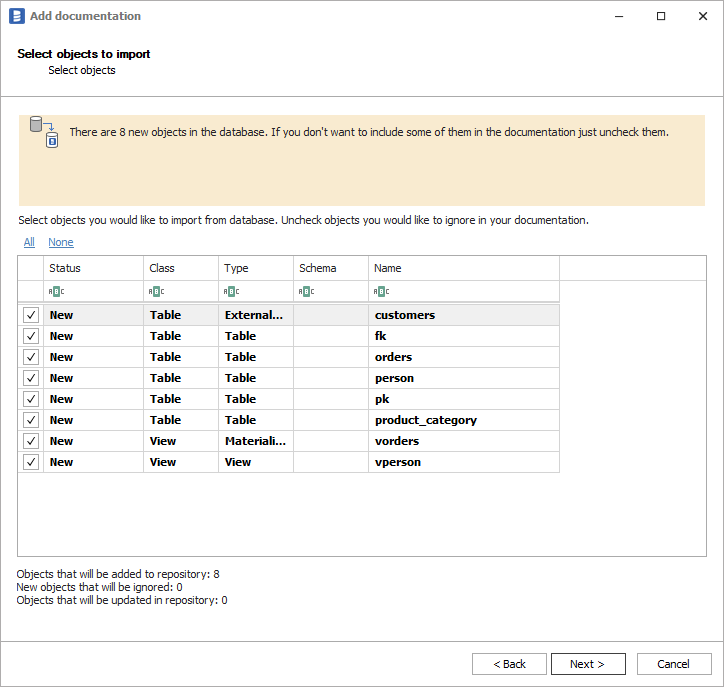
Confirm list of objects to import by clicking Next.
Next screen allow you to change default name of the documentation under which it will be visible in Dataedo repository.
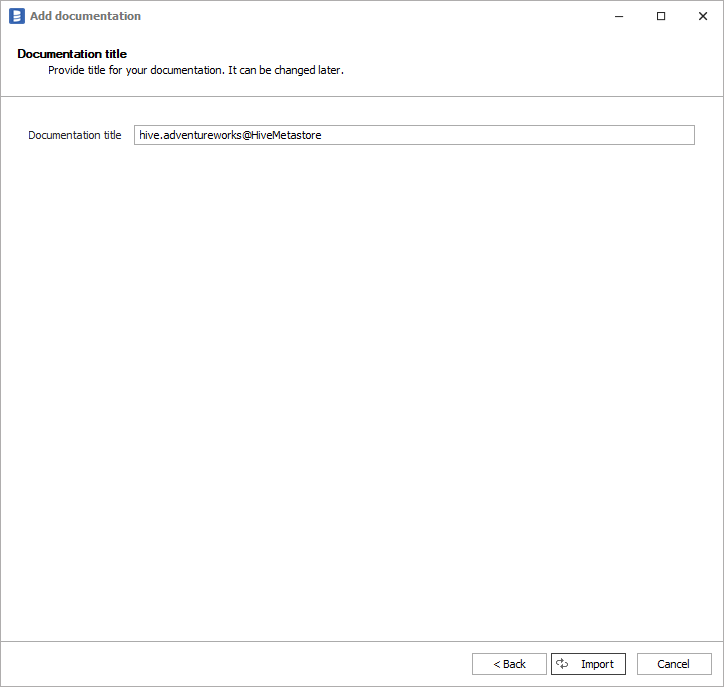
Click Import to start the import. Once import is done, close import window with Finish button.
Outcome
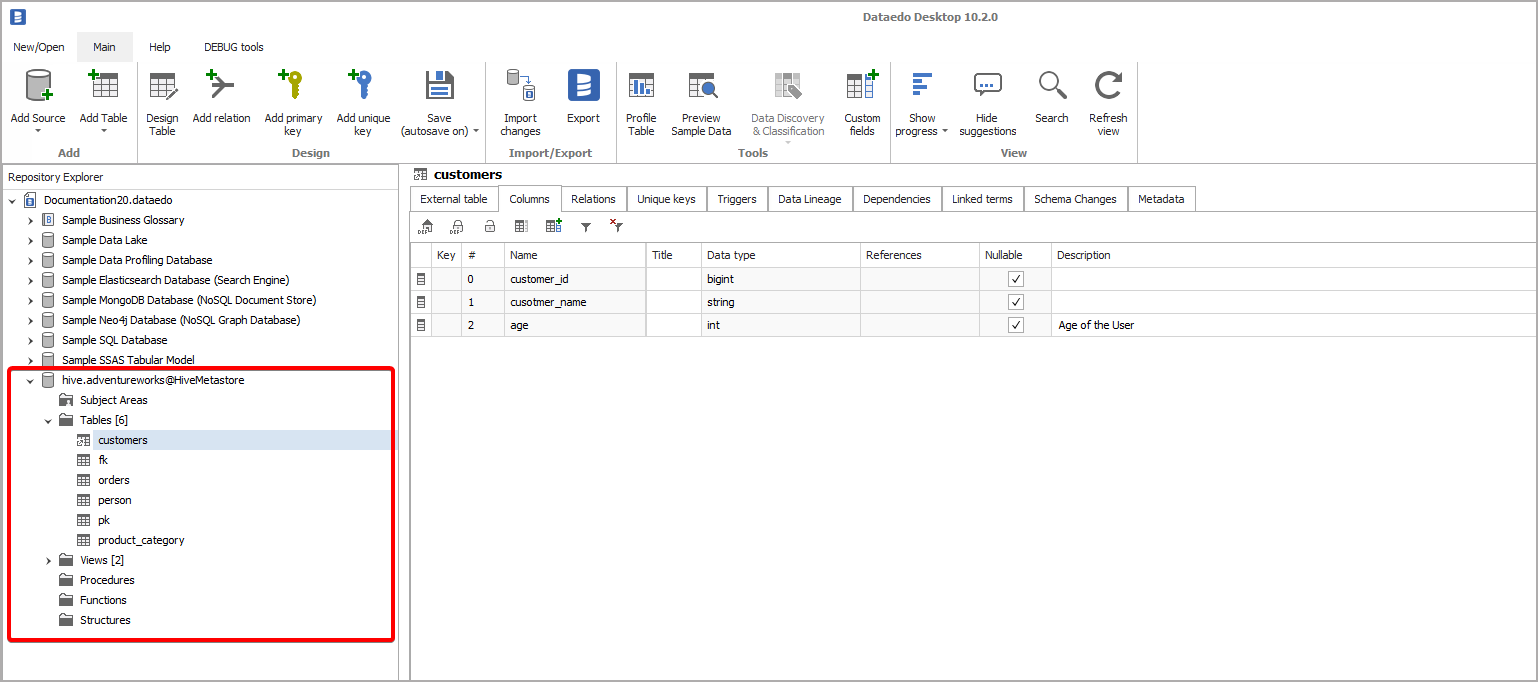
Your database has been imported to new documentation in the repository.
