PostgreSQL is one of the most advanced open-source relational databases. Dataedo provides a native connector to PostgreSQL with SSL support.
PostgreSQL SSL configuration
Generating certficates
Server configuration and generating SSL certificates for a server is described in offical PostgreSQL documention - Secure TCP/IP Connections with SSL section
Following sections (Converting client certificate to PFX format and Add certificate to a trusted root authorities store) are both optional, and can be ignored if you authenticate with a password and not with the client certificate.
Converting client certificate to PFX format (optional)
Dataedo requires client certificate to have .PFX format (so that both certificate and private key are in the same file). If you have client certificate in formats such as PEM, CRT, CER or others, they won't be accepted by Dataedo. However, you can easily convert existing certificates into PFX certificate using following OpenSSL command:
openssl pkcs12 -export -out client-cert.pfx -inkey private-key.key -in client-cert.crt
- openssl - command to execute OpenSSL,
- pkcs12 - file utility,
- -export -out client-cert.pfx - export and save the certificate as PFX client-cert.pfx file,
- -inkey private-key.key - the private key to be combined with certificate into PFX file,
- -in client-cert.crt - client certificate to be combined with private key into PFX file.
Opnessl then ask you to provide a passphrase to protect the file. You can leave it empty, although we recommend to set the safe password, as having a certificate may allow anyone to connect to a database.
Add certificate to a trusted root authorities store (optional)
If your server uses a self-signed certificate or one that was issued by an organization not consider as trusted by the Microsoft (you can find the full list in documentation) and you want to use Verify CA or Verify Full SSL mode (see more in Connections Details section), you need to add a CA certificate (this can be provided by a database administrator) to your trusted root certificates store.
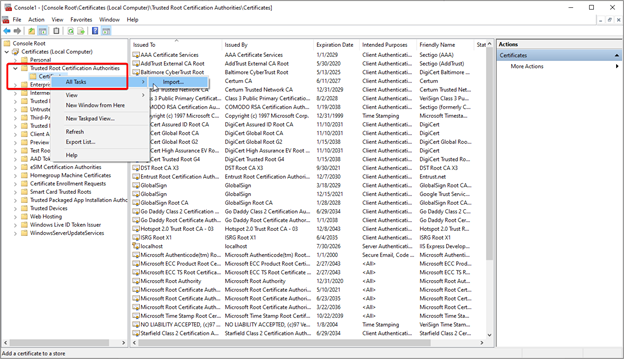
To do this, run Microsoft Management console as an administrator - type mmc in the start menu, right-click the icon, and choose Run as Administrator.
Then expand the Console Root, Certificates (Local Computer), and Trusted Root Authorities Store. Right-click on Certificates. Choose All Tasks > Import and select the CA file.
Connect Dataedo to PostgreSQL
Add new connection
To connect to PostgreSQL database create new documentation by clicking Add documentation and choosing Database connection.
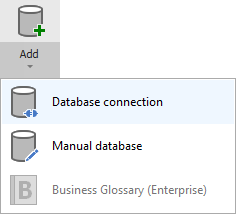
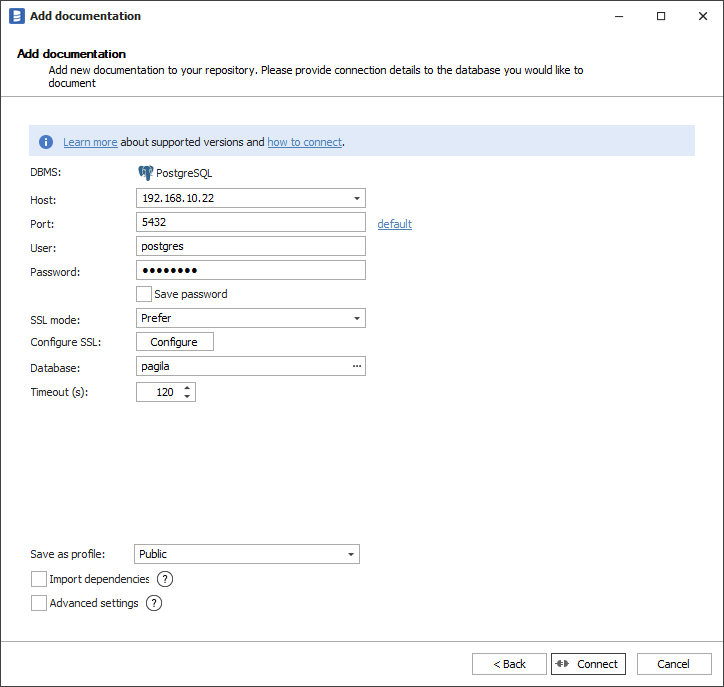
On the connection screen choose PostgreSQL as DBMS.
Connection details
Provide database connection details:
- Host - provide a host name or address where a database is on. E.g. server17, server17.ourdomain.com or 192.168.0.37.
- Port - change the default port of PostgreSQL instance if required
- User and password - provide your username and password
- SSL Mode - select the SSL Mode for connection:
- Prefer - Dataedo first will try to connect to a database with SSL support, and in case it didn't work it will try to establish a connection without SSL encryption.
- Disable - connection will be unencrypted.
- Require - only encrypted connection is possible.
- Verify CA - connection will be encrypted and Dataedo will verify if a server certificate was issued by a trusted authority.
- Verify Full - connection will be encrypted, Dataedo will verify if a server certificate was issued by a trusted authority and if all the information provided in the certifcate are correct.
- Configure SSL - optional step if you want to autenticate with a client certificate.
- Database - type in database name or click [...] and choose it from the list.
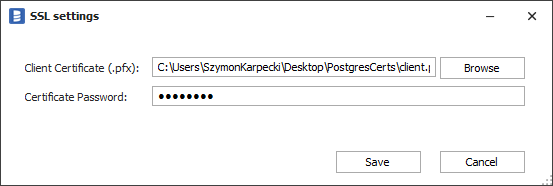
To add a client cetificate for a connection, click the Configure button and choose the certificate file. If your certificate is protected with passphrase, provide it in Certificate Password field. Otherwise, leave the field empty.
Saving password
You can save password for later connections by checking Save password option. Password are saved in the repository database.
Importing schema
When connection was successful Dataedo will read objects and show a list of objects found. You can choose which objects to import. You can also use advanced filter to narrow down list of objects.
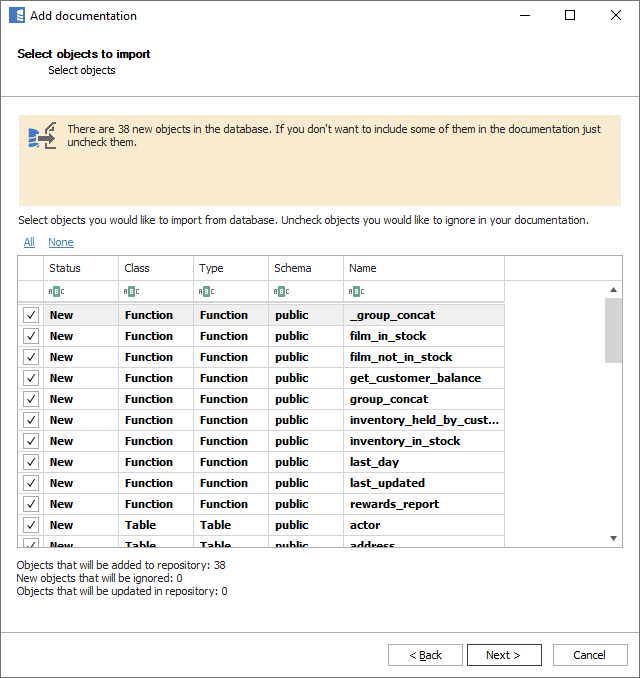
Confirm list of objects to import by clicking Next.
Next screen with allow you to change default name of the documentation under with your schema will be visible in Dataedo repository.
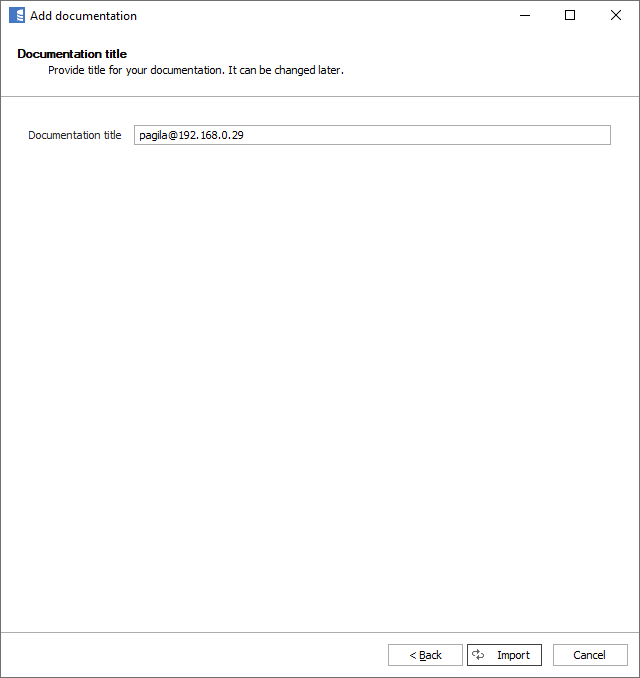
Click Import to start the import.
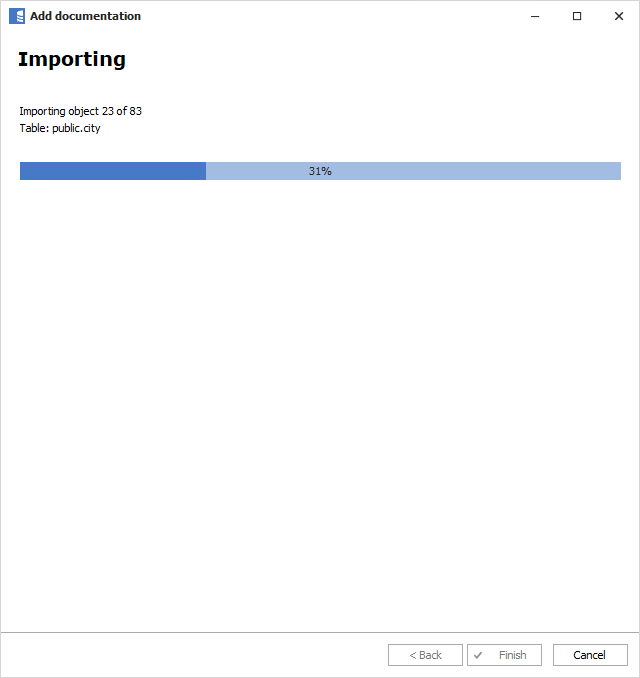
When done close import window with Finish button.
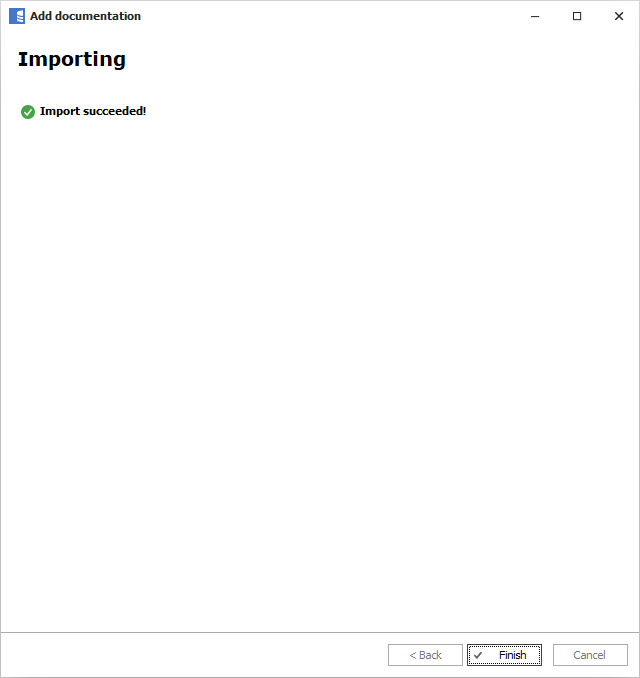
Outcome
Your database schema has been imported to new documentation in the repository.

PostgreSQL support
Learn more about PostgreSQL support in Dataedo.


