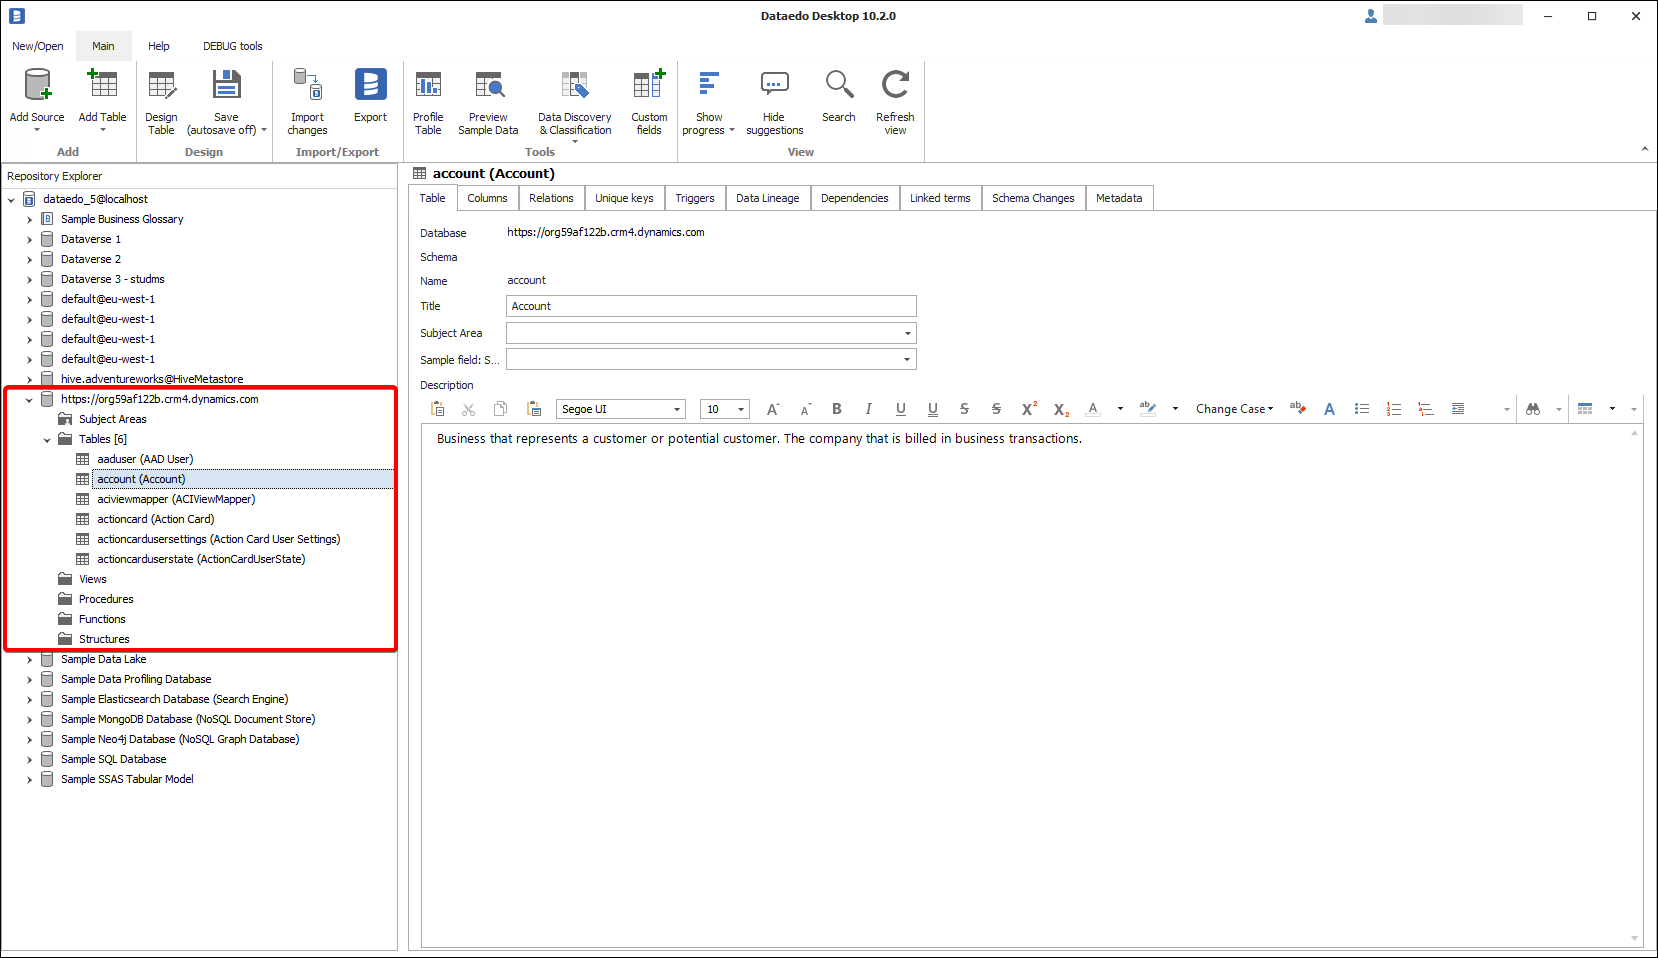
This article explains how to connect Dataedo to the underlying Microsoft Dynamics 365 Dataverse instance and import metadata.
Connector
Supported schema elements and metadata
- Tables
- Display name (Title)
- Description
- Columns
- Logical name
- Display name (Title)
- Position
- Data type
- Description
- Primary keys
- Unique keys
- Views
- Columns
- Logical name
- Display name (Title)
- Data type
- Description
- OfflineSQLQuery (Script)
- Columns
Unique keys
Datedo marks columns as unique keys when data type equals UniqueIdentifier or column has defined alternate key on it.
Data profiling
Datedo does not support data profiling in Microsoft Dynamics 365.
Connecting to Microsoft Dynamics 365 with Dataverse
Add new connection
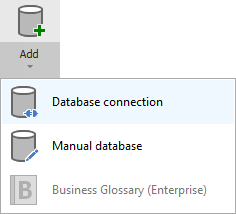
To connect to Dataverse and create new documentation click Add documentation and choose Database connection.
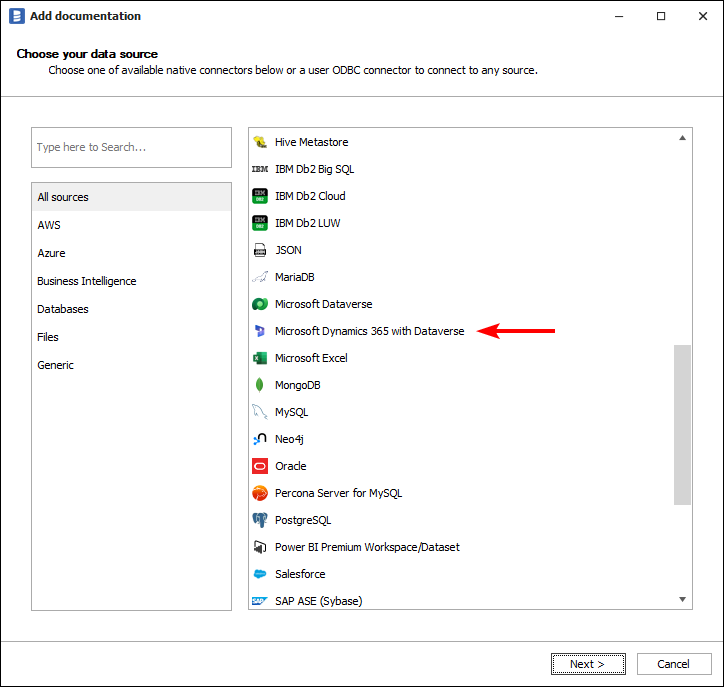
On the connection screen choose Microsoft Dynamics 365 with Dataverse as DBMS.
Connection details
- Environment URL - URL to your Dynamics 365 instance. eg. org432482.crm4.dynamics.com
- User - Dynamics 365 username.
- Password - Dynamics 365 password.
- Language
- User localized language - The language current user has the account set up.
- Organization base language - Default language enabled and set by organization.
- App ID - Application ID. The default App Id is provided by Microsoft for tests and development purposes. If you’d like to change it, set up an application with the Microsoft identity platform. Learn more
- Redirect URI - Redirect URI needs to match a URI set up with your Microsoft identity app. The default Redirect URI is provided by Microsoft and meant for tests and development. Learn more
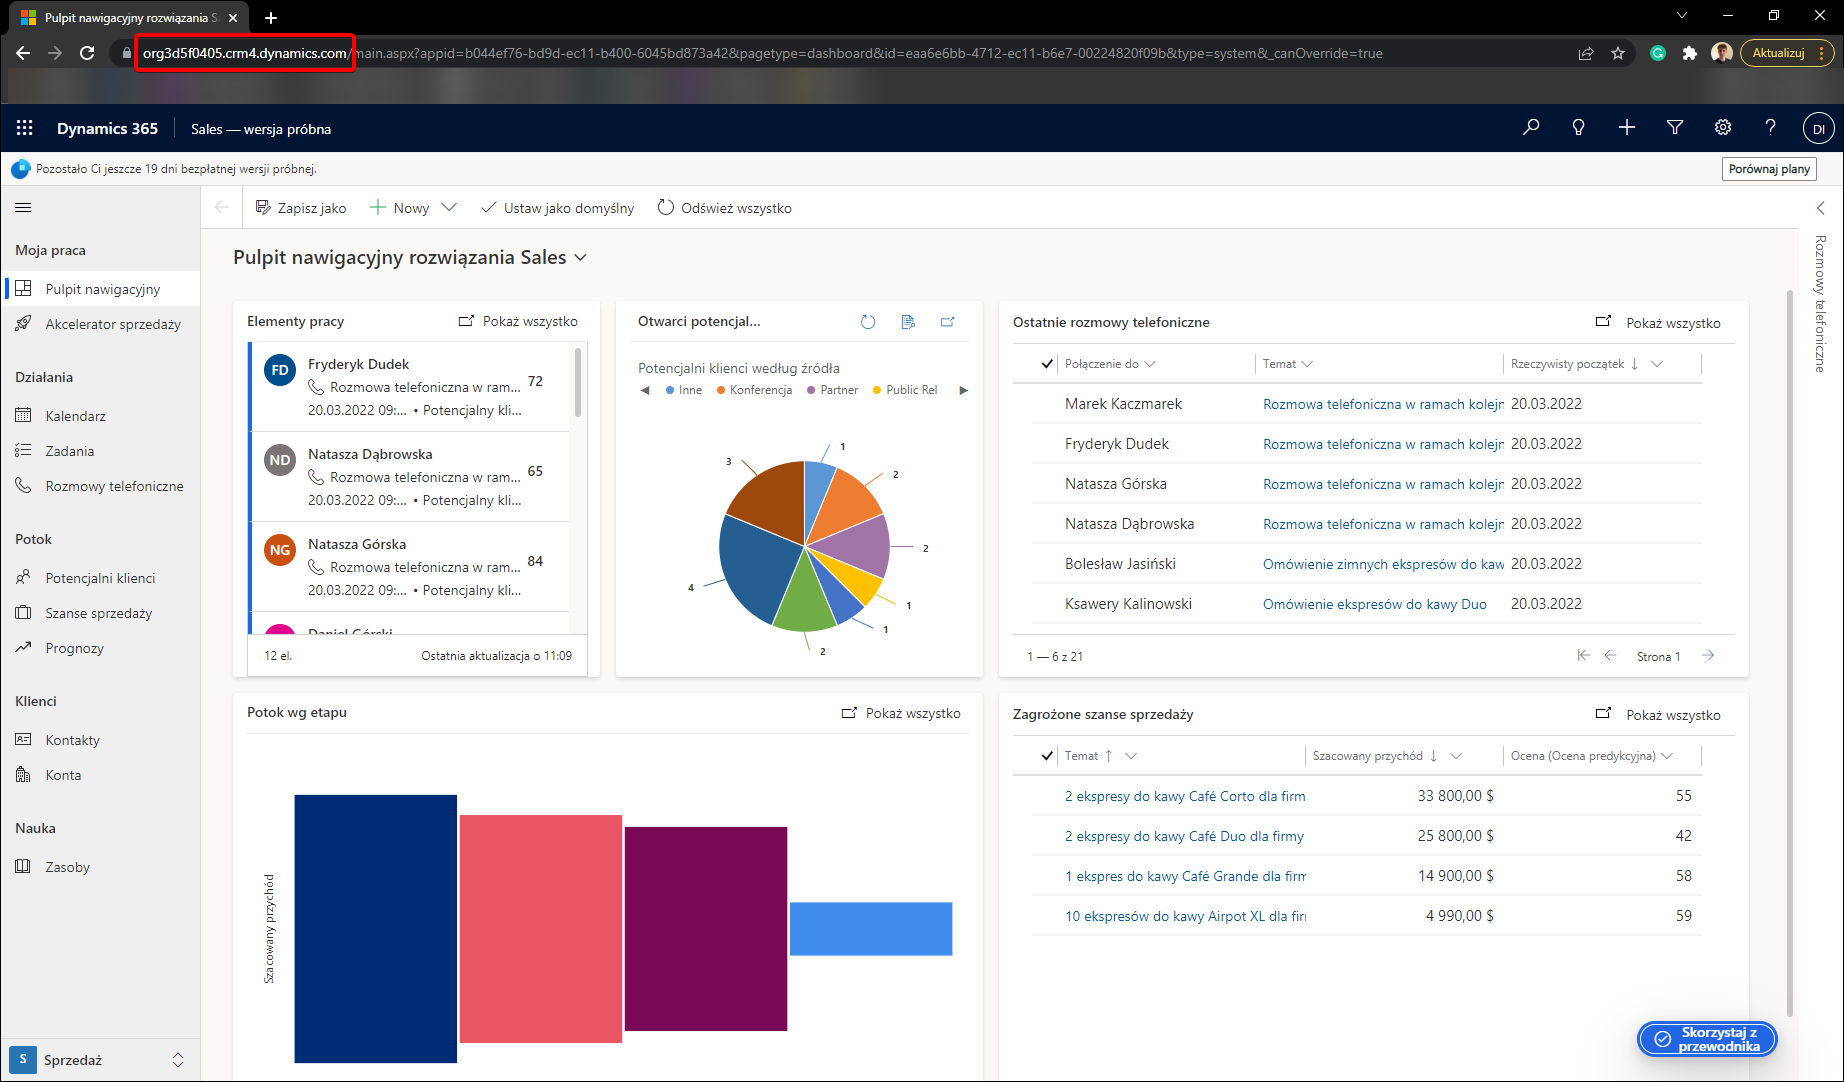
How to get Environment URL
Go to your Dynamics 365 dashboard and copy the URL from the top search bar.
Saving password
You can save password for later connections by checking Save password option. Passwords are securely stored in the repository database.
Importing schema
When the connection was successful Dataedo will read objects and show a list of objects found. You can choose which objects to import. You can also use an advanced filter to narrow down the list of objects.
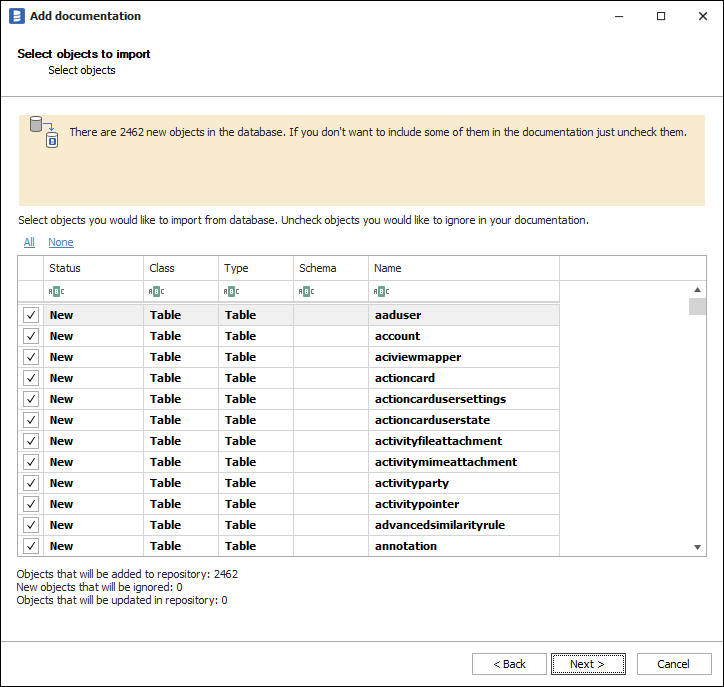
Confirm list of objects to import by clicking Next.
The next screen allows you to change the default name of the documentation under your schema will be visible in the Dataedo repository.
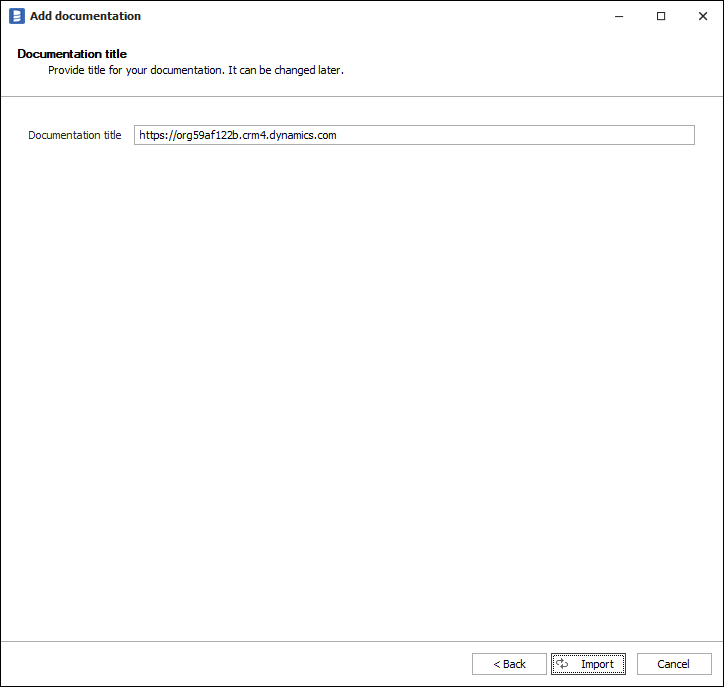
Click Import to start the import.
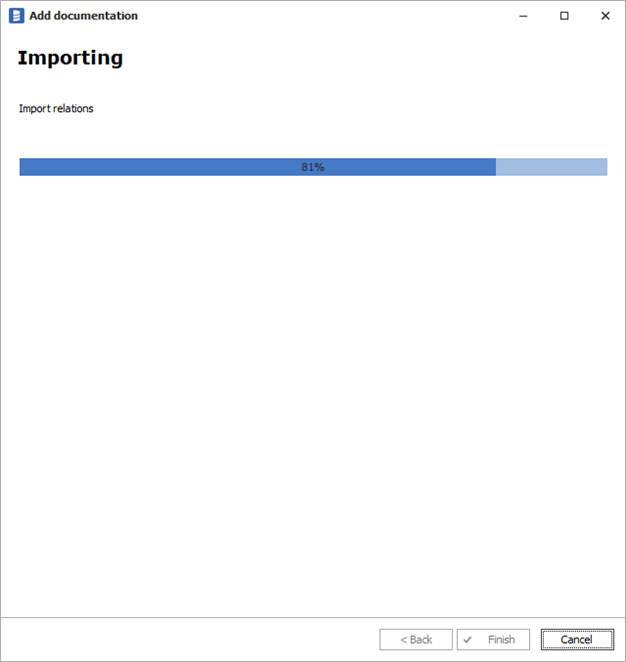
When done close import window with Finish button.
Outcome
Your database schema has been imported to new documentation in the repository.
