


 Marcin Nagly
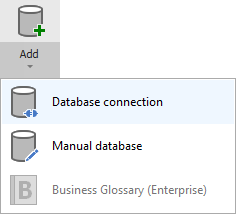
To connect to Percona create new documentation by clicking Add documentation and choosing Database connection.
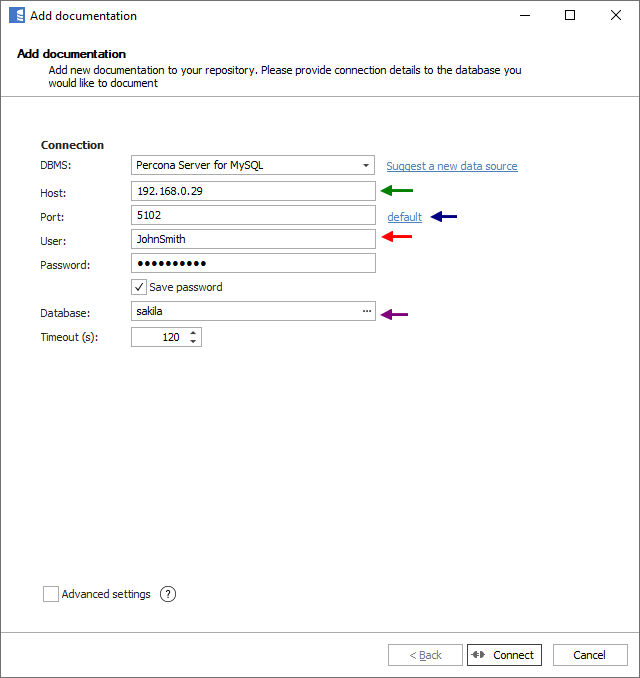
On the connection screen choose Percona as DBMS.
Provide database connection details:
- Host - provide a host name or address where a database is on. E.g. server17, server17.ourdomain.com or 192.168.0.37.
- Port - change the default port of Percona instance if required
- User and password - provide your username and password
- Database - type in schema name or click [...] and choose it from the list.
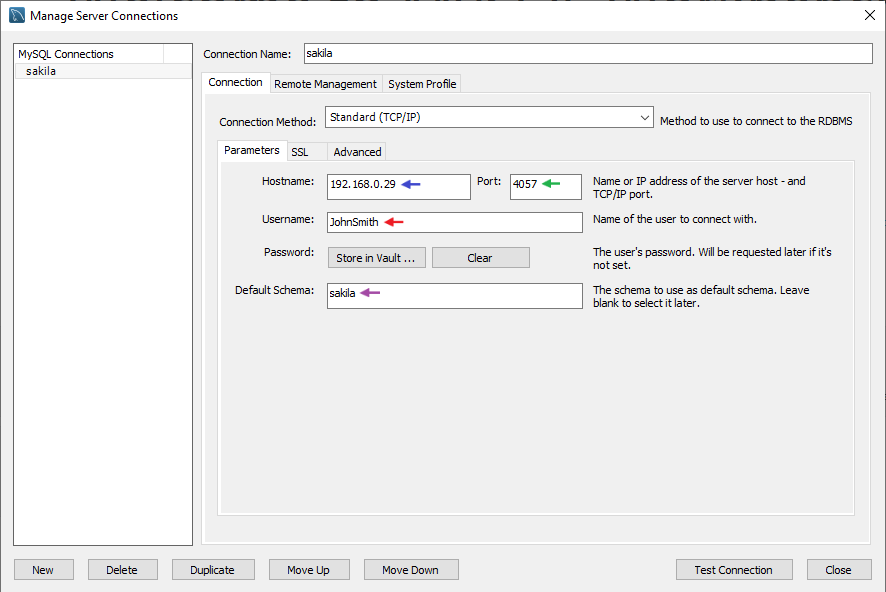
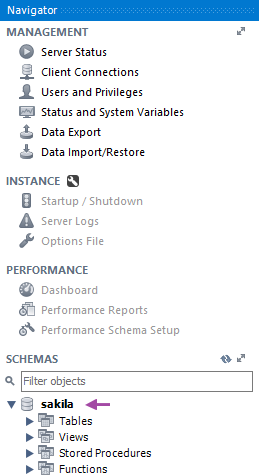
Here is a comparison with connection details in MySQL Workbench.
Saving password
You can save password for later connections by checking Save password option. Password are saved in the repository database.
Importing schema
When connection was successful Dataedo will read objects and show a list of objects found. You can choose which objects to import. You can also use advanced filter to narrow down list of objects.
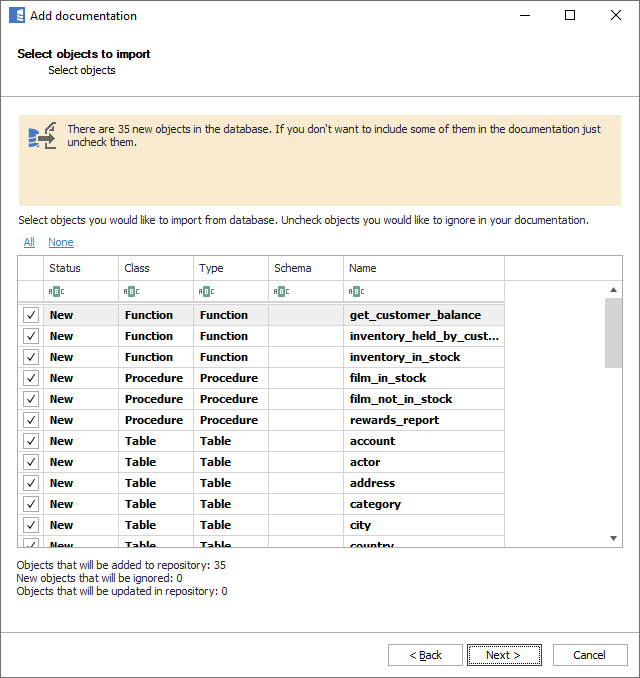
Confirm list of objects to import by clicking Next.
Next screen with allow you to change default name of the documentation under with your schema will be visible in Dataedo repository.
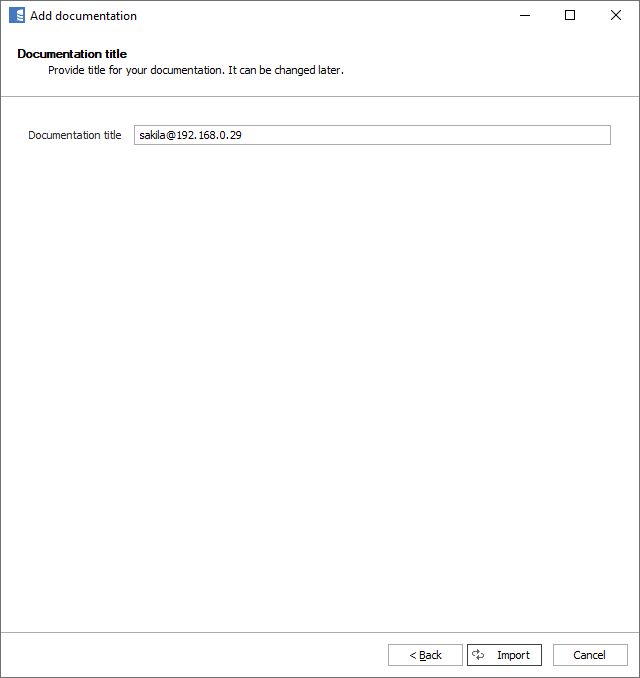
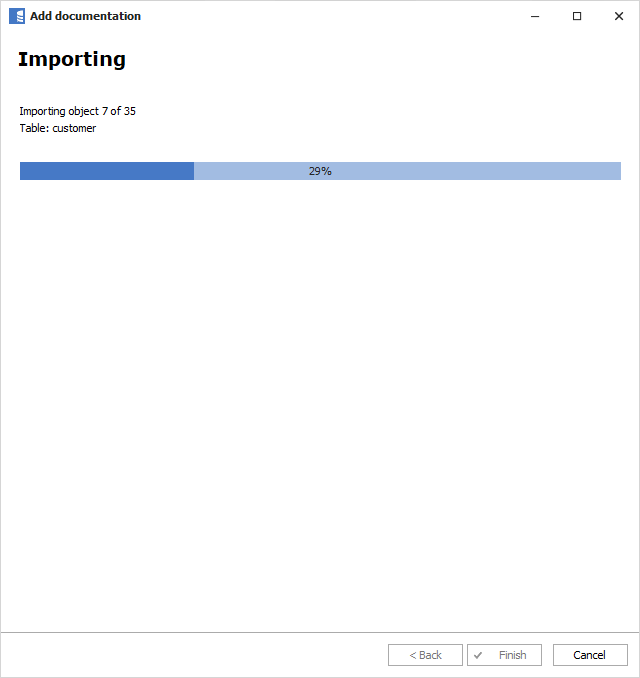
Click Import to start the import.
When done close import window with Finish button.
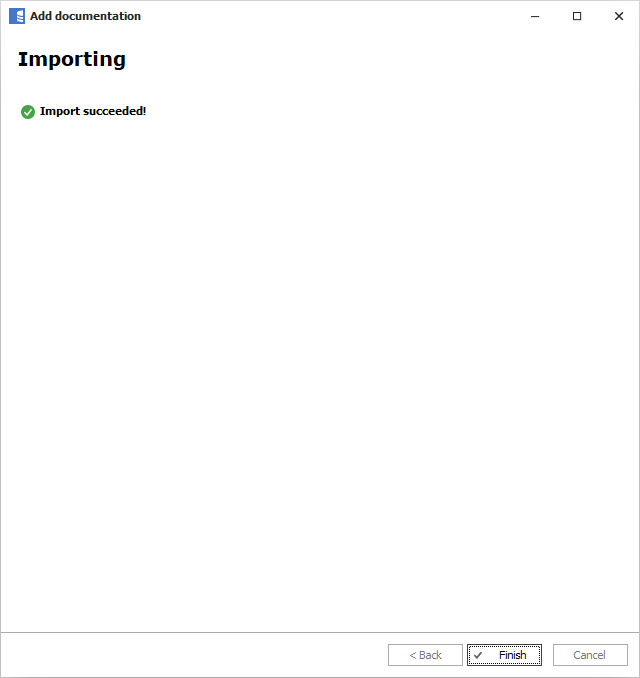
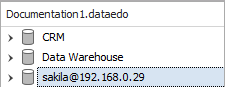
Your database schema has been imported to new documentation in the repository.
Percona support
Learn more about Percona support in Dataedo.